“Amico Retail POS - Billing Software” - Documentation
Thank you for Trying/purchasing our Software. If you have any questions that are beyond the scope of this help file, please feel free to email via my user page contact form here. Thank you so much!
Created year: 2022
Email: techamicogoa@gmail.com
Introduction
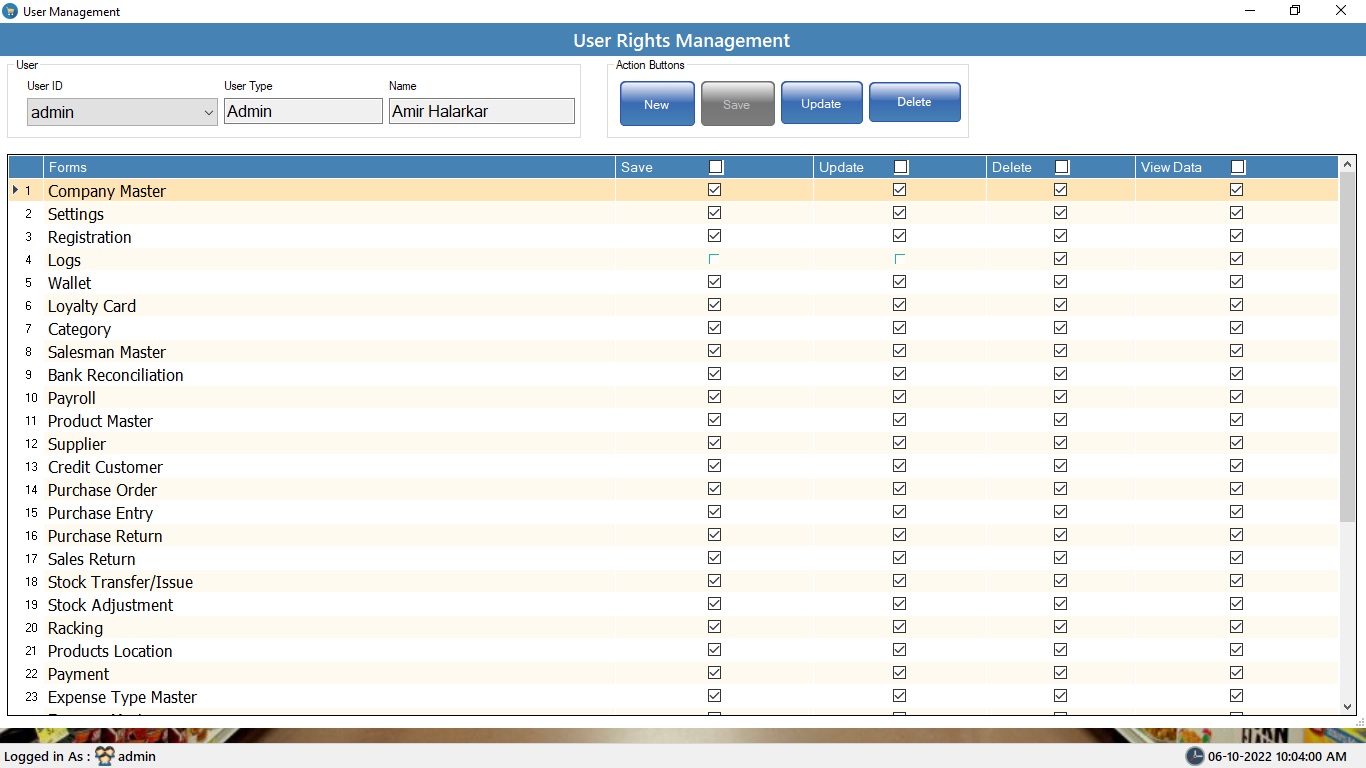
Amico Retail POS is Windows pc based Software, In This Software user can track Items & its Stock, Manage Suppliers, Customers, Items Categories, Sales, Purchase, expenses, users. this software has barcode printing feature and you can get all the reports which are required for accounting and and daily pos reports and it has many more features. You can create any number of Users. Admin can see all report at once.
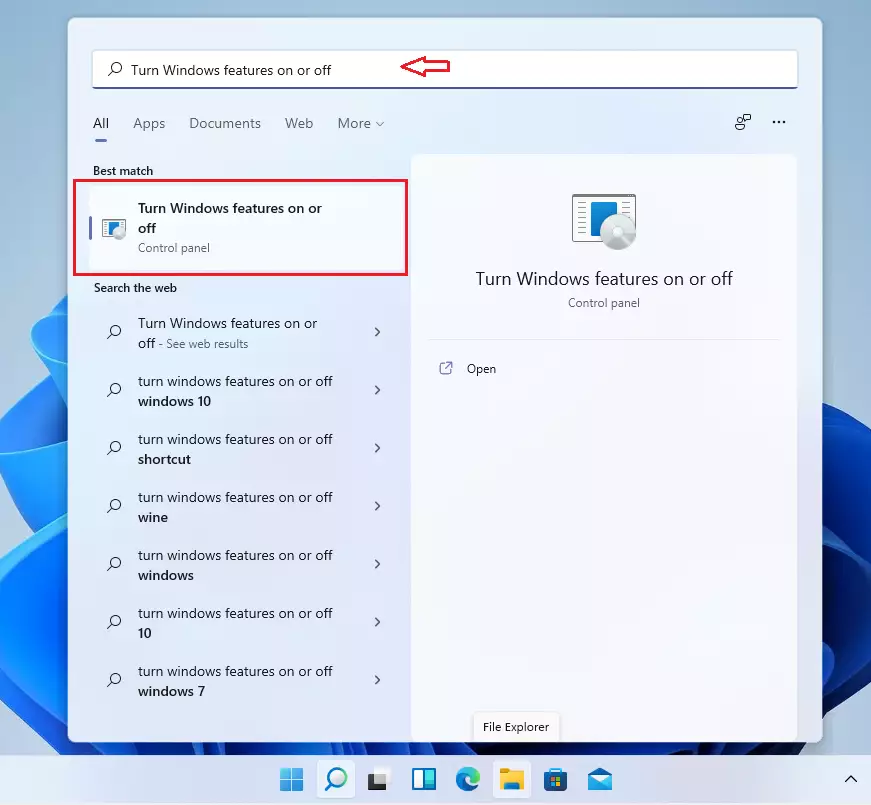
Instal / Update
Minimum System Requirments
- intel i3 processor
- 8GB RAM, Windows 10 with Microsoft excel and pdf reader
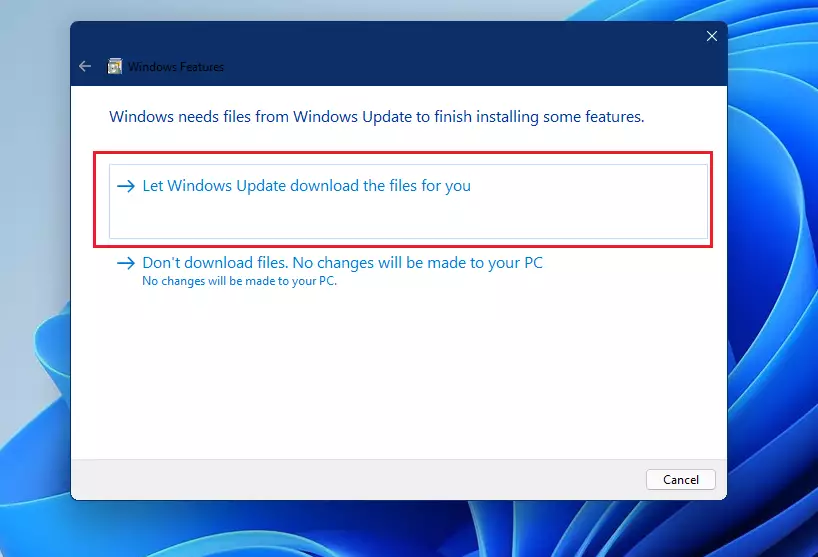
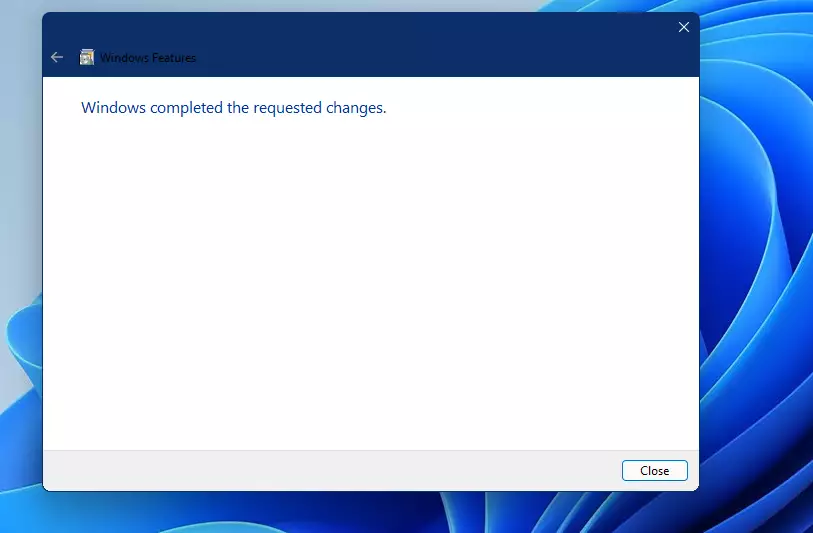
To get started installing .NET 3.5 framework in Windows 10, follow the steps below:

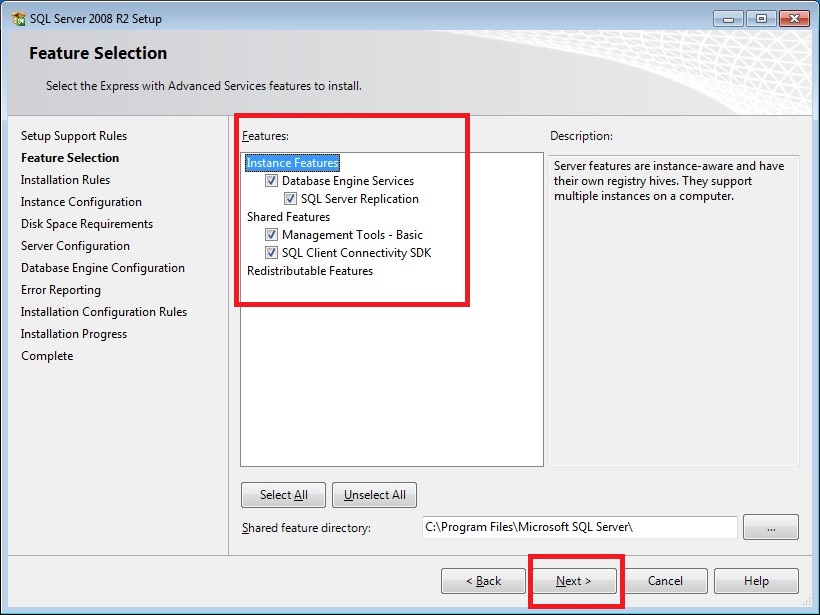
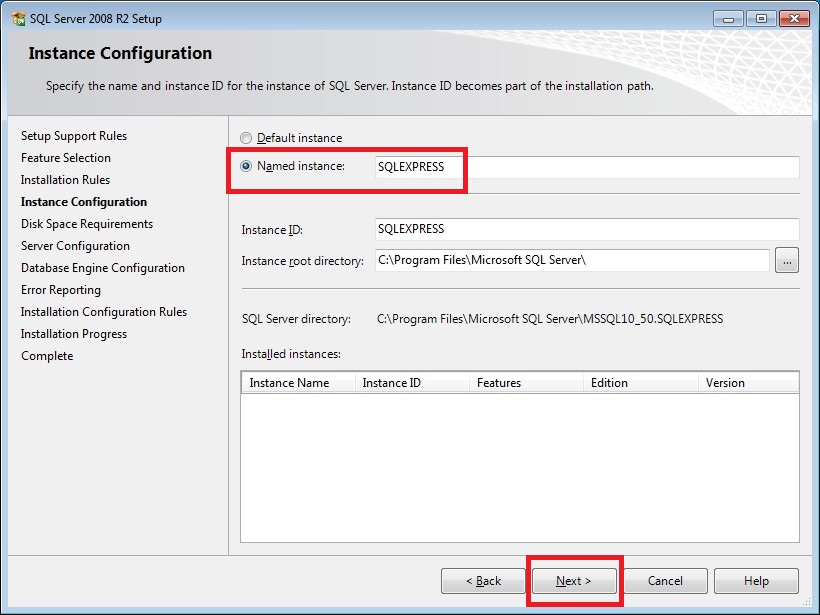
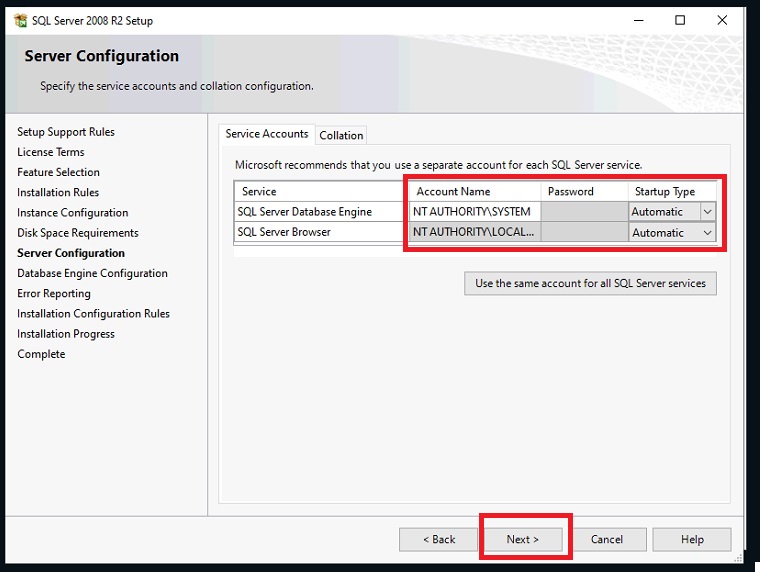
Download the Express (R2) version of SQL Server 2008: SQLEXPRWT_x86_ENU.exe (32-bit server) or SQLEXPRWT_x64_ENU.exe (64-bit) from the Microsoft Download Center:
http://www.microsoft.com/en-us/download/details.aspx?id=30438
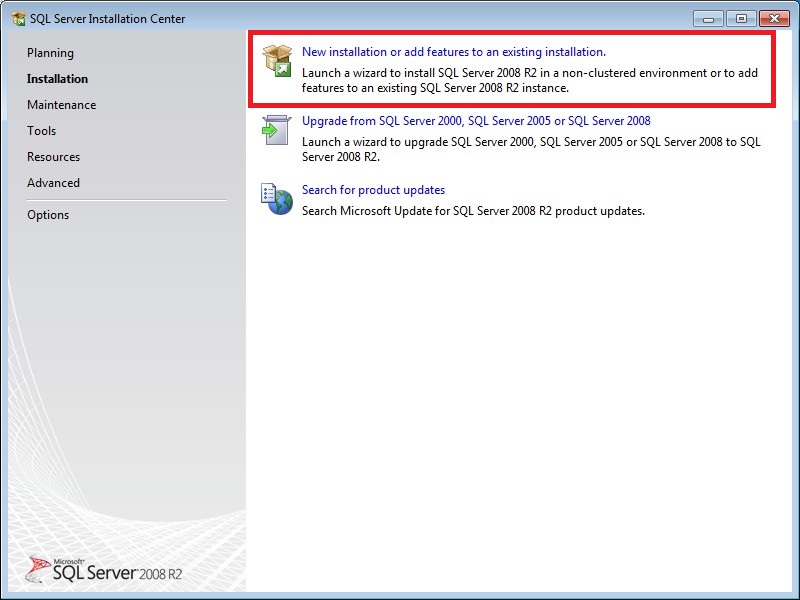

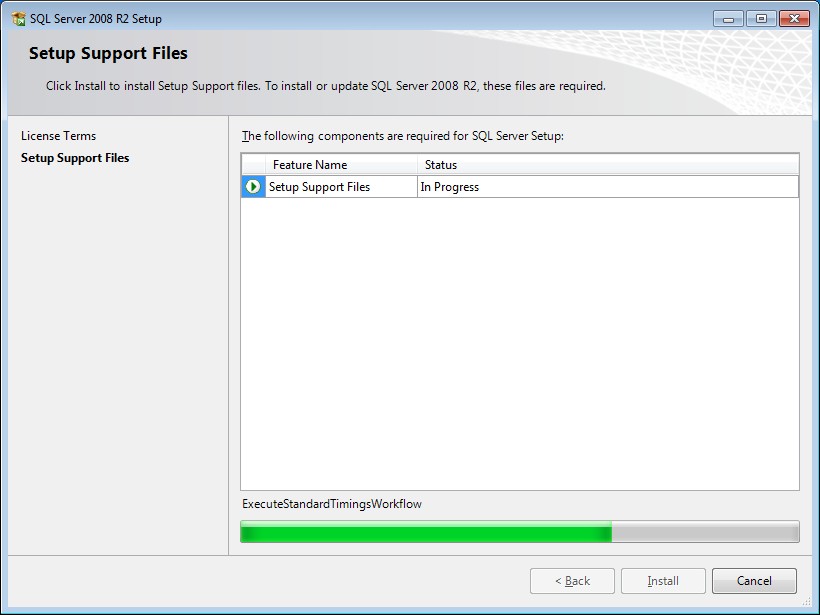
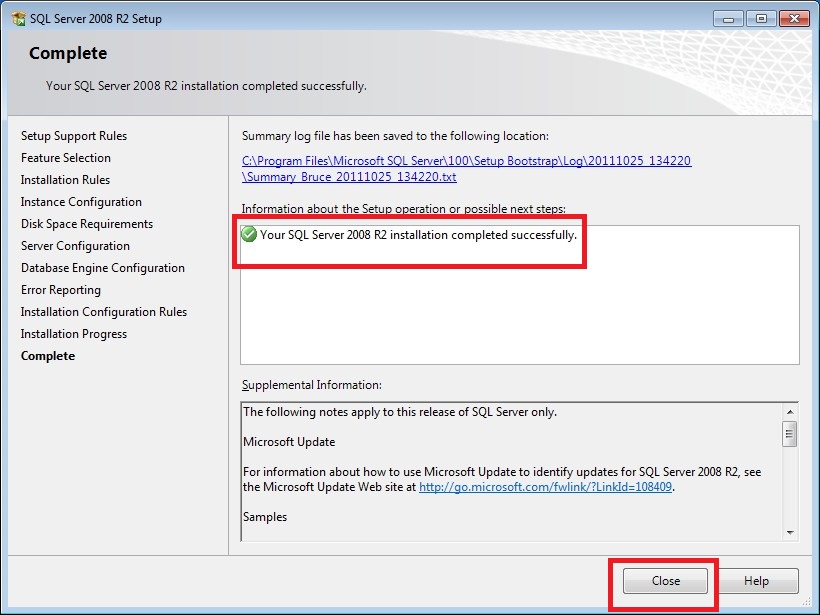
The installation of the SQL Server 2008 R2 is now complete.
Alert !
How to Install Crystal Report runtime
Login to your PC with administrator permissions, and do the following steps
Choose the appropriate version of the report that i.e. 64bit or 32bit depending on your application. Download the runtime from the above link and save it to a folder on your hard disk. Unzip the content.
Double click on the .msi file and in my case it is CRRuntime_64bit_13_0_14.msi
You will see the welcome screen as shown below
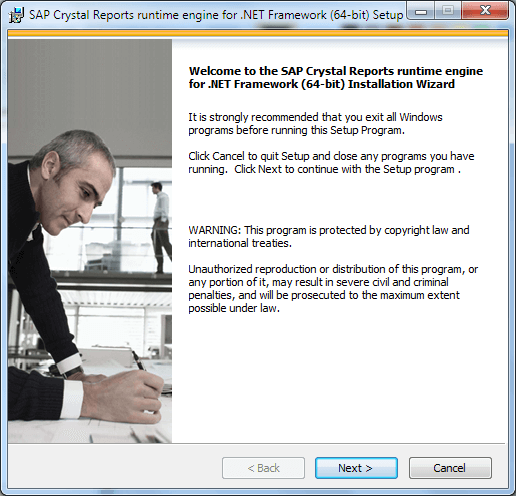
Crystal Report runtime installation welcome screen
Click on Next to continue.
This will take you to the License agreement.
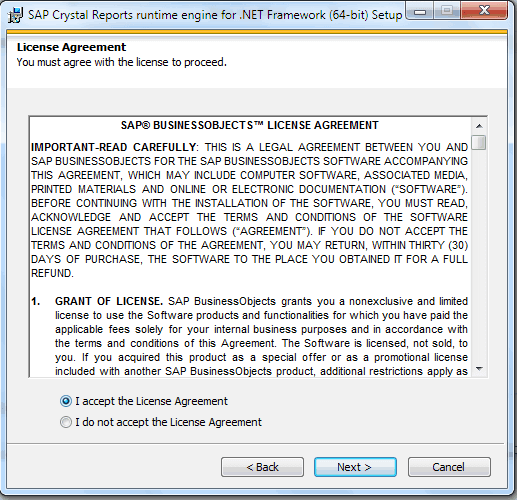
Crystal Report License agreement
Click on I Accept the License Agreement and click on next to proceed.
If the previous version of the runtime is installed on your Computer, then the warning screen will appear. If you continue, the installer will upgrade the previous version to the new version.
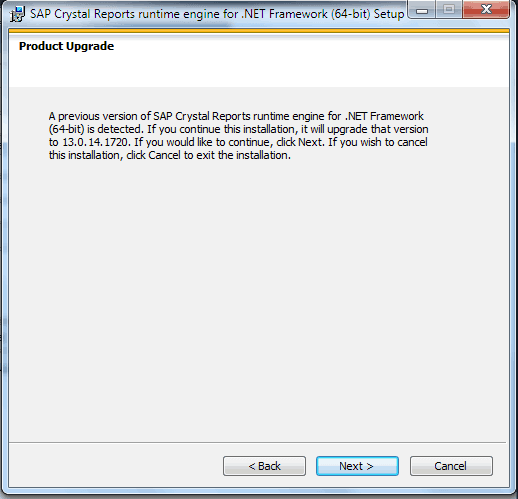
Previous Installation Warning Message
Click on next to continue to upgrade.
This will take you to start installation screen
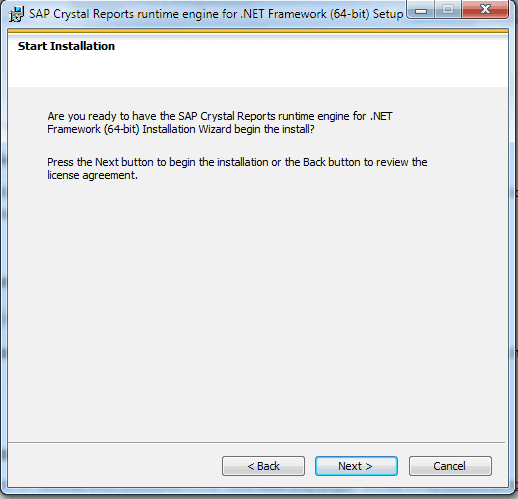
start installation screen
Click on Next to proceed
The installation begins and it will take several minutes to finish. At the end, you see the following screen.
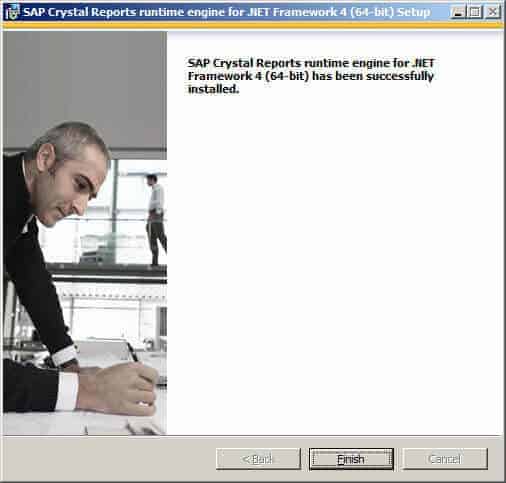
Installation Completed
Click on finish.
This will complete your installation of runtime. You can now run your crystal report application without any issues.
Now Install Amico Retail POS Setup
You will see the welcome screen as shown below
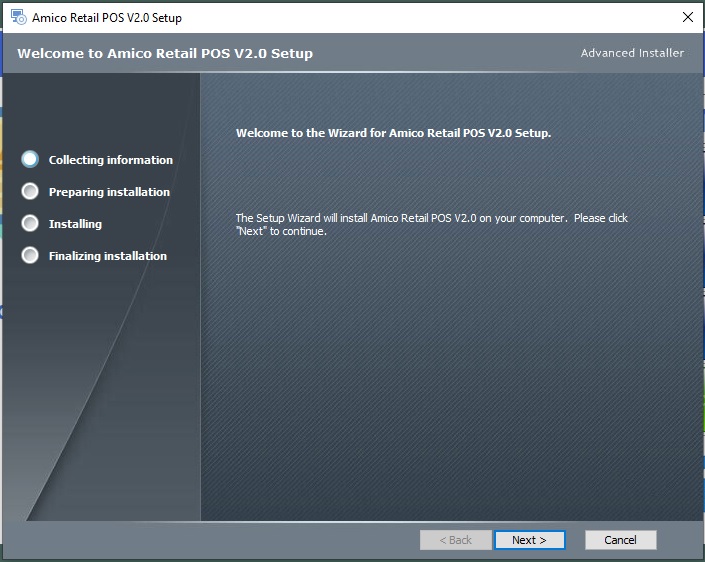
Click on Next to continue.
This will take you to the installation path selection area(ie.: if computer has d drive then install in d drive).
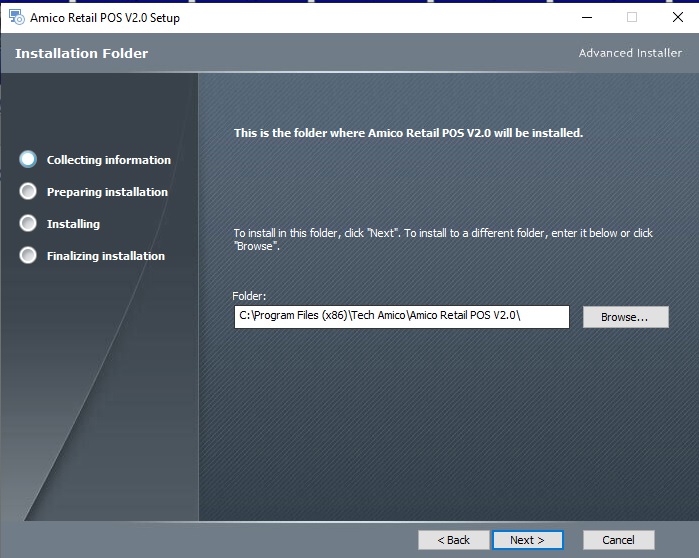
Select installation path and click Next to continue
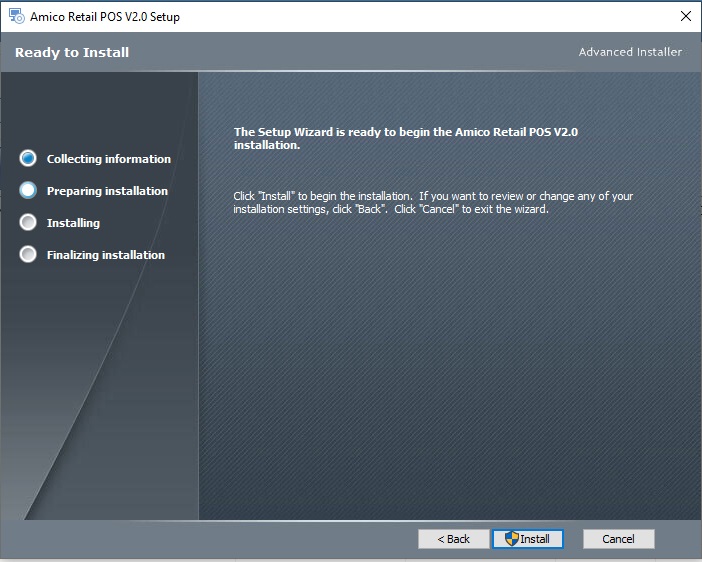
Click on install to continue .
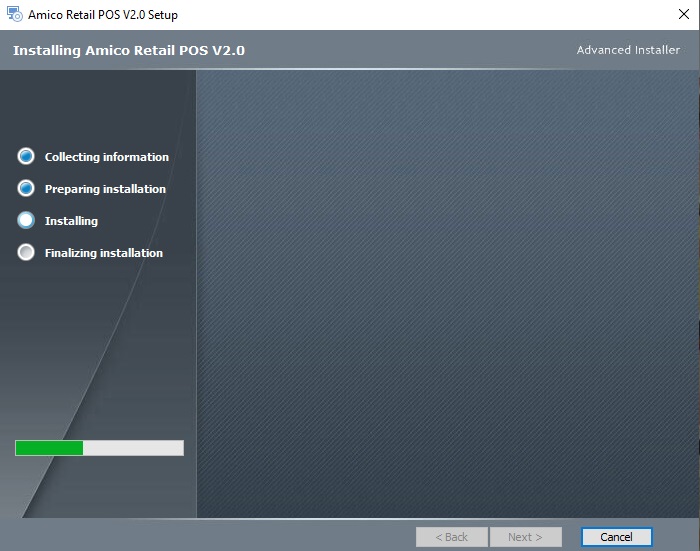
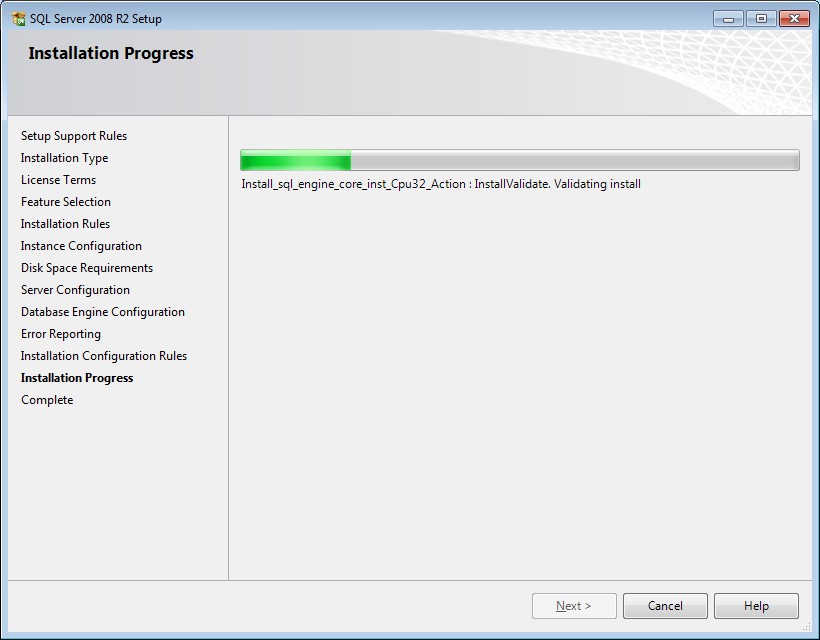
The installation begins and it will take several minutes to finish. At the end, you see the following screen.
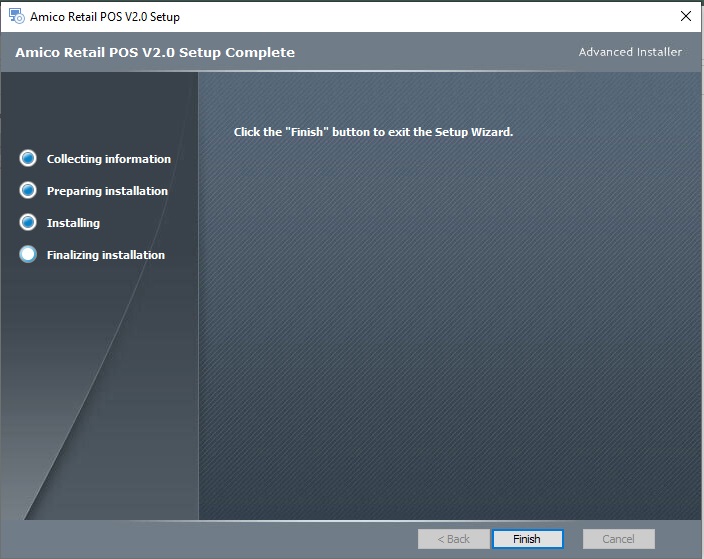
Installation Completed
Click on finish.
This will complete your installation of runtime. You can now run Amico Retail Pos to configure data path.
You will see this screen as shown below
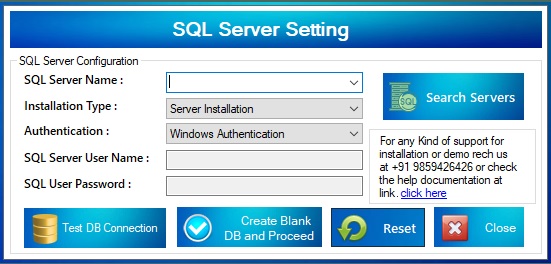
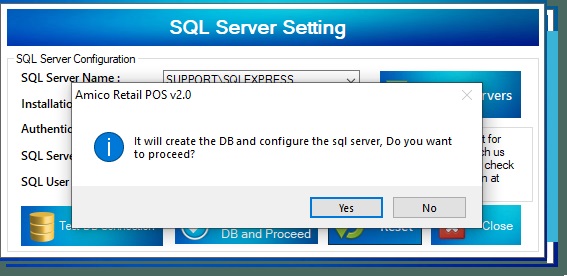
Click on Seatch Server continue.
This will fetch sql server data path.
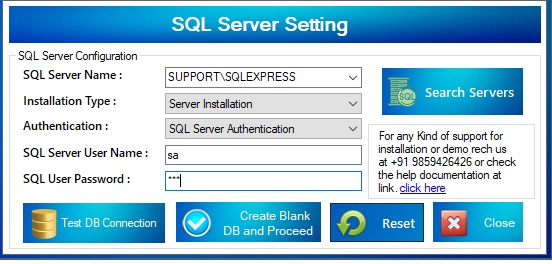
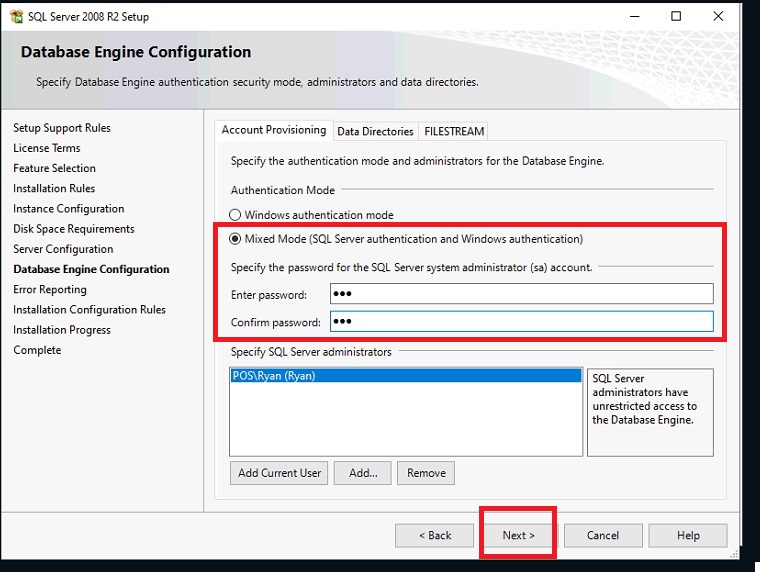
input user name as sa and password as 123 which was set at time of installation of sql server
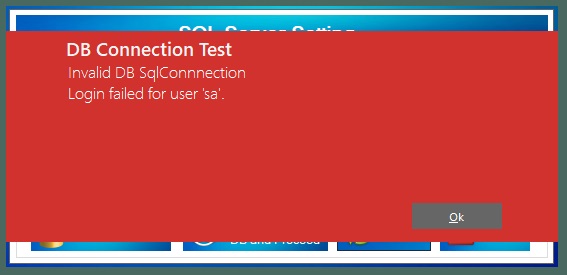
Click on test db connection if u get this error something is wrong with setup
,check username and password or sql server data path.
after you configure it correct you will see the following screen.
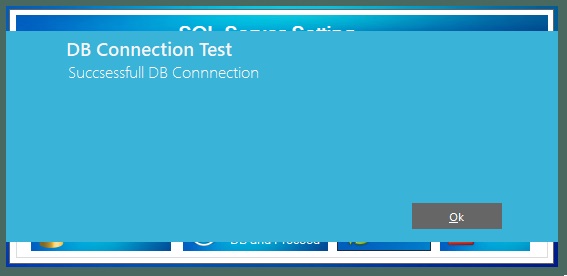
click create blank db and proceed to complete configuration
This will complete your configuration of data. You can now run Amico Retail Pos to configure your company, printer,products supplier details.
Login
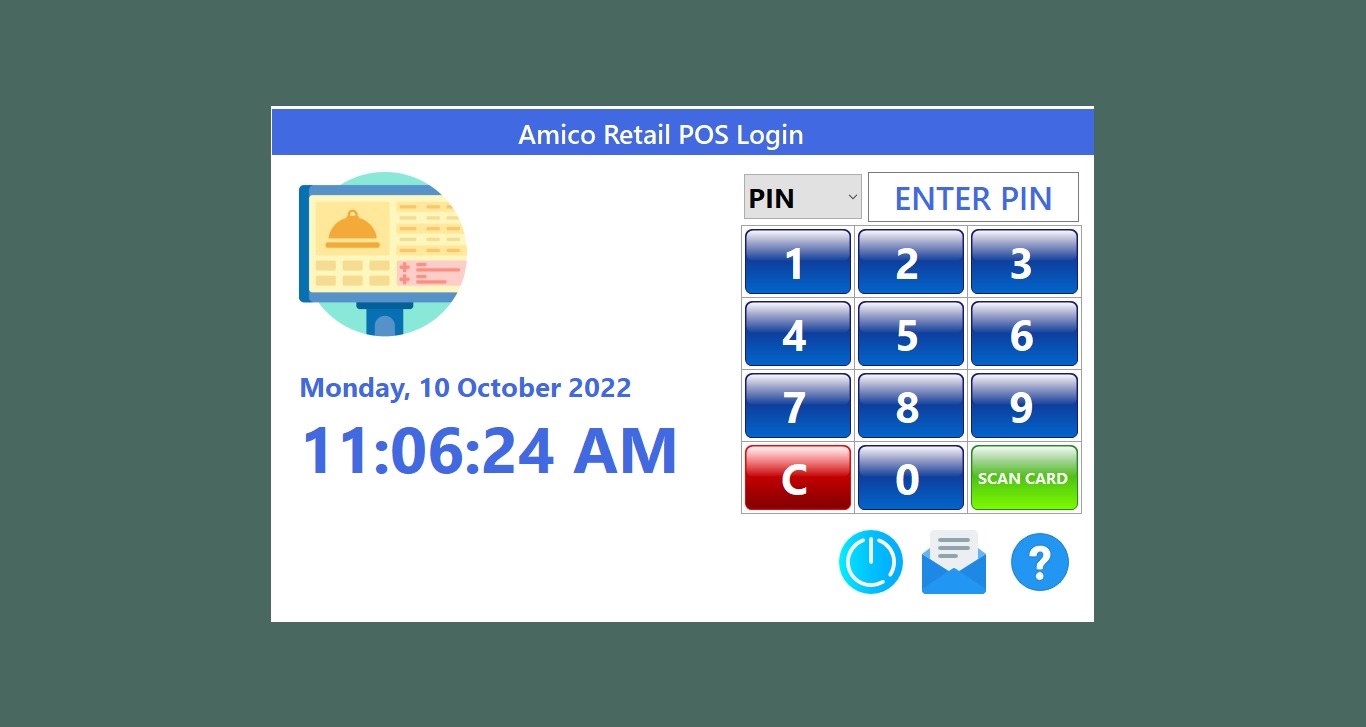
Login Screen:
| Demo user(full rights/administrator user) PIN : | 1234 |
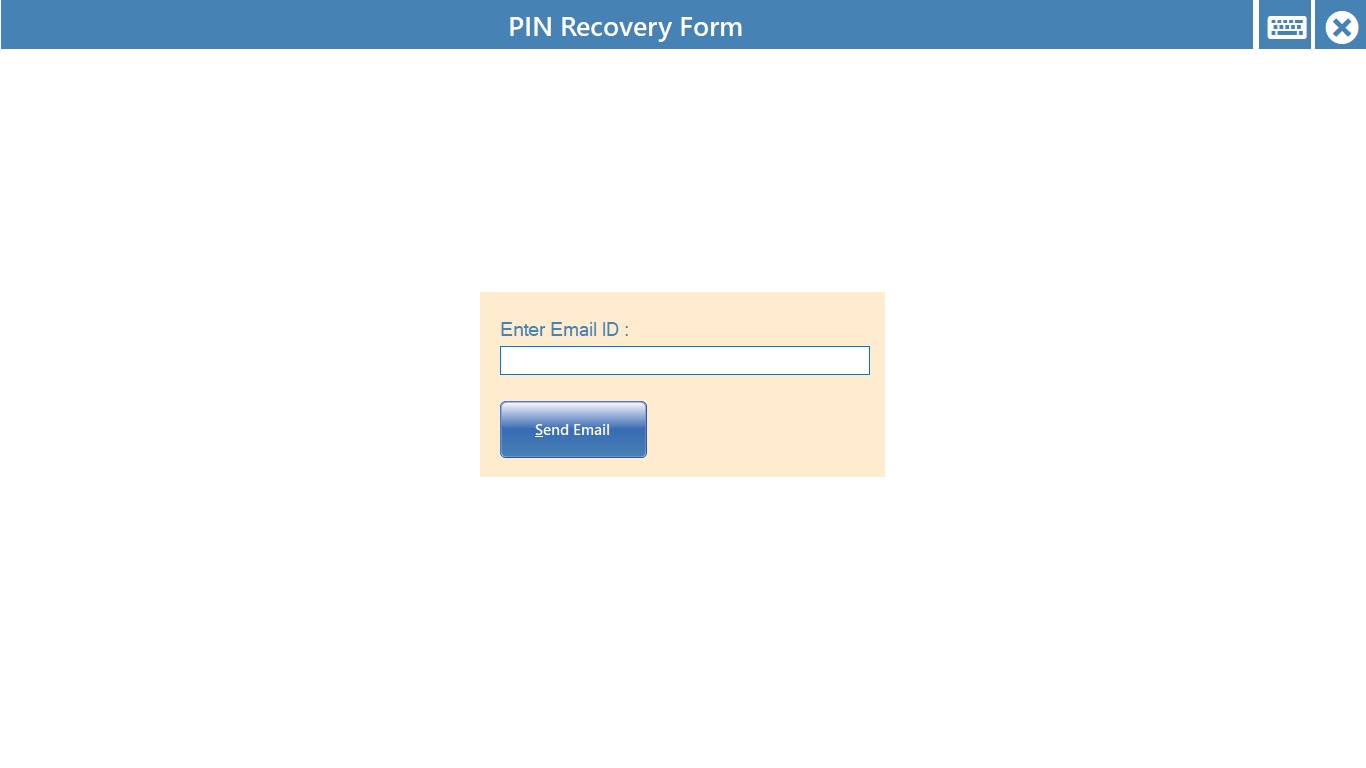
Forgot Password:
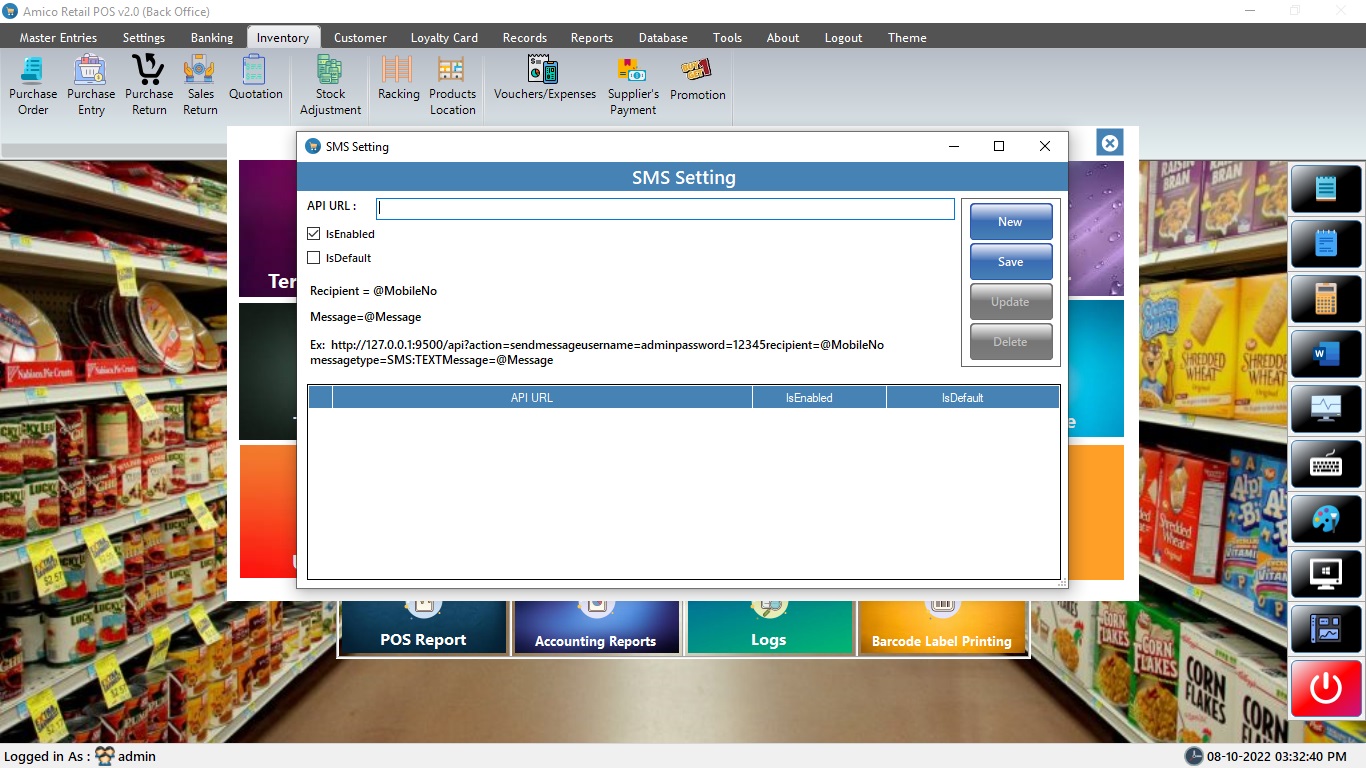
Login Screen -> Click on "Mailbox icon at bottom right"
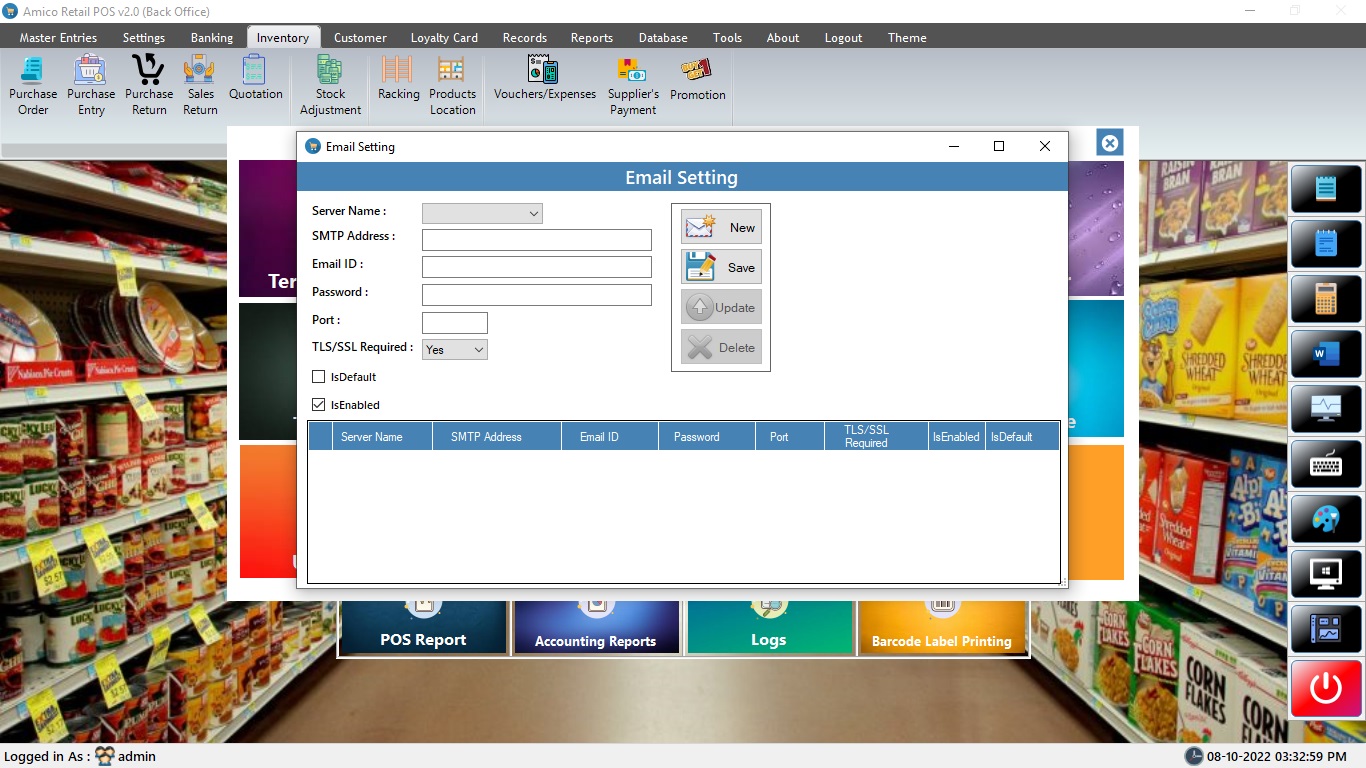
note you have entered valid email id in email settings, it will not work if you have not configured email settings in settings.
Alert !
Options
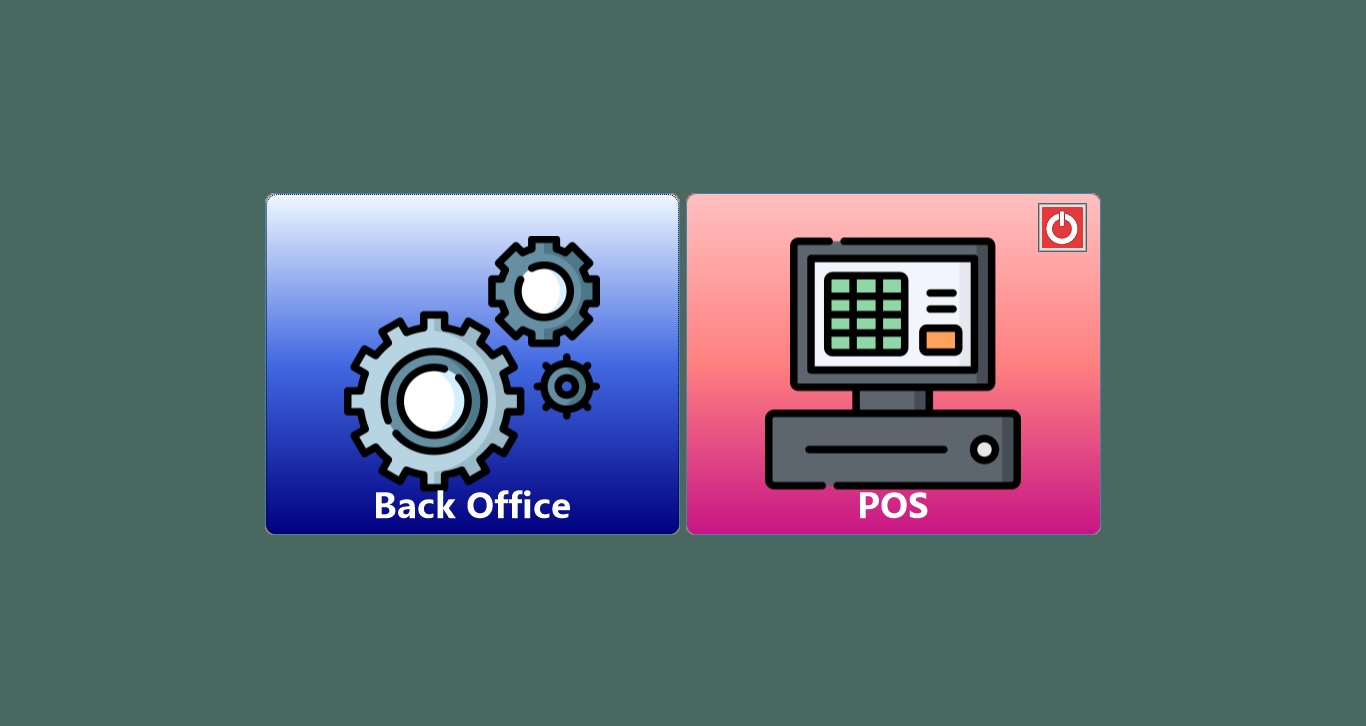
Back Office:
POS:
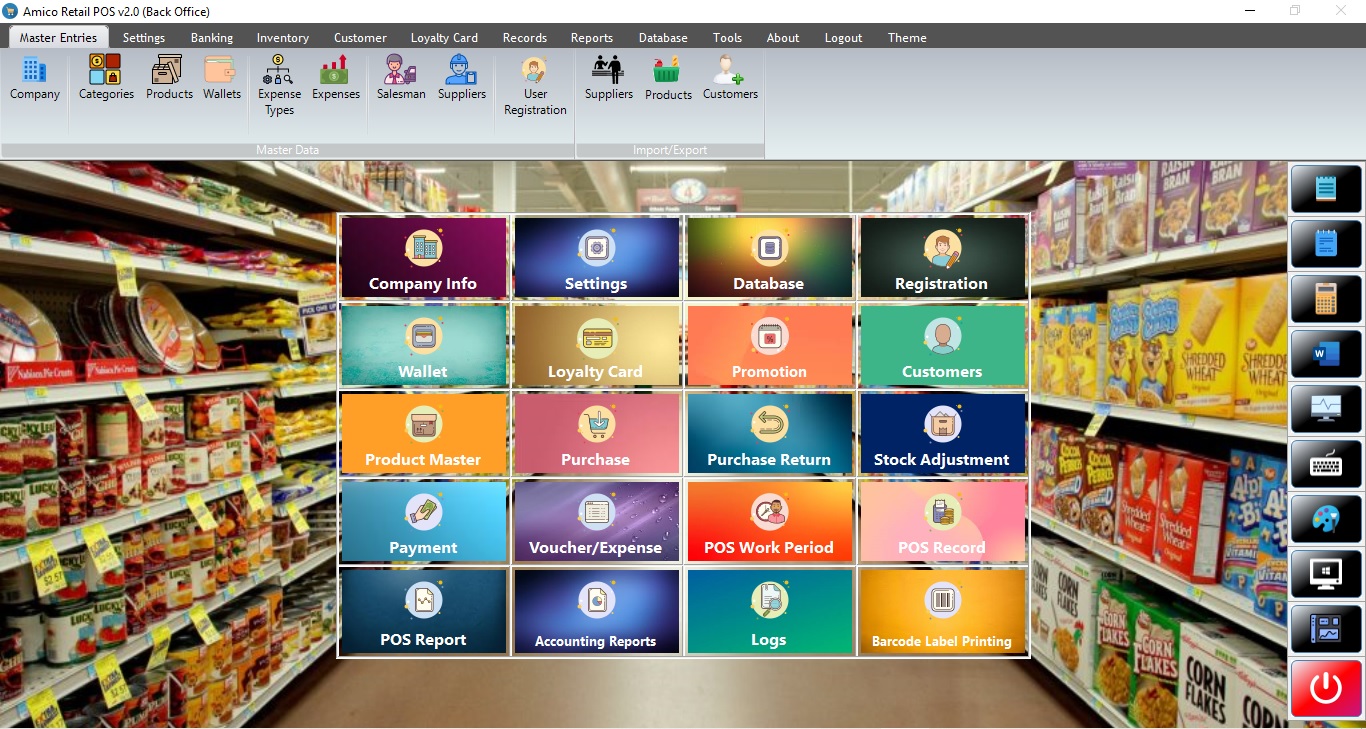
Back Office
Alert !
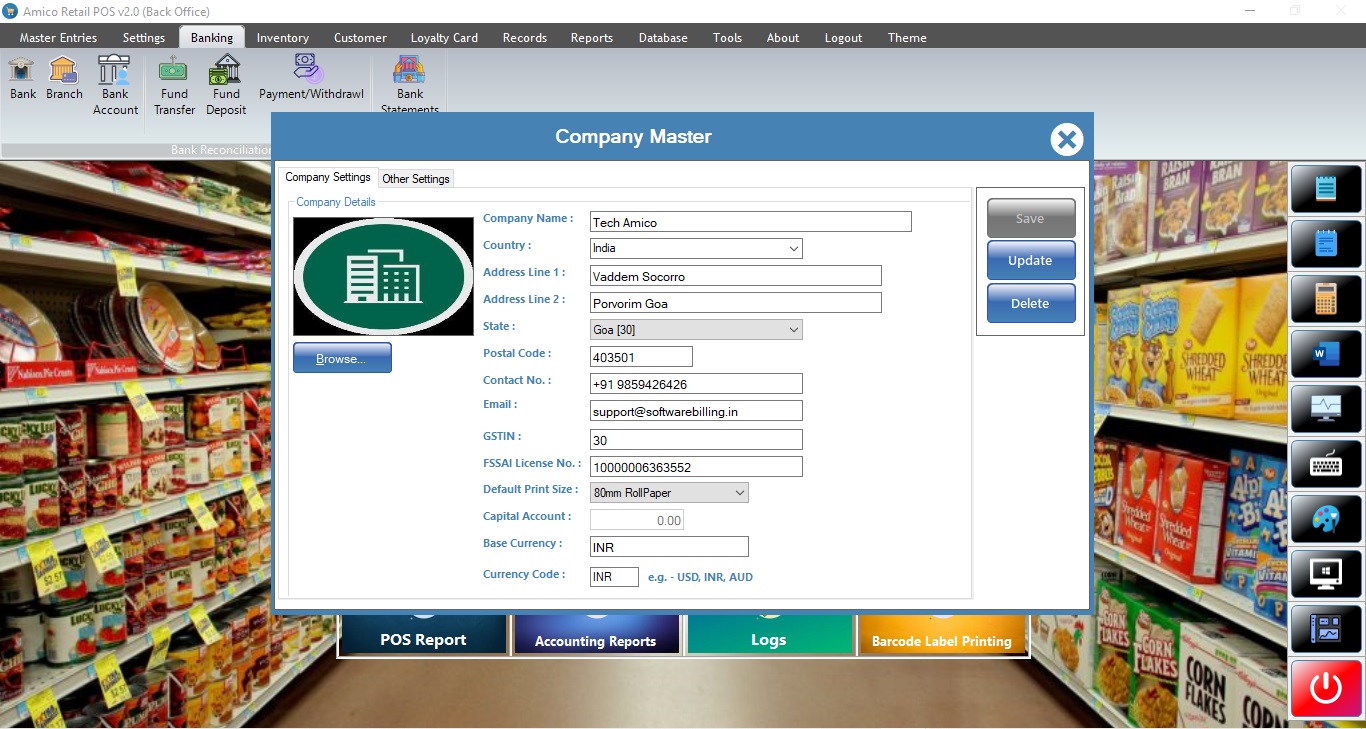
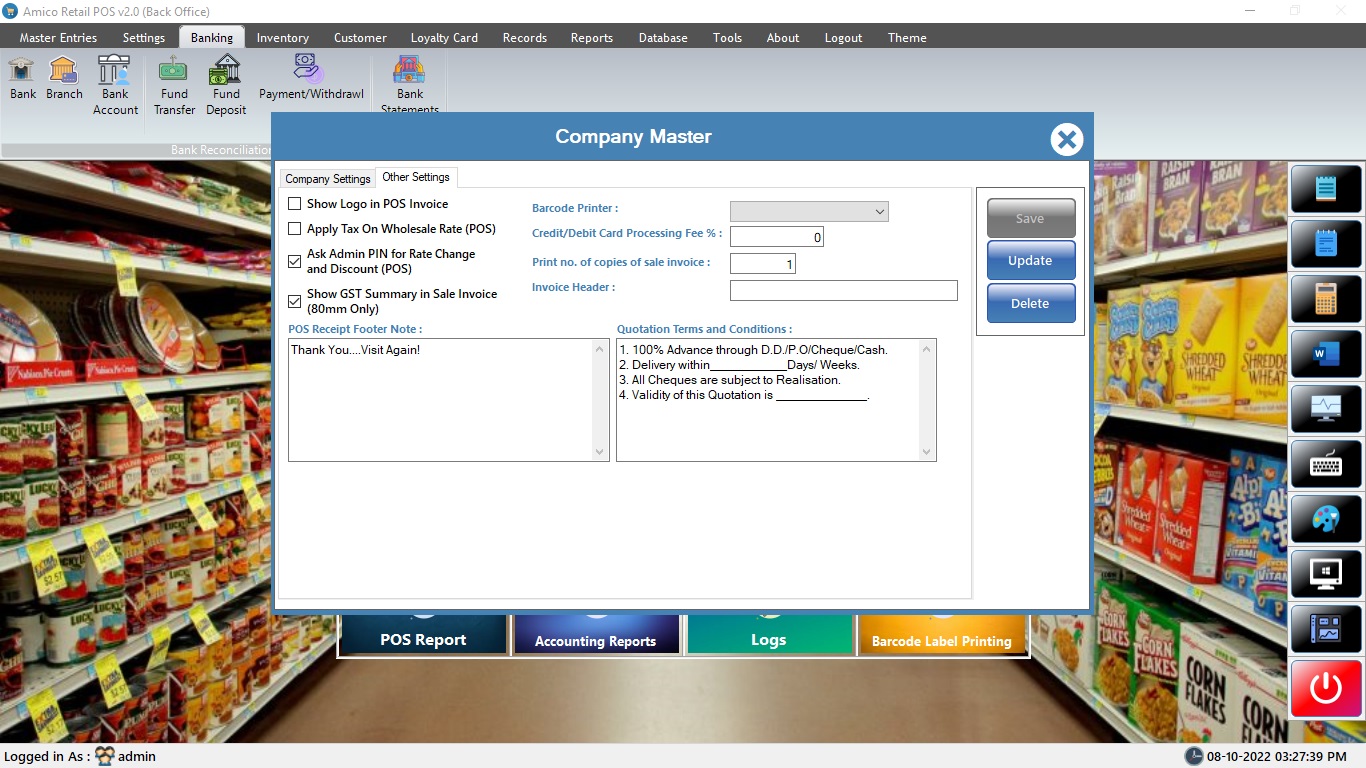
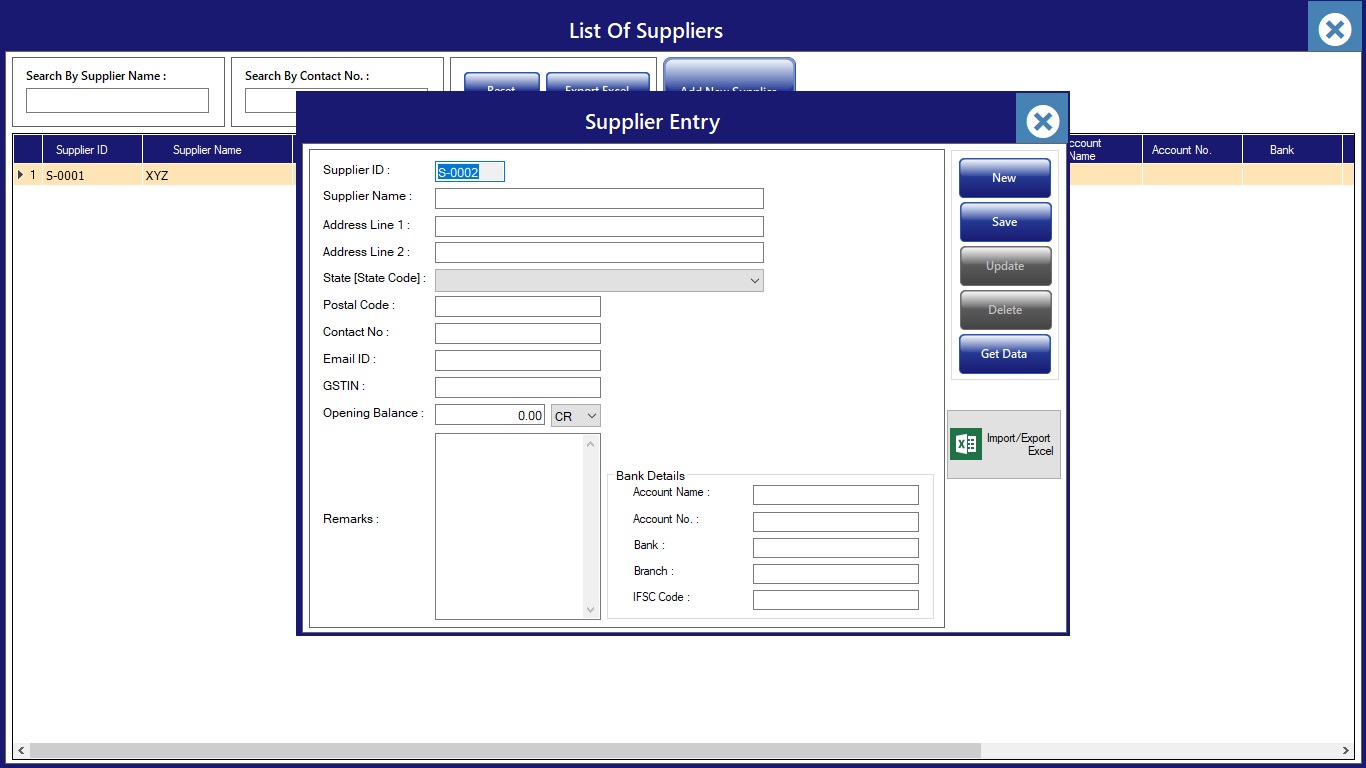
Company
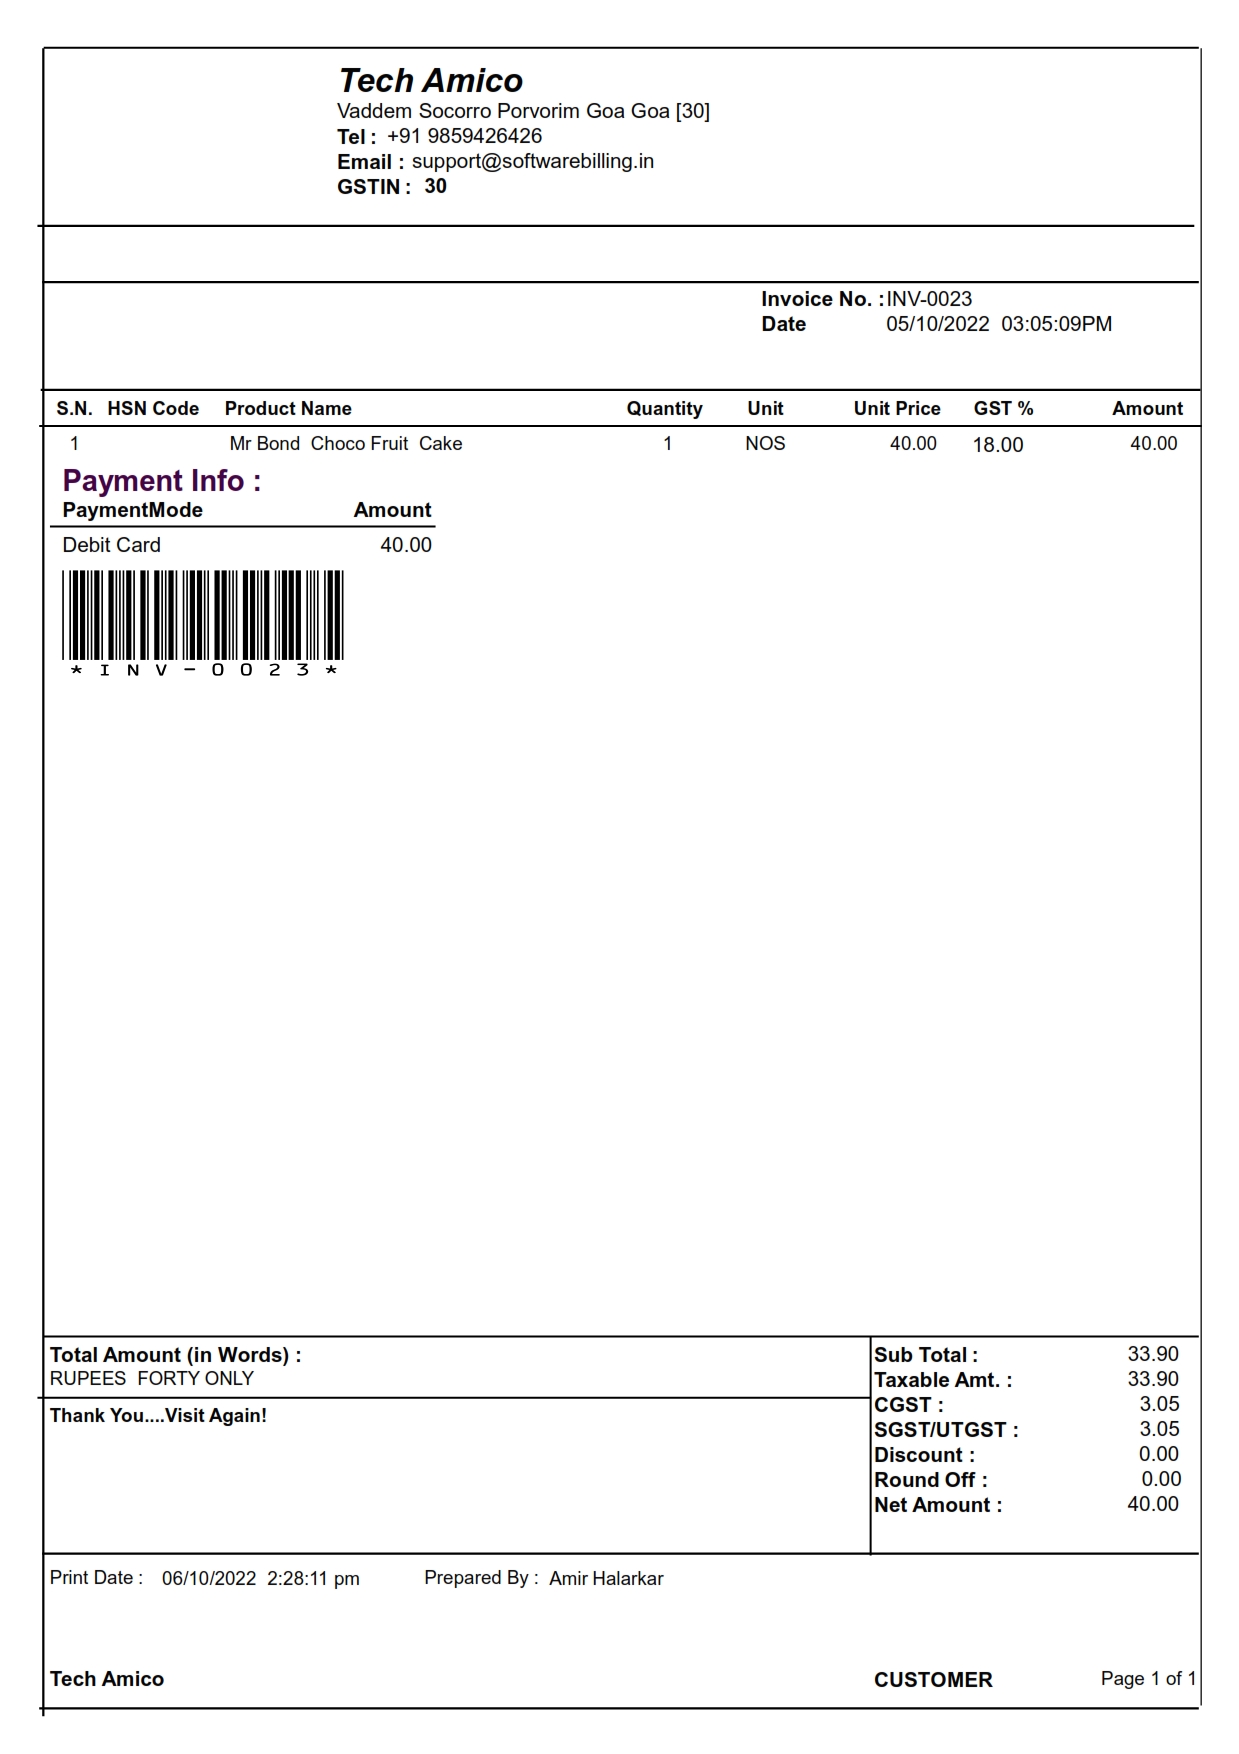
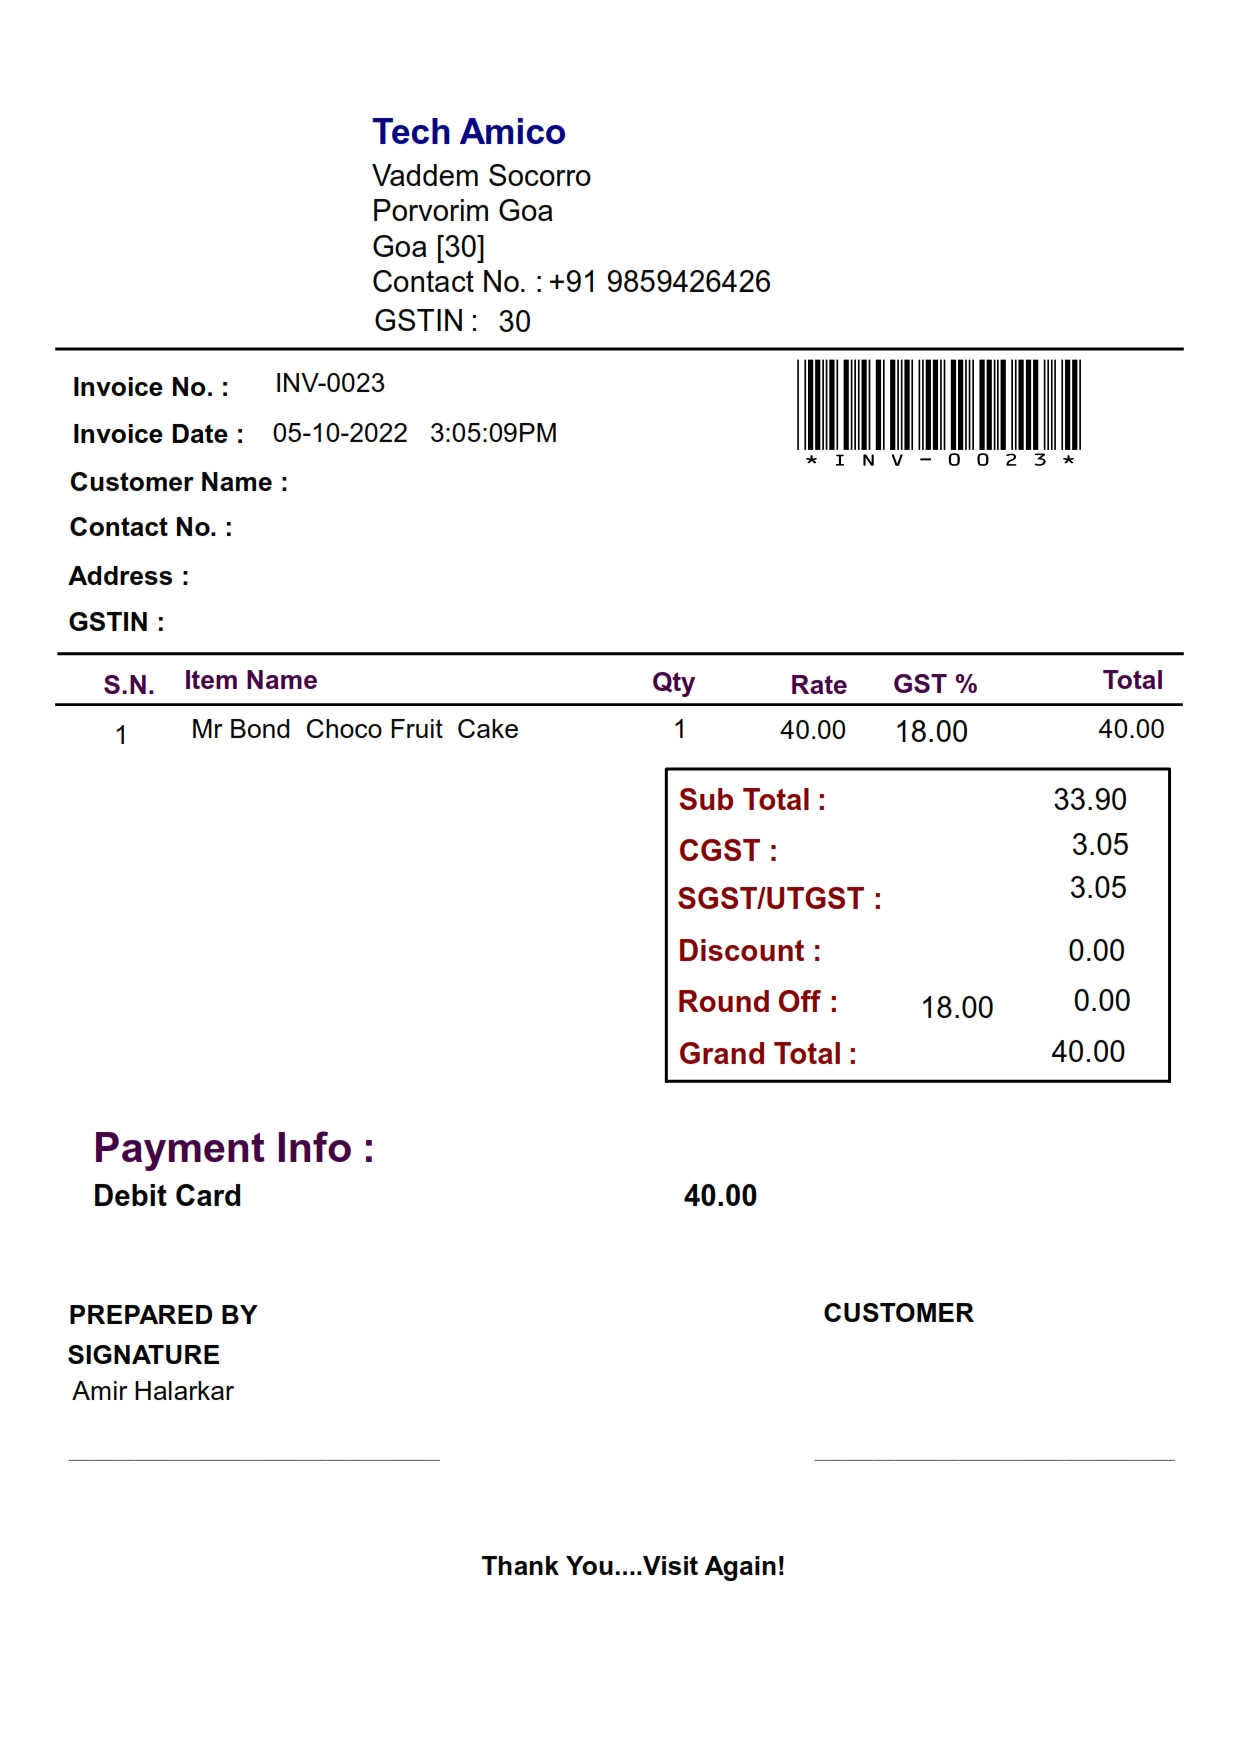
Adding a Company is a very easy task. Enter all details of your company as per fields given and click on Save button. You can Delete or Edit using action buttons. Select type of print format to be printed and if barcode printer is available.
Alert !
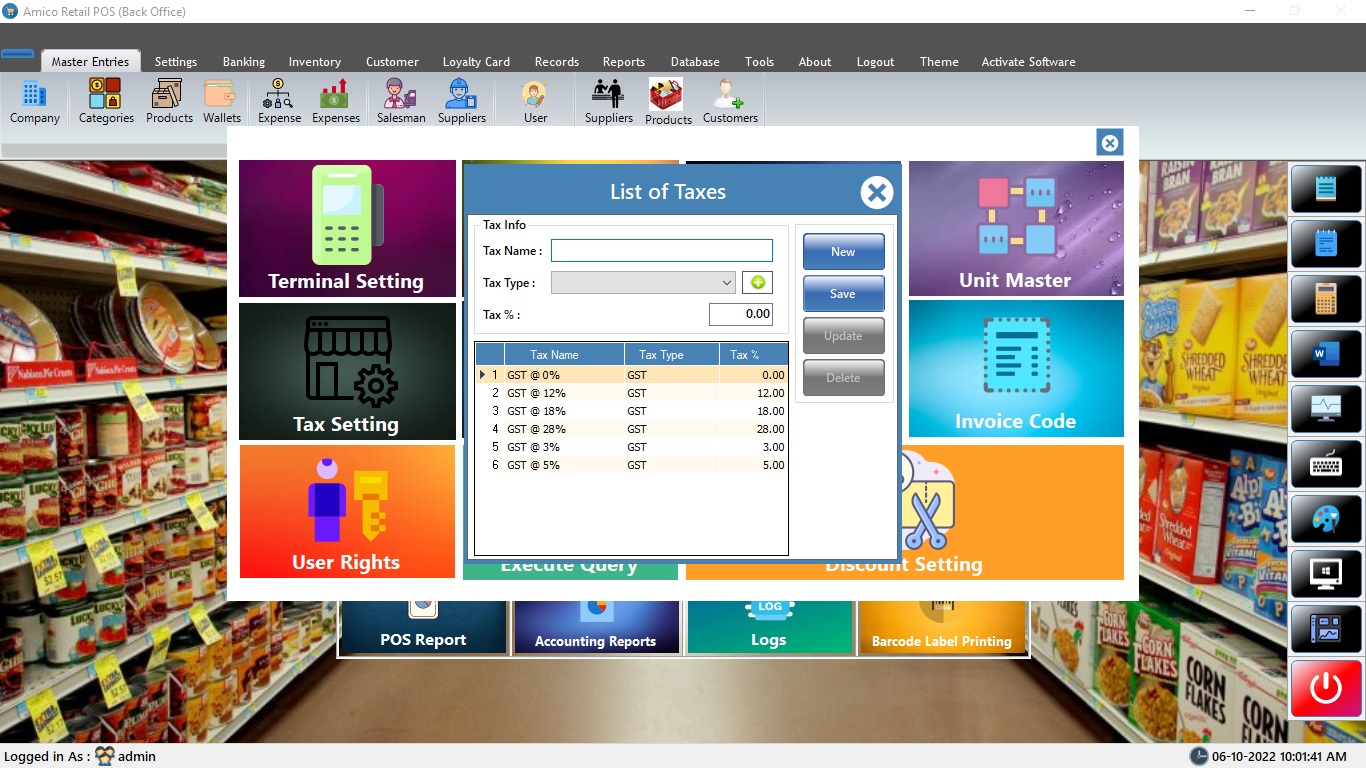
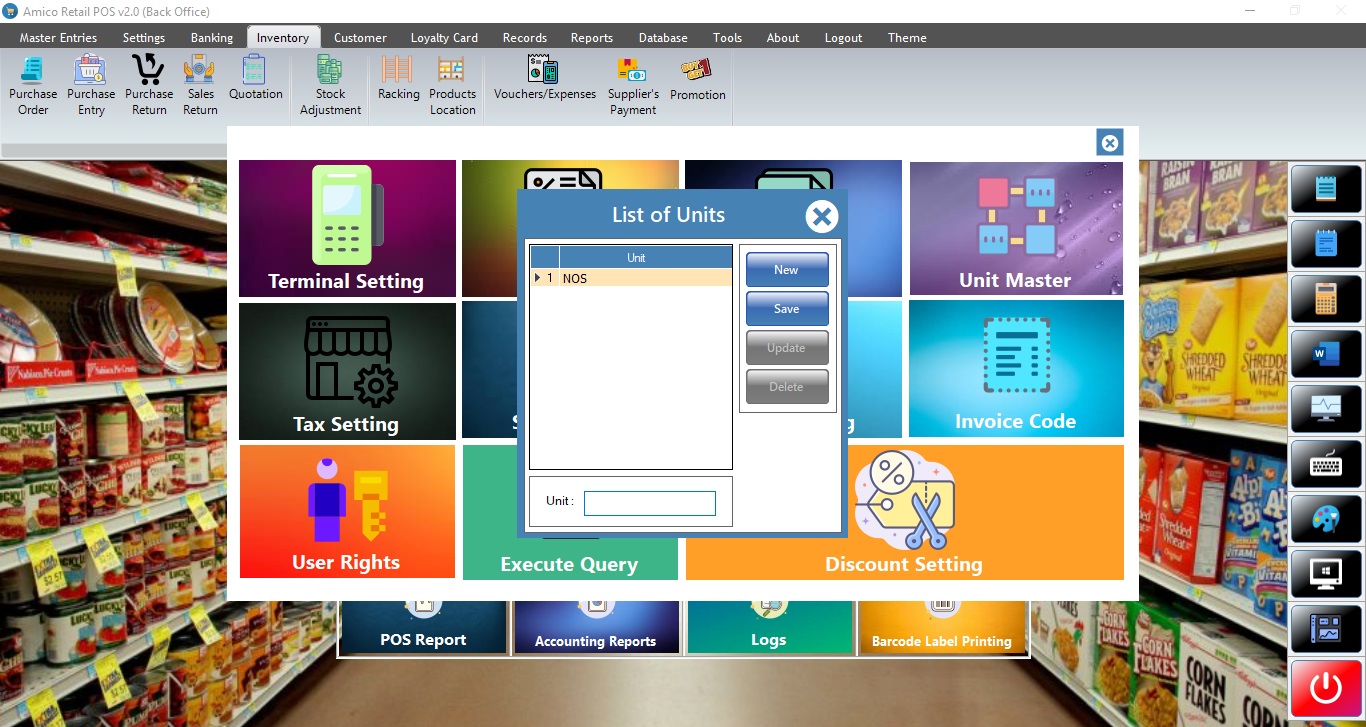
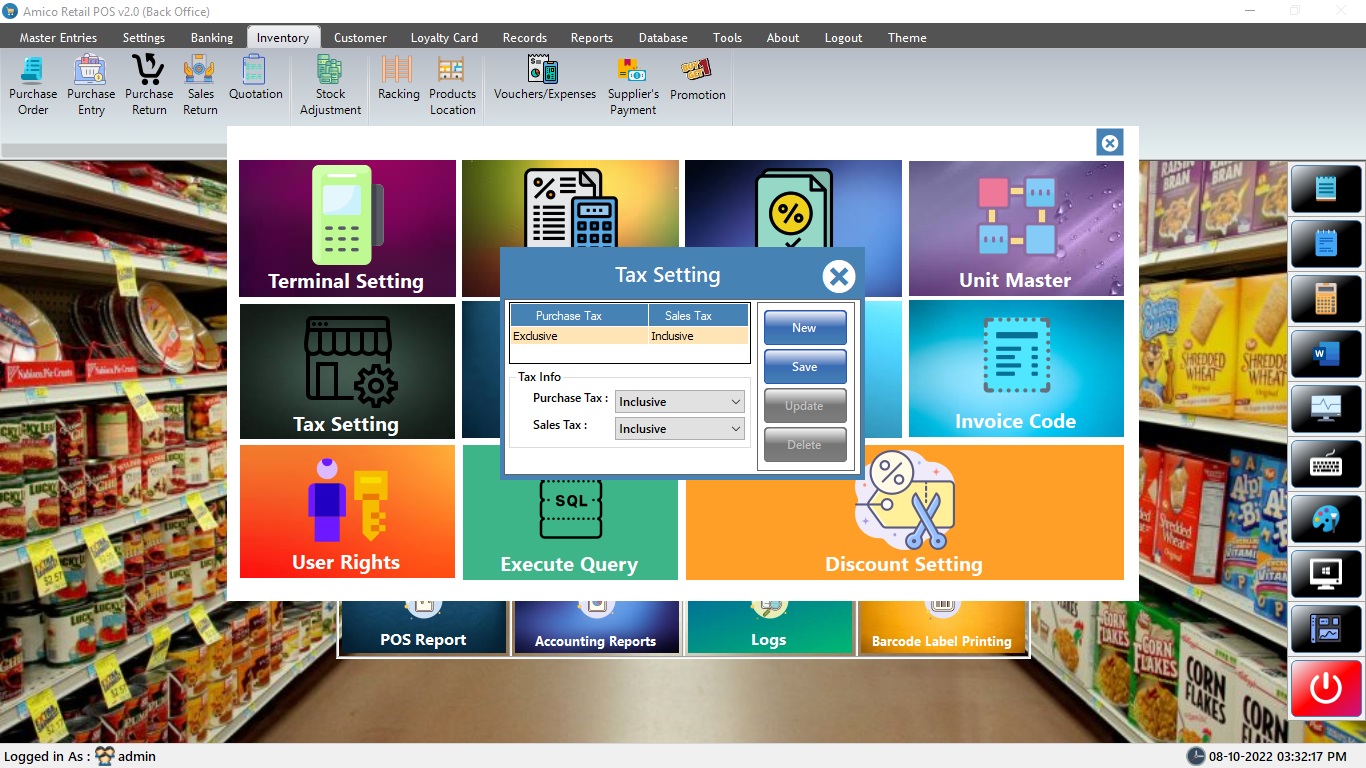
Settings
Alert !
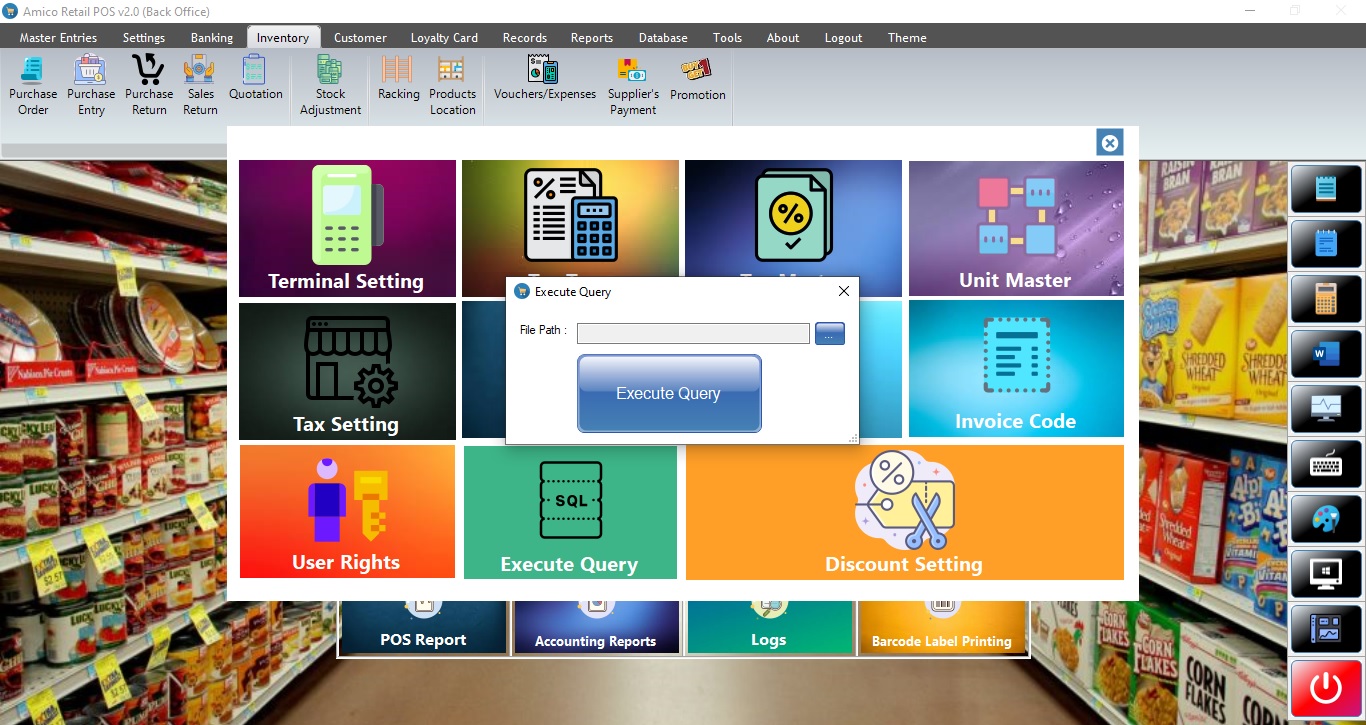
Do Not Use Execute Query Option.
Do not use without confirmation from your software provider
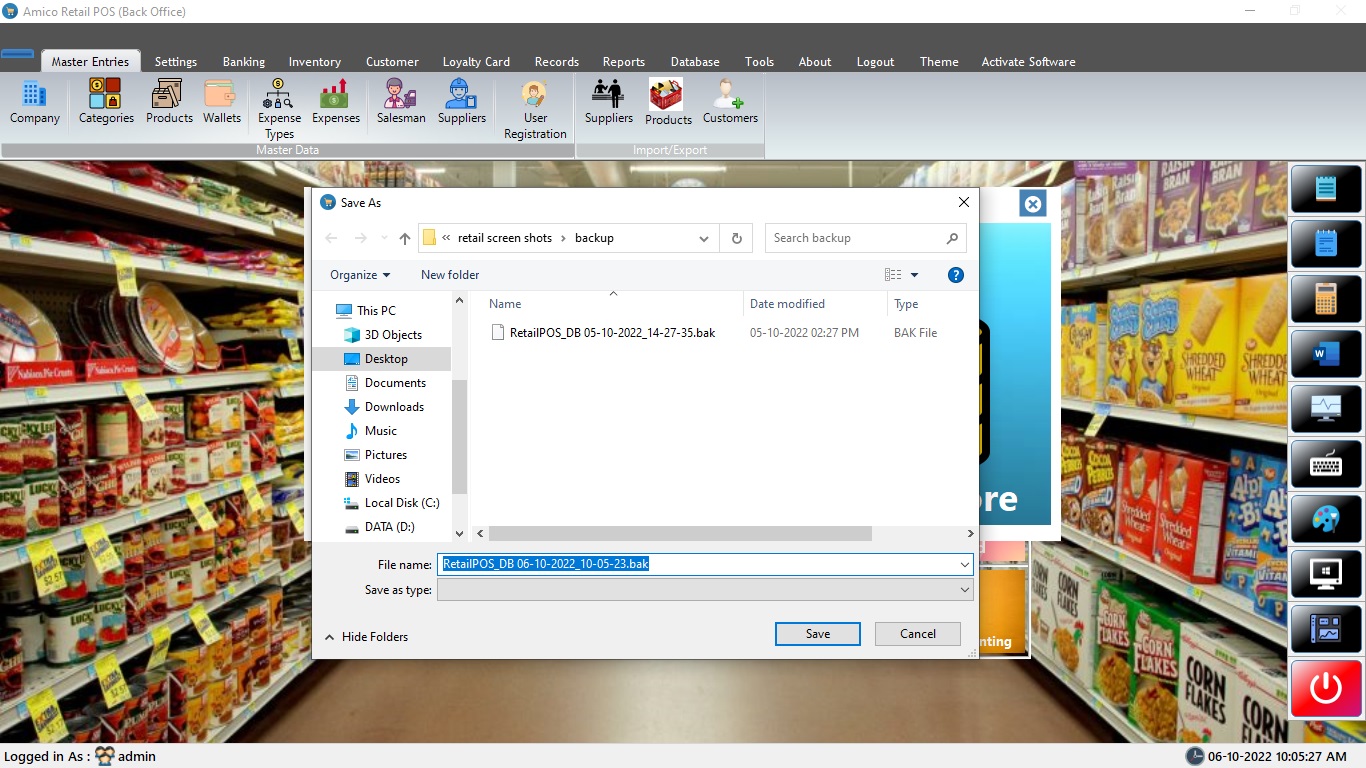
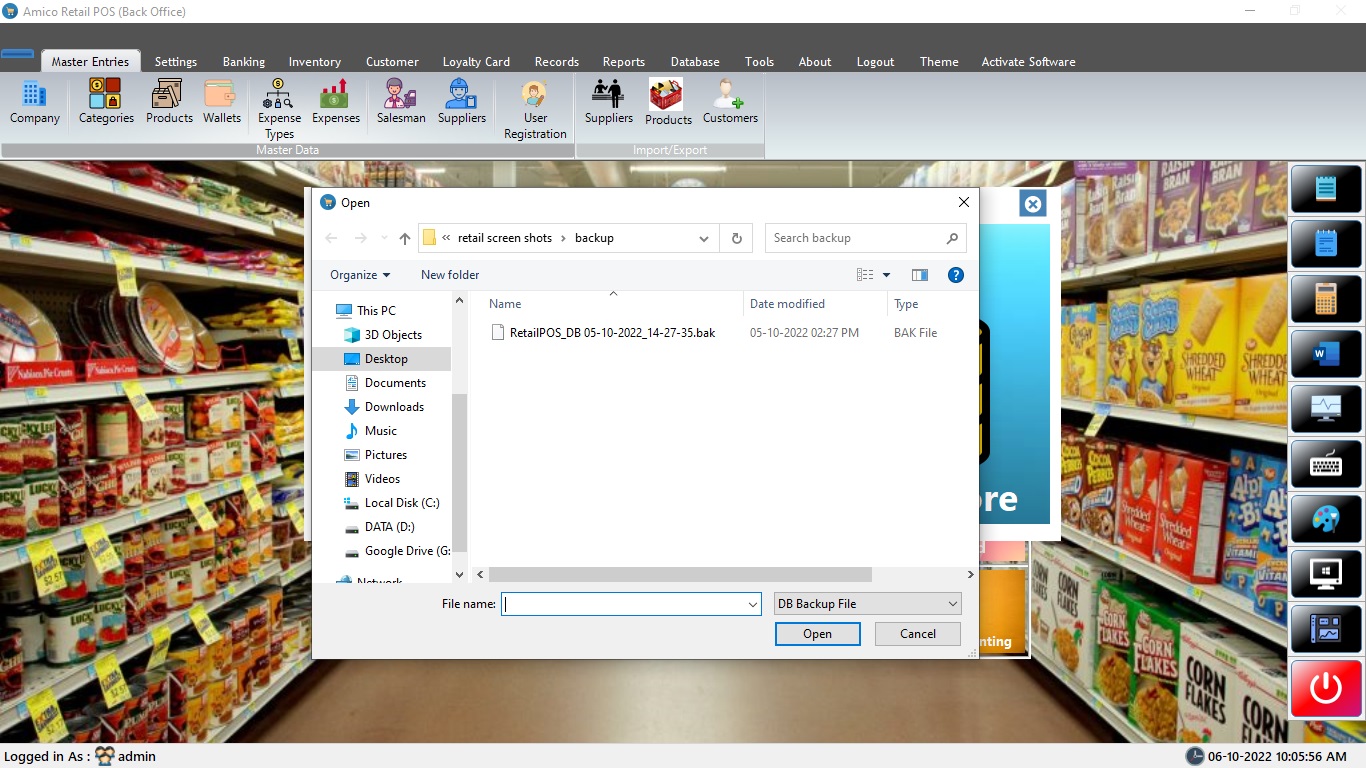
Database
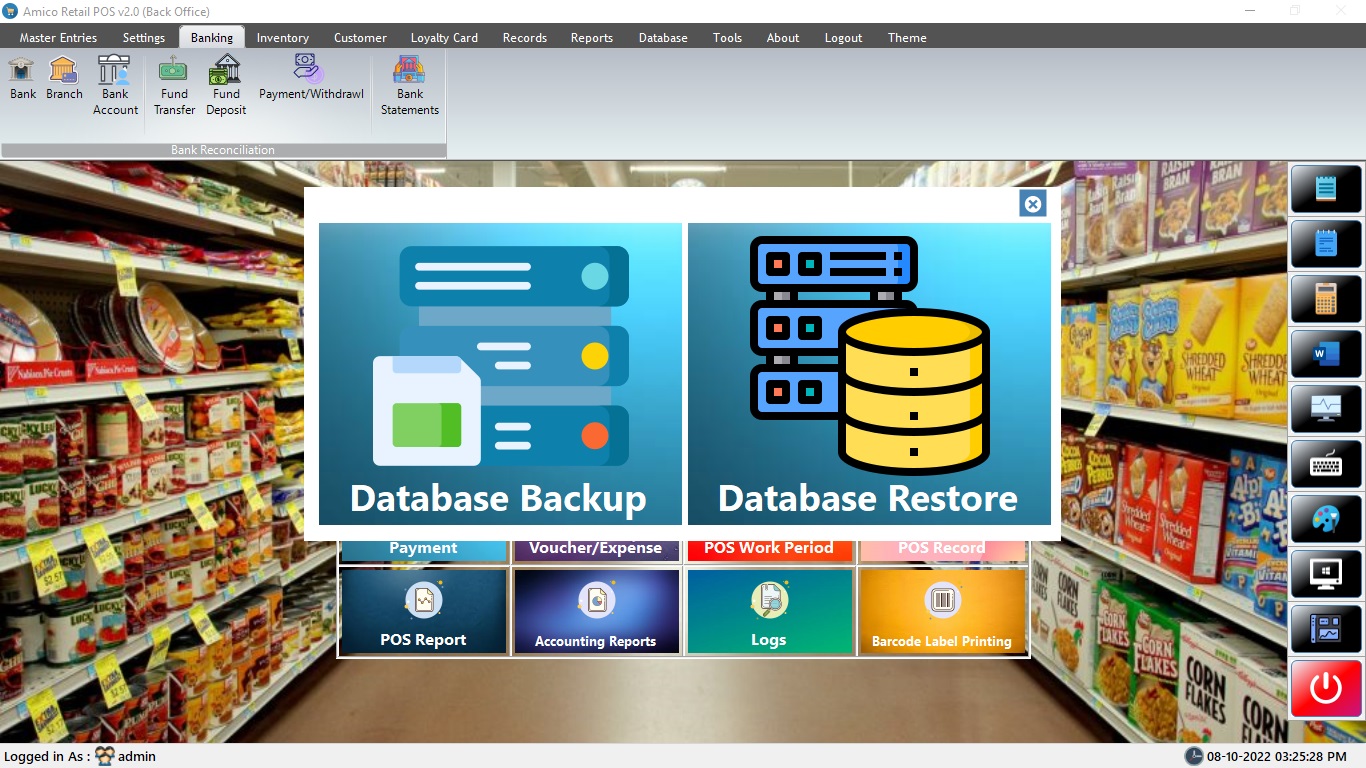
Alert !
Do daily backup of your data and take backup of data before restoring.
Registration
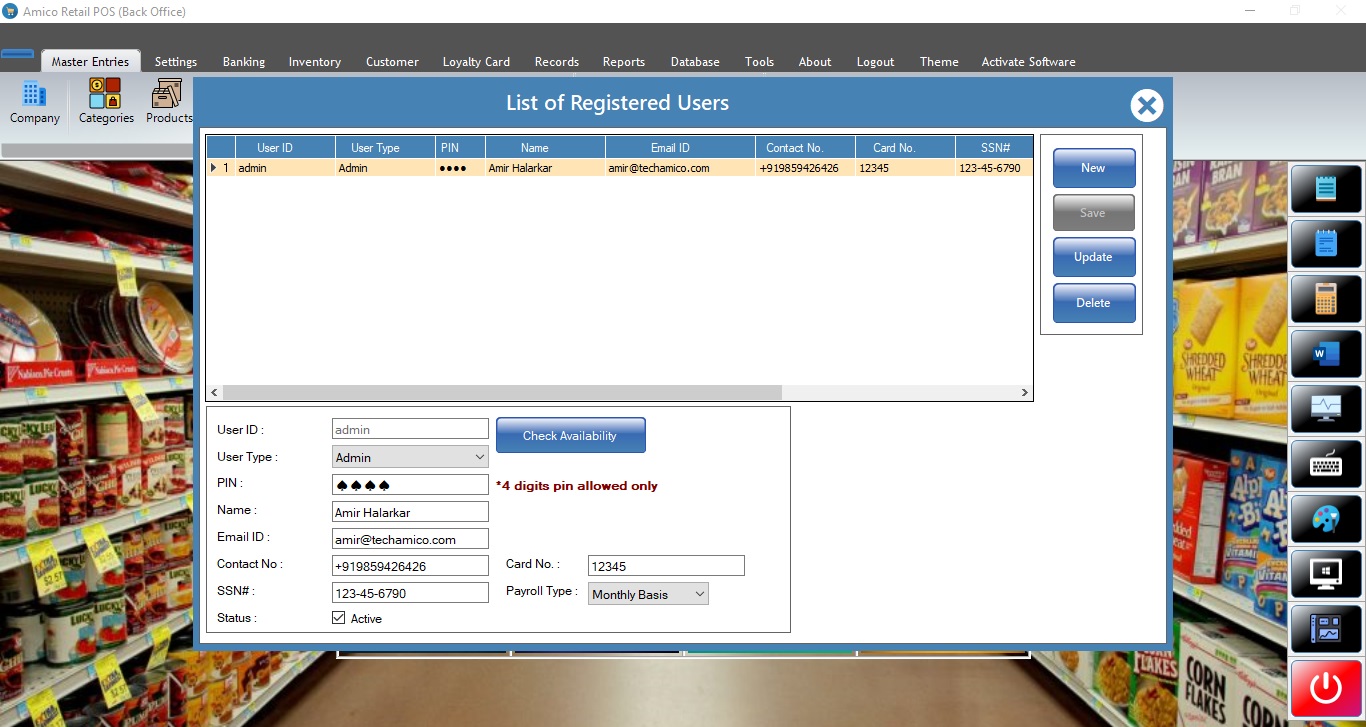
Alert !
Please give correct email id for pin recovery option if forgot.
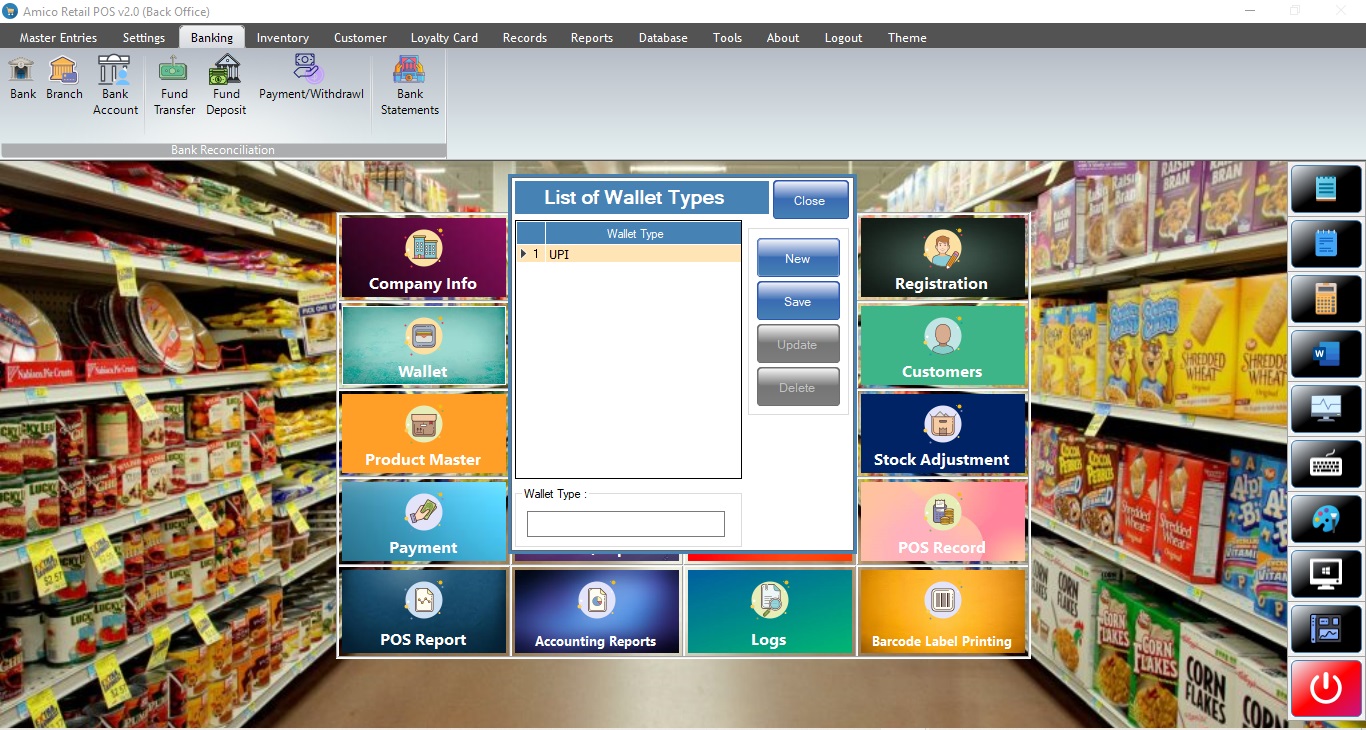
wallet
Loyalty Card


Promotion

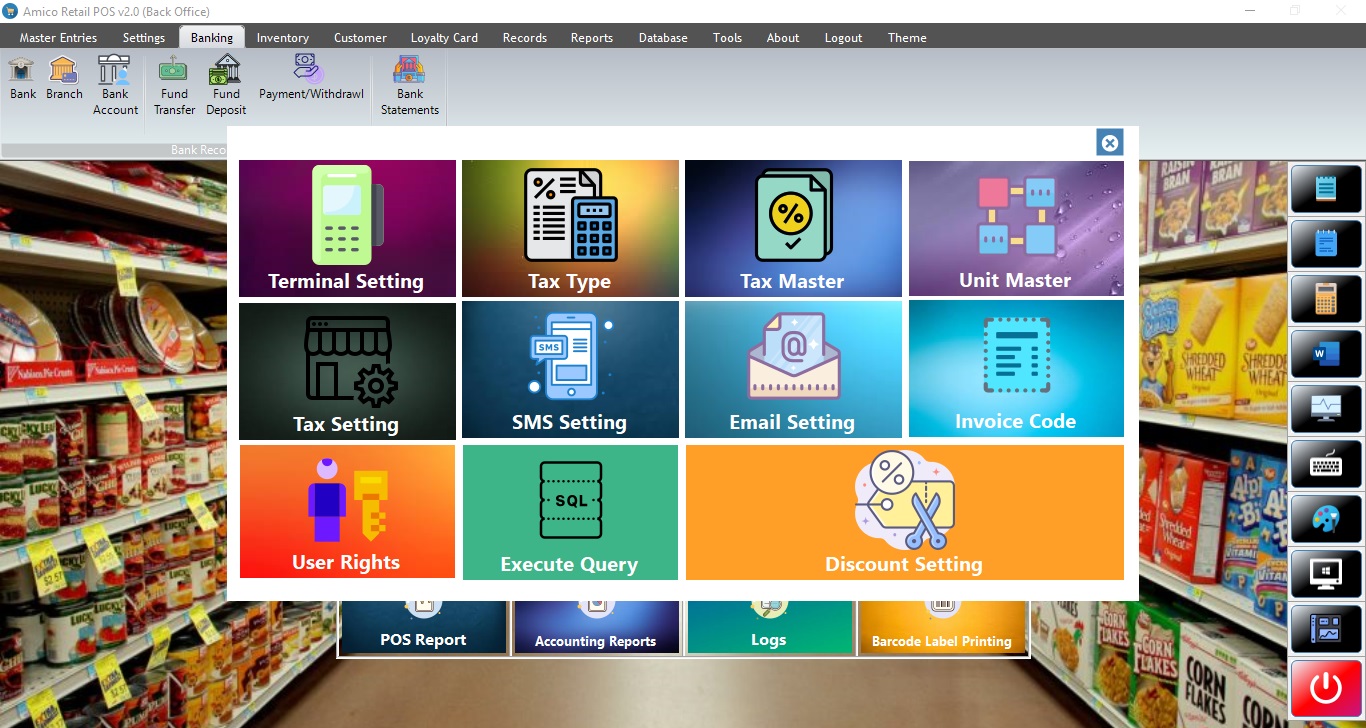
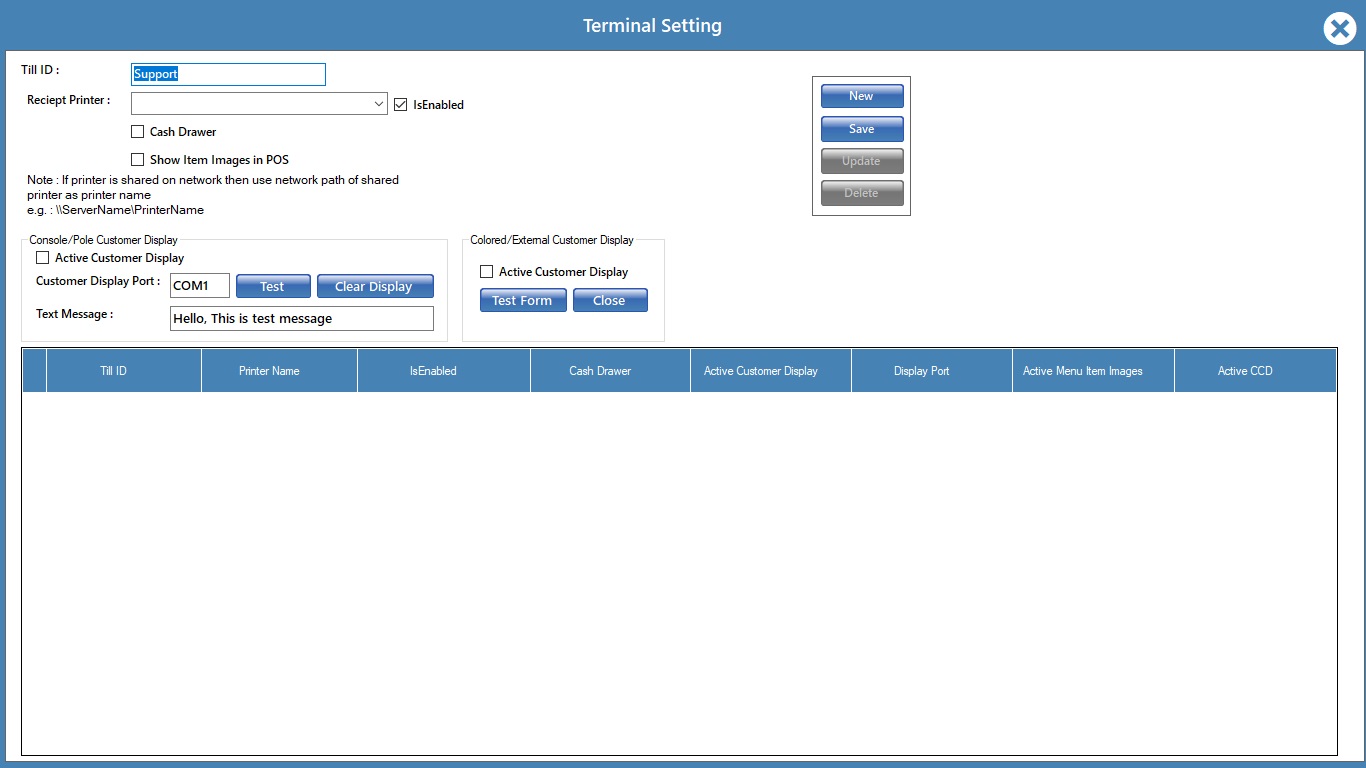
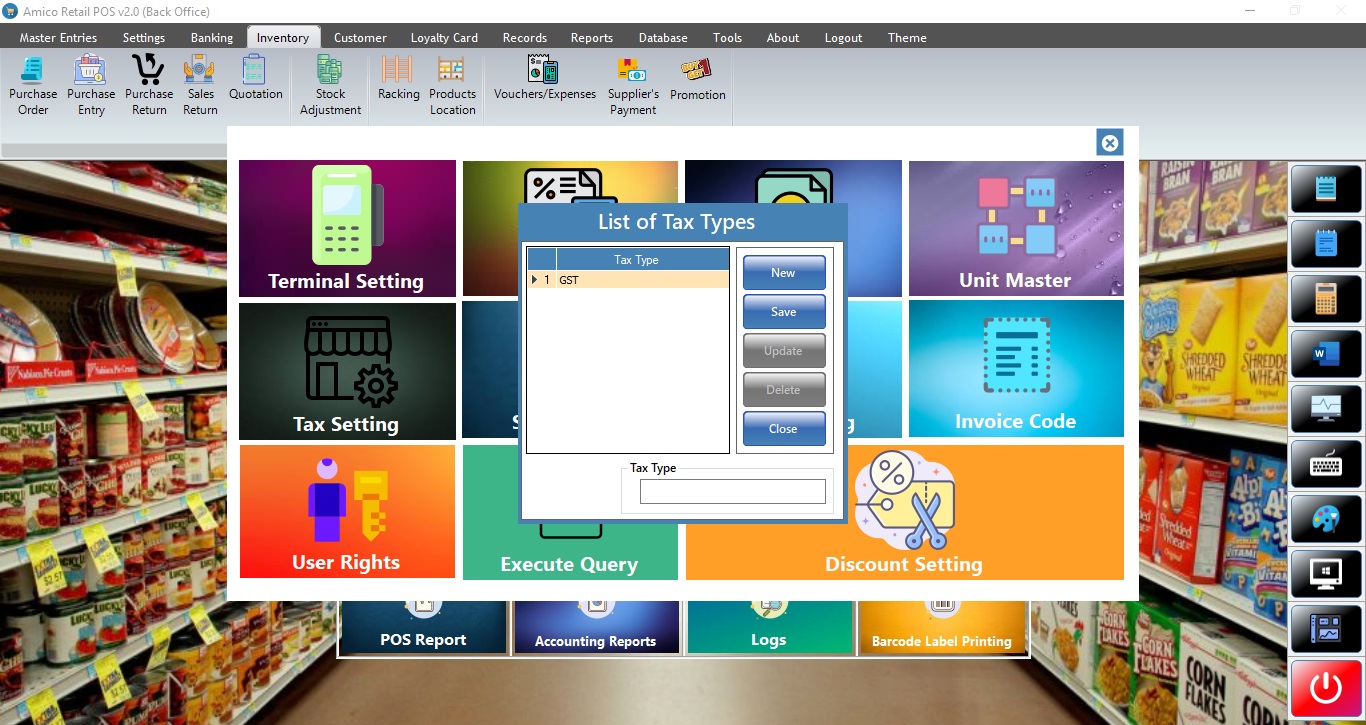
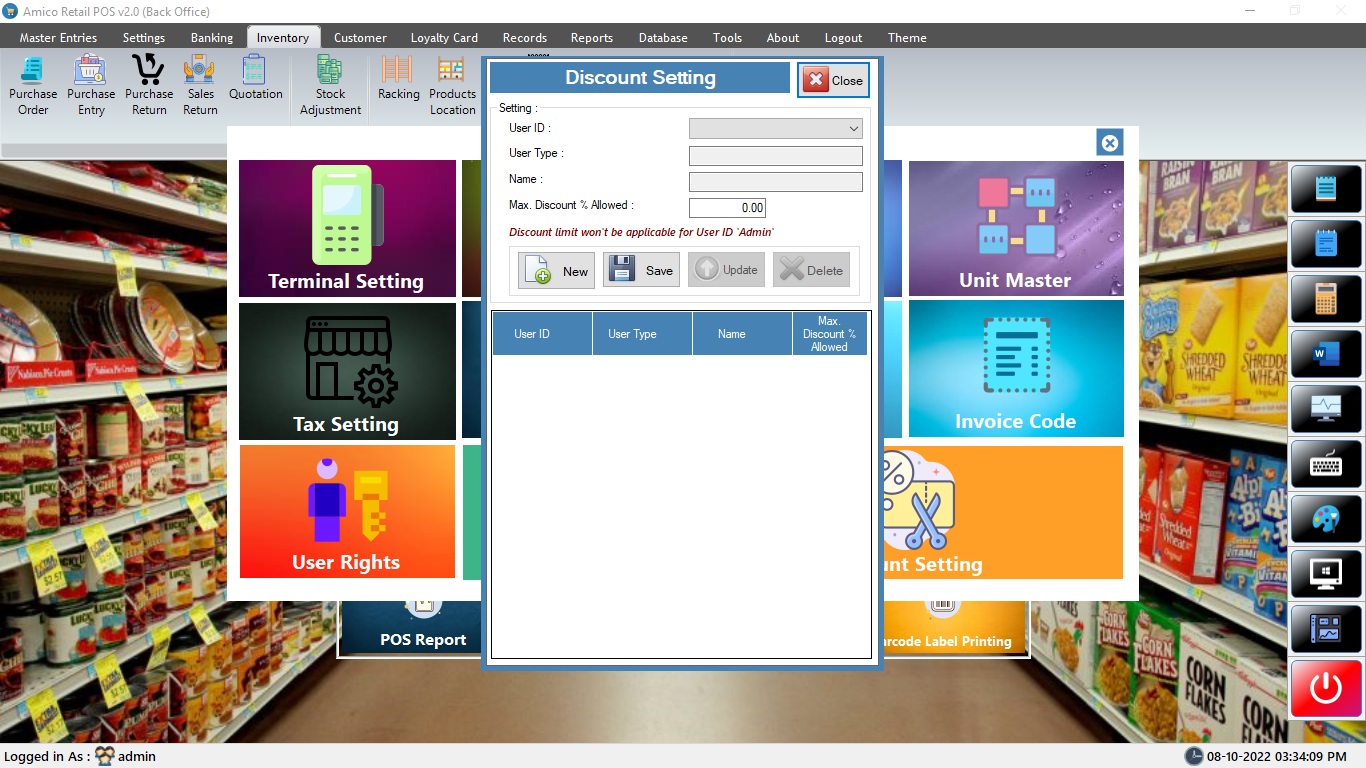
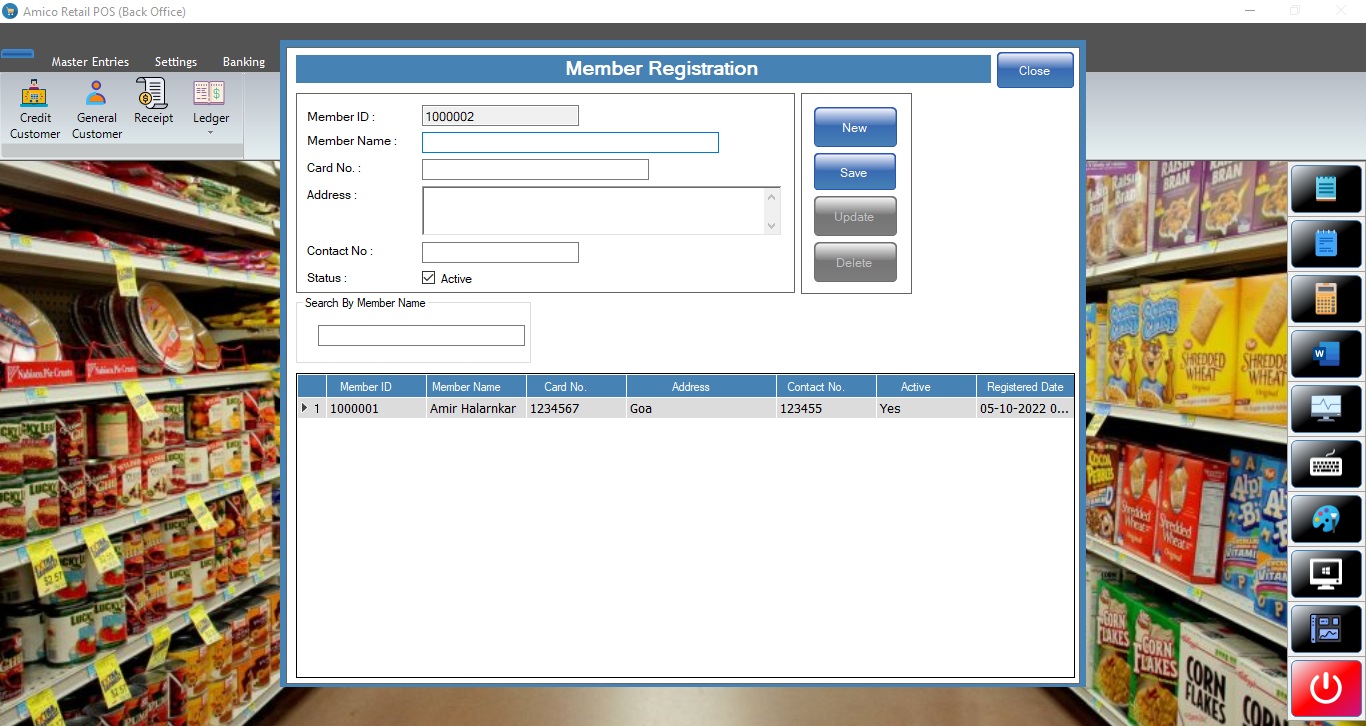
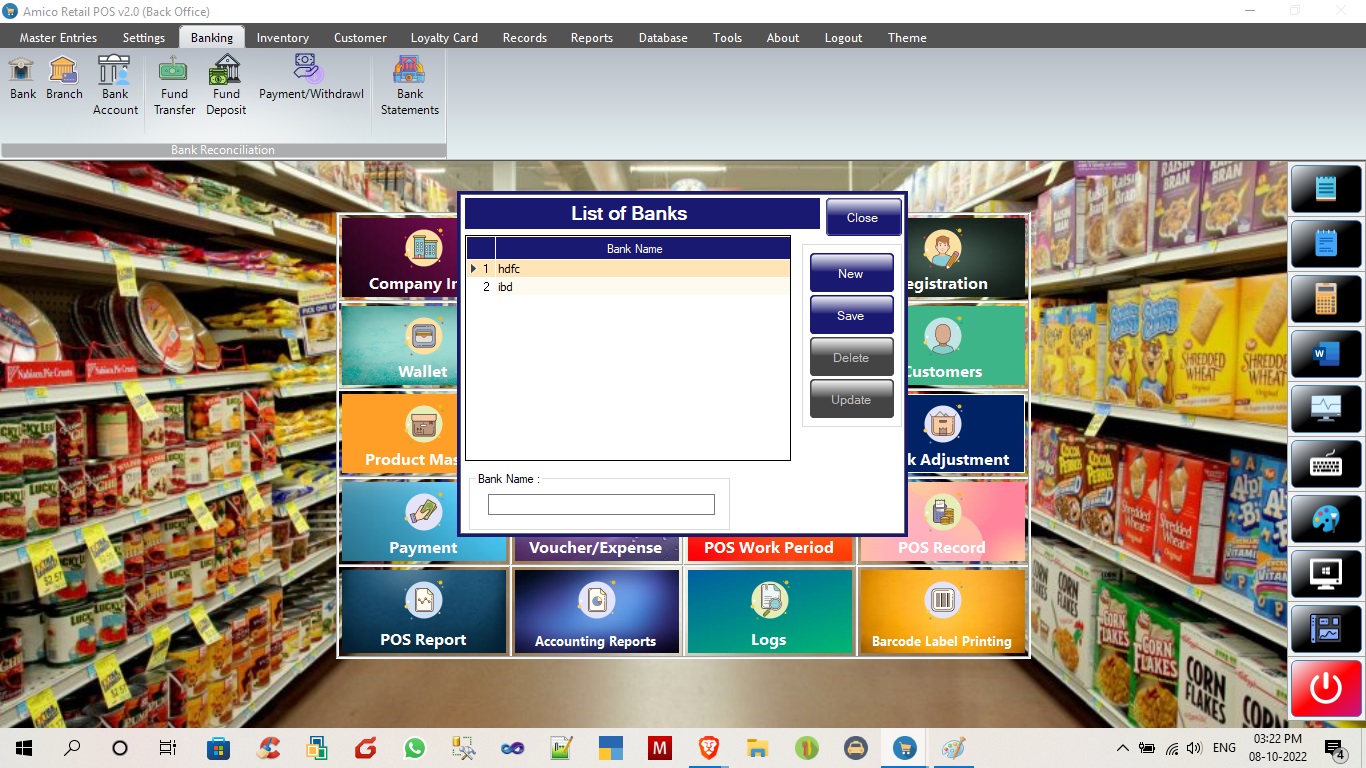
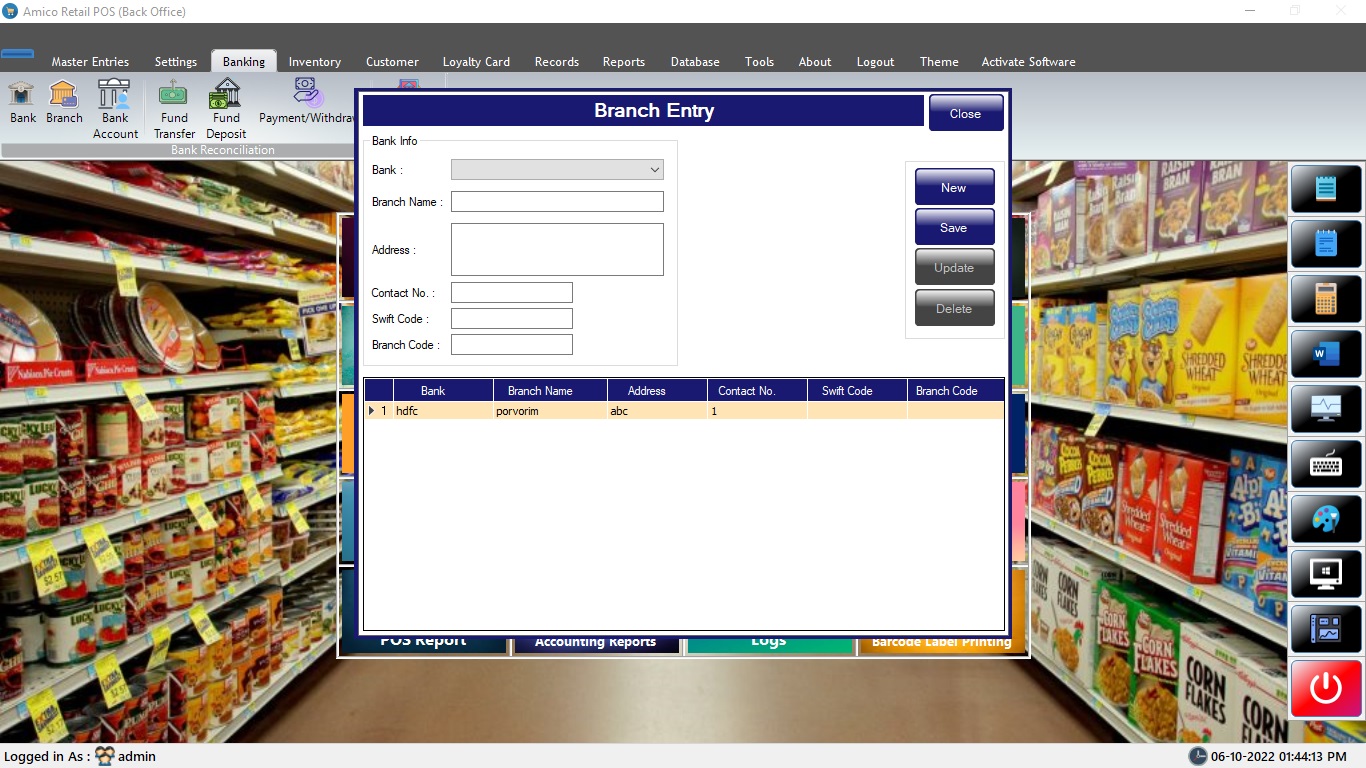
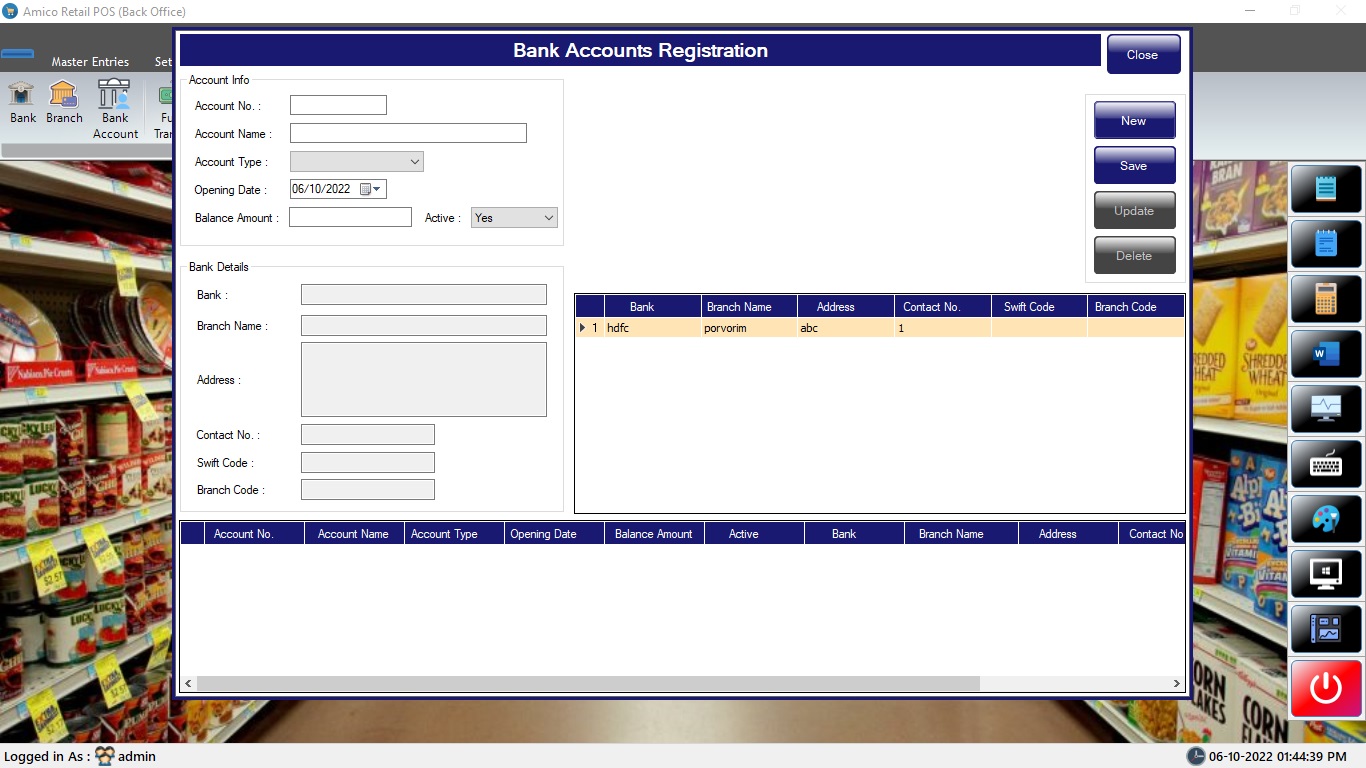
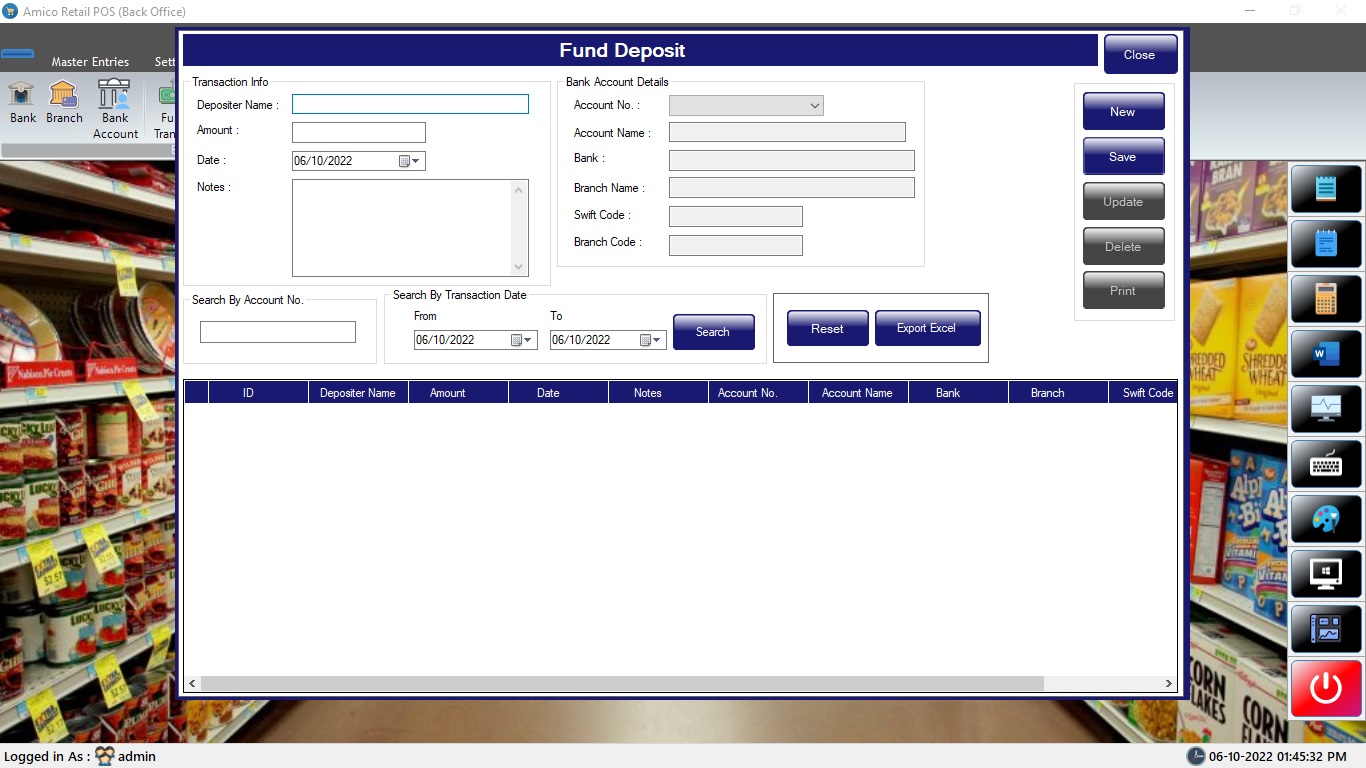
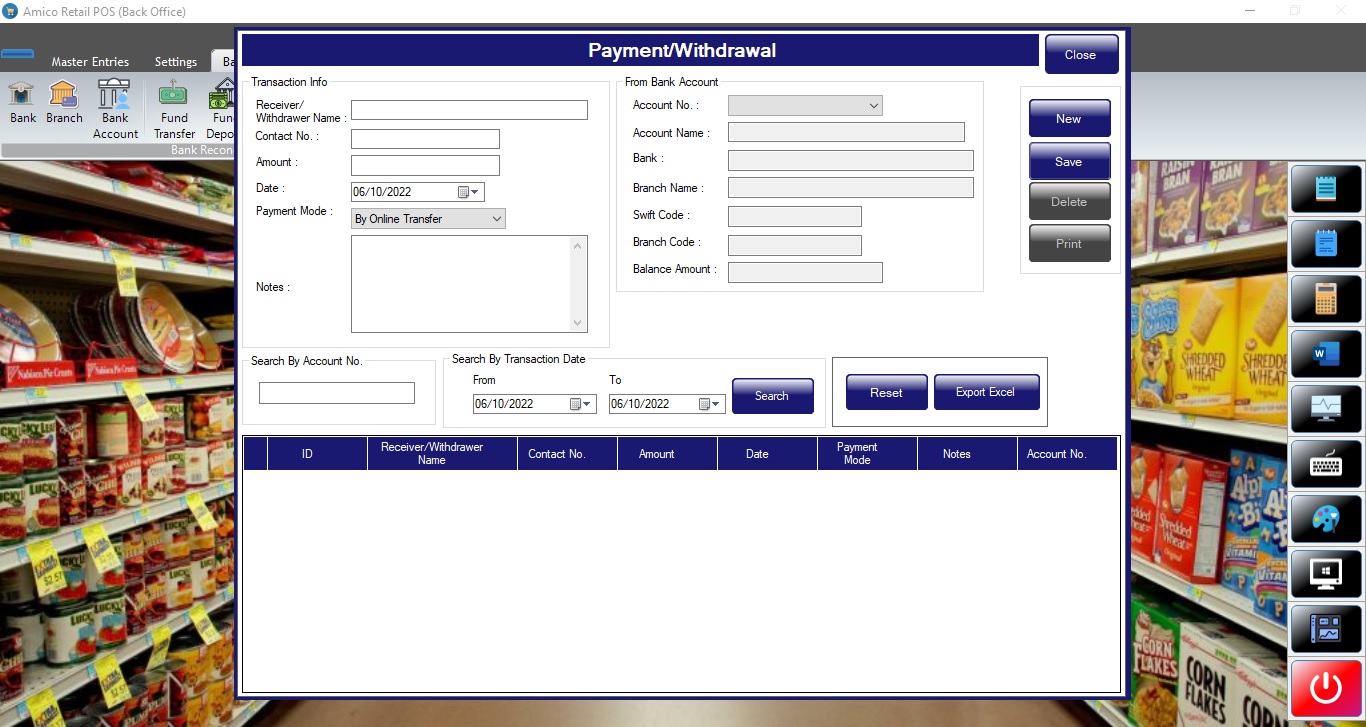
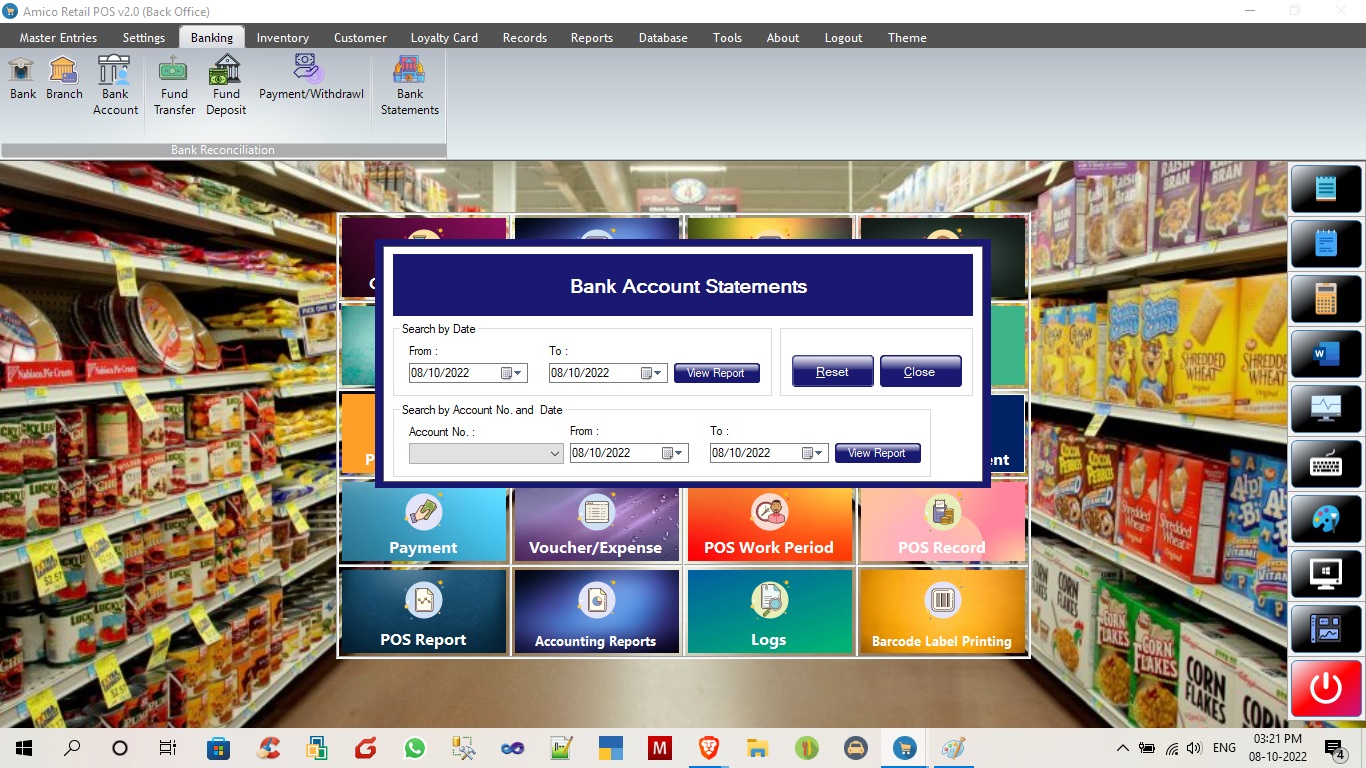
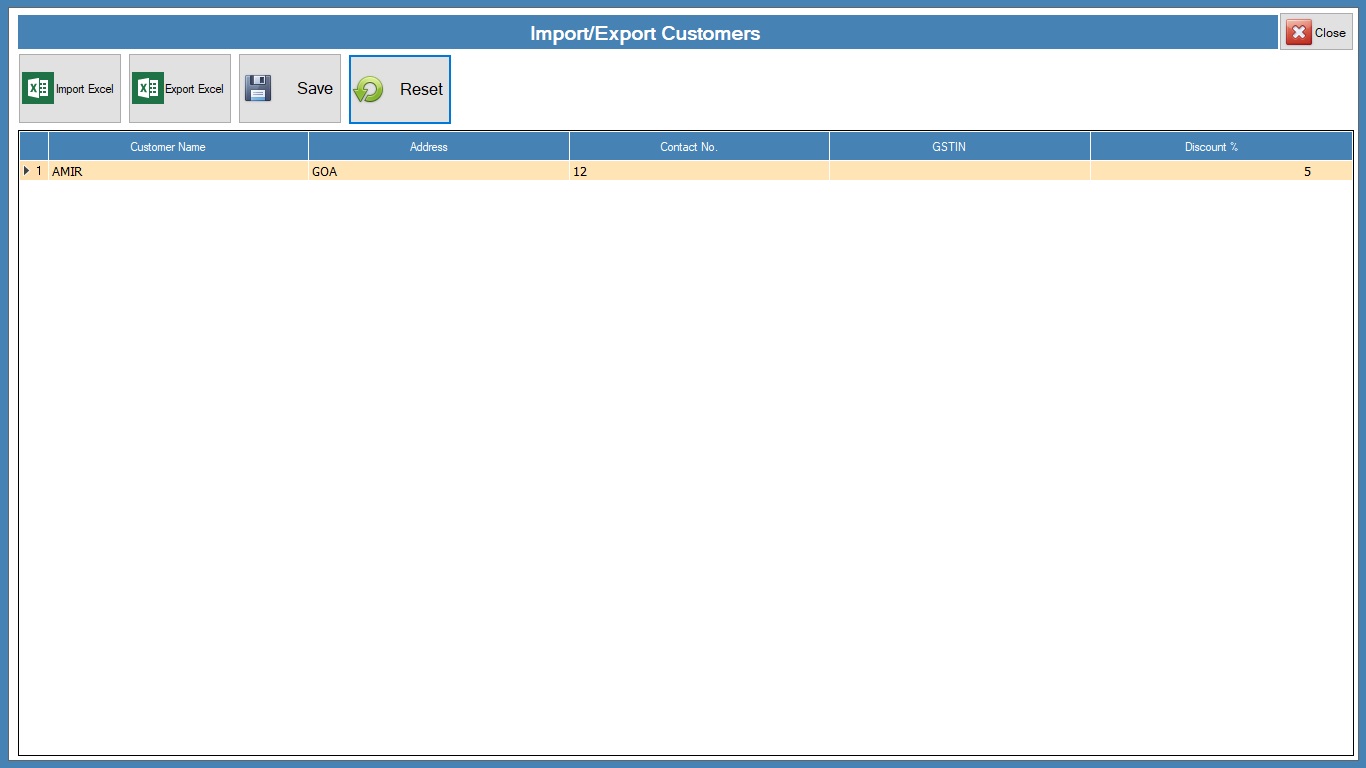
Banking
![]()
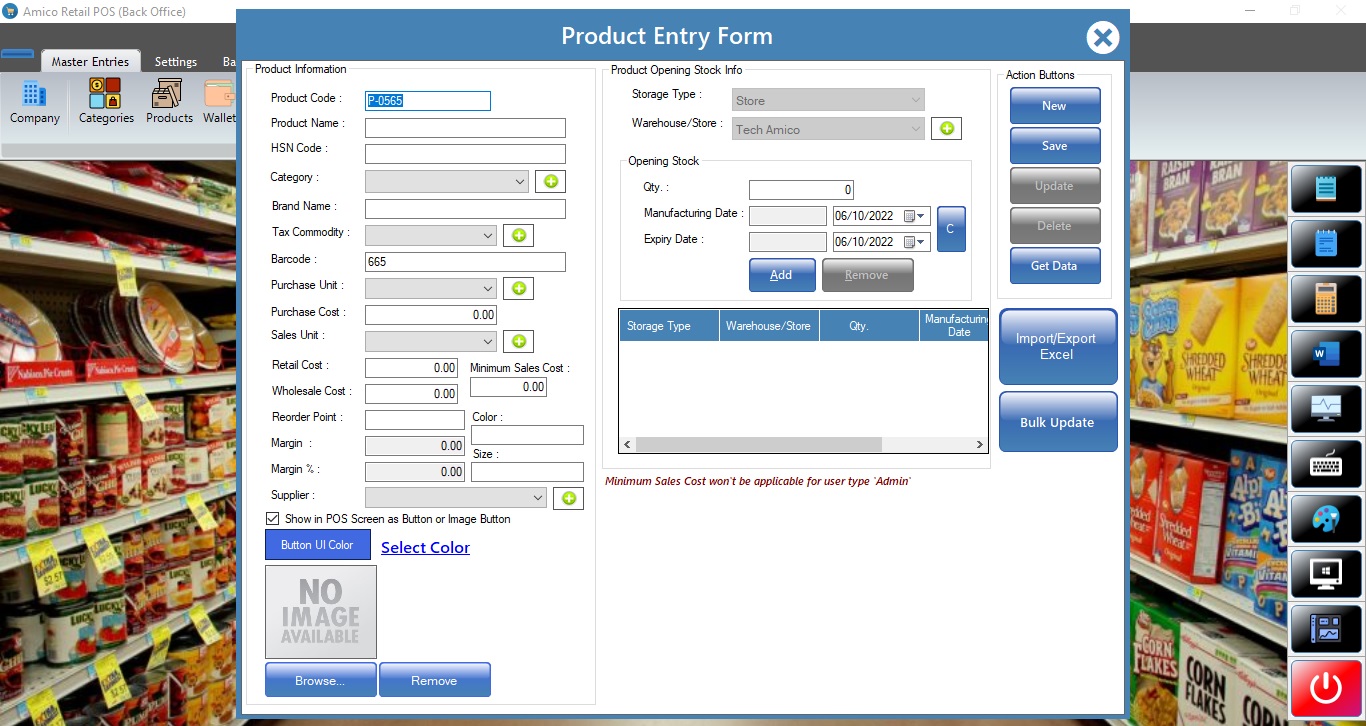
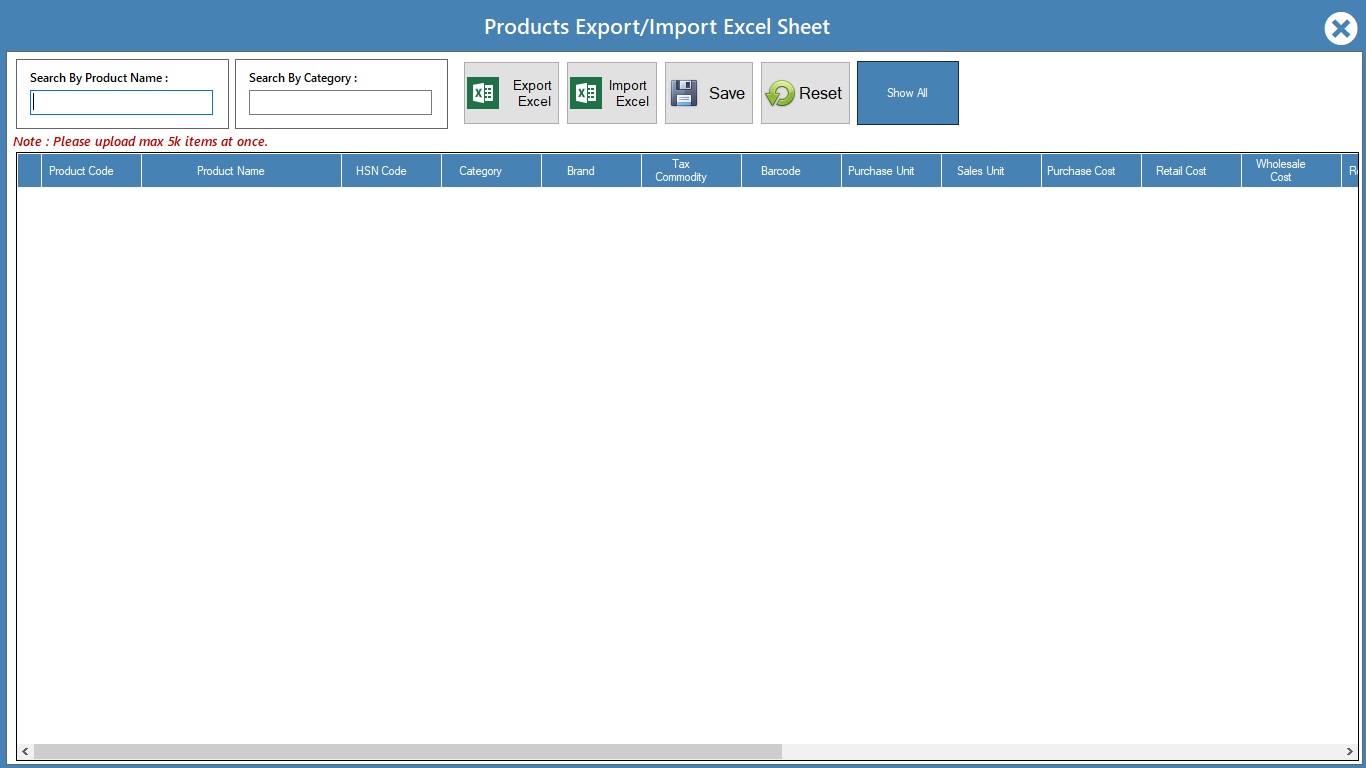
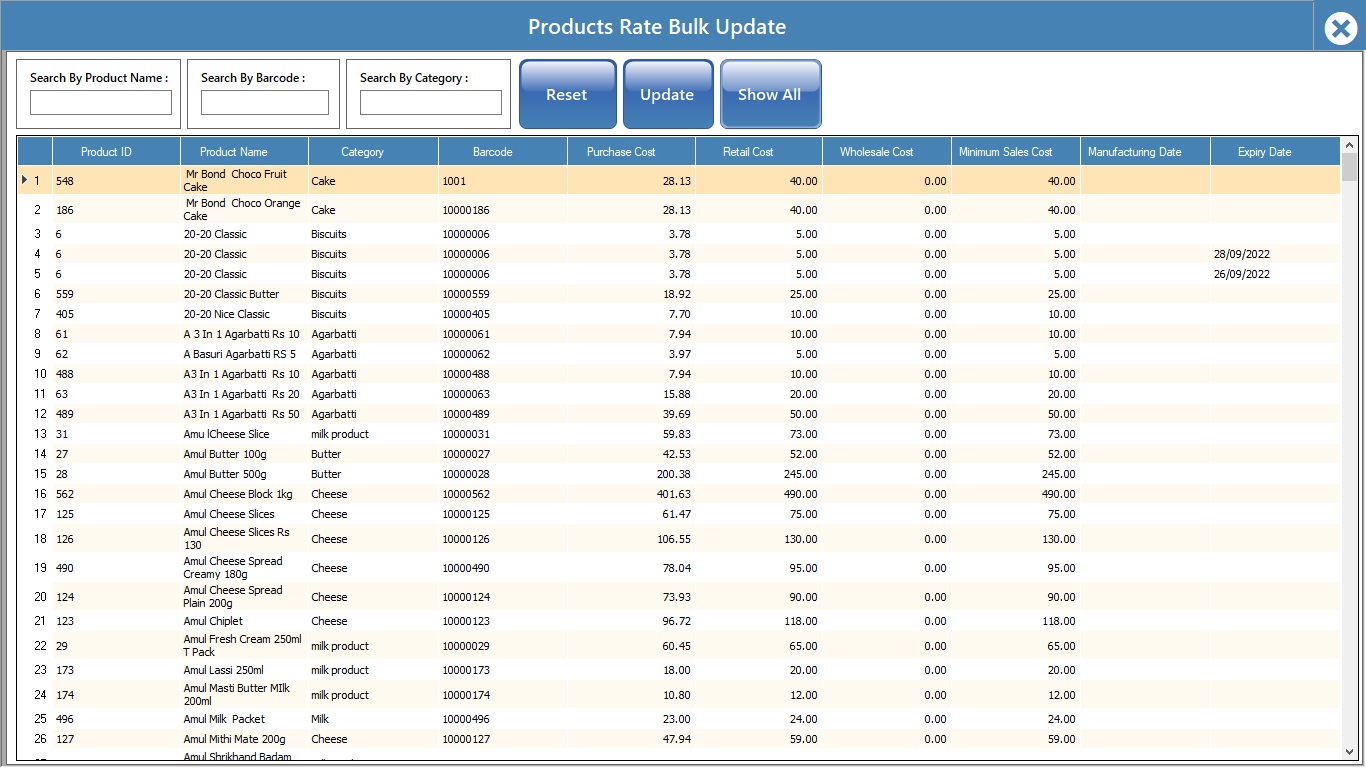
Product master
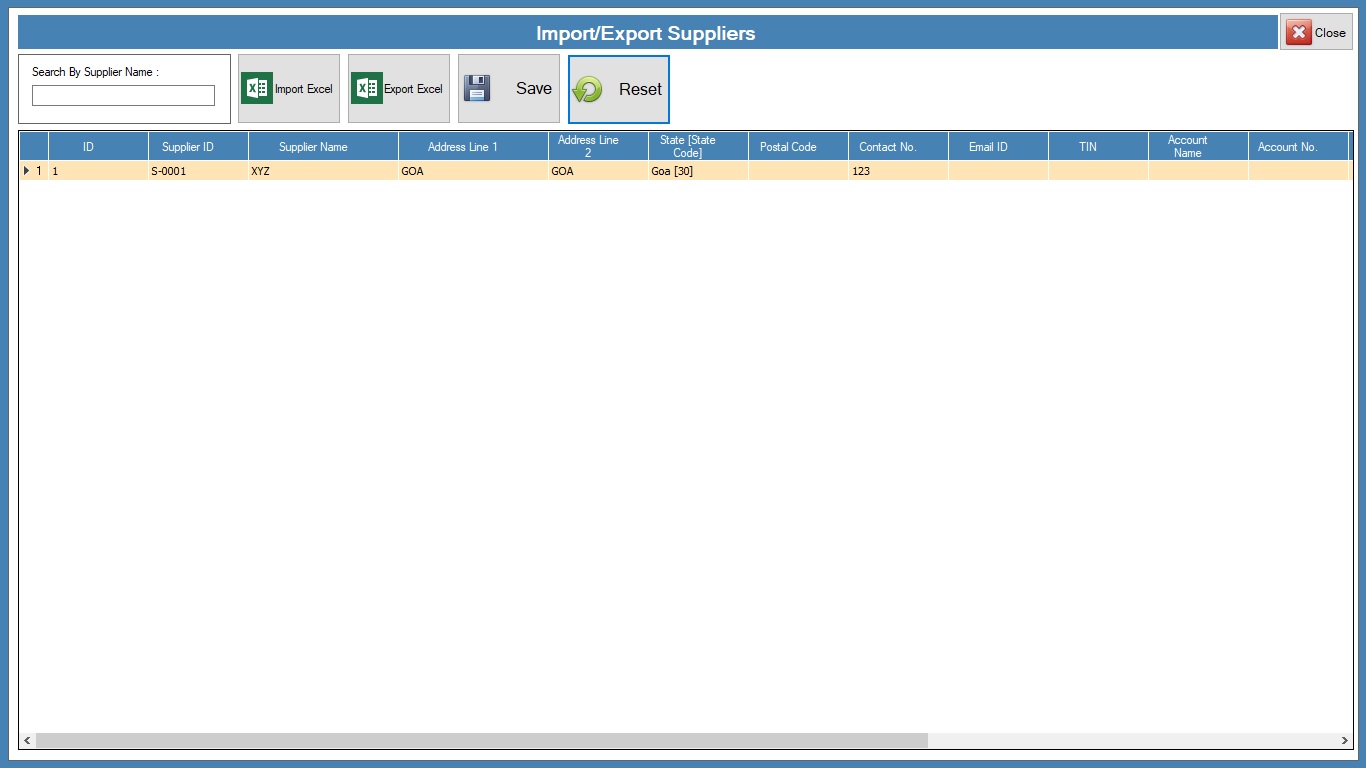
now click on save. You will get successfully imported mgs .now you can find all new/updated products. Products already exists will not be imported or it will give error.
Categories

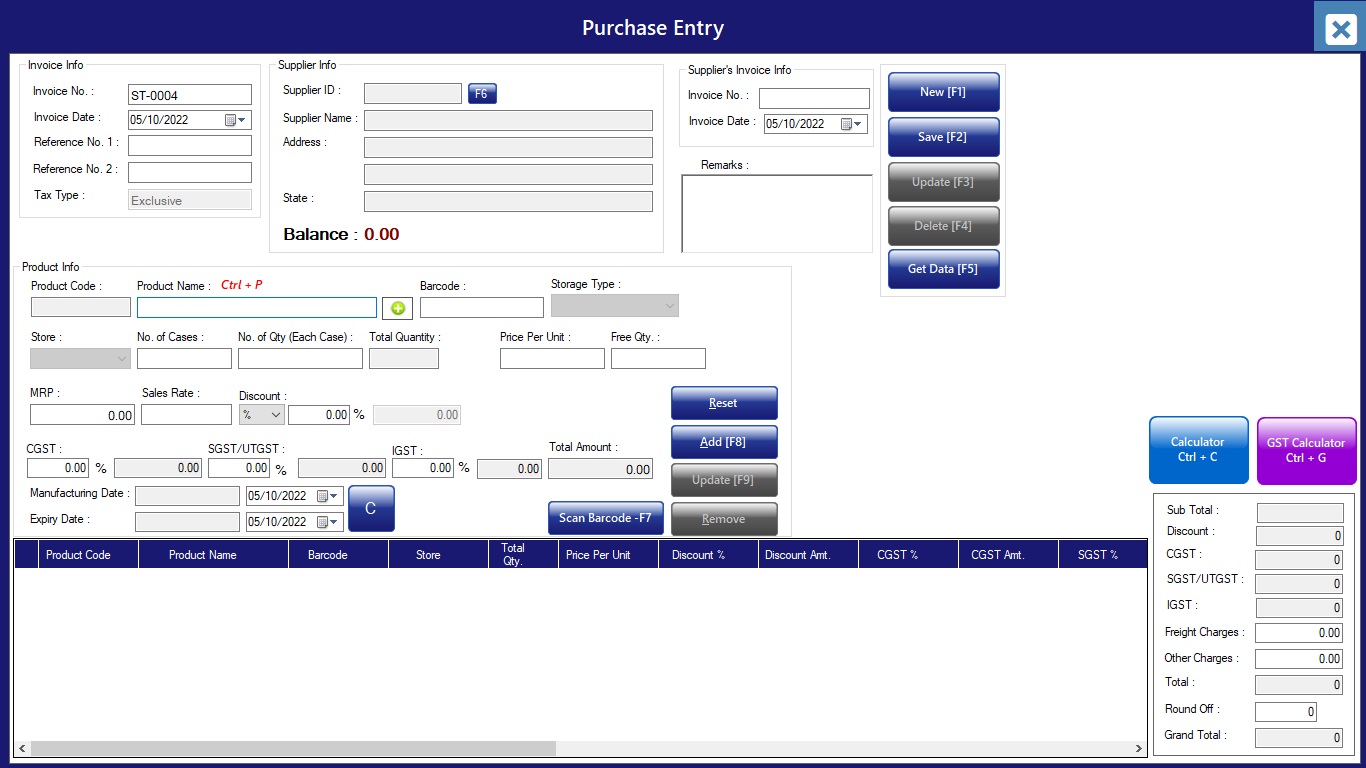
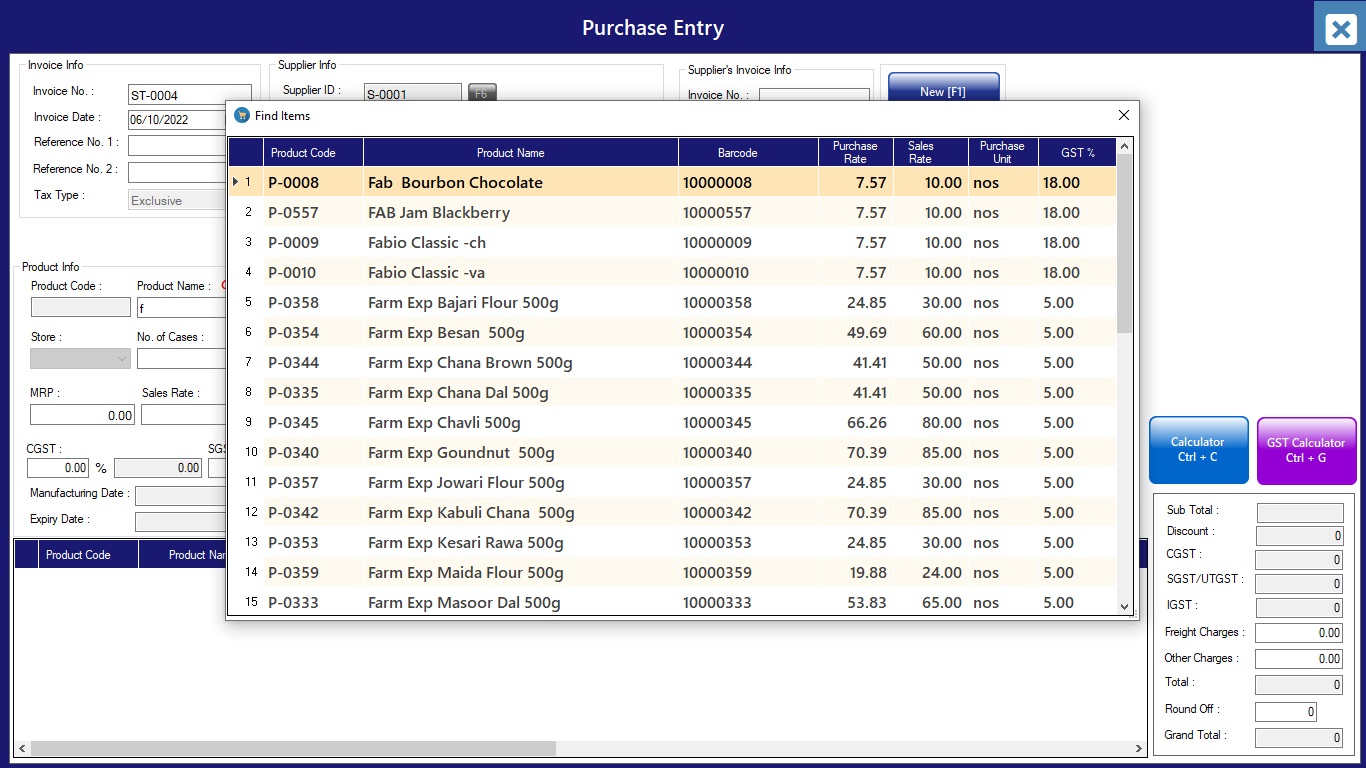
Purchase
Purchase Return
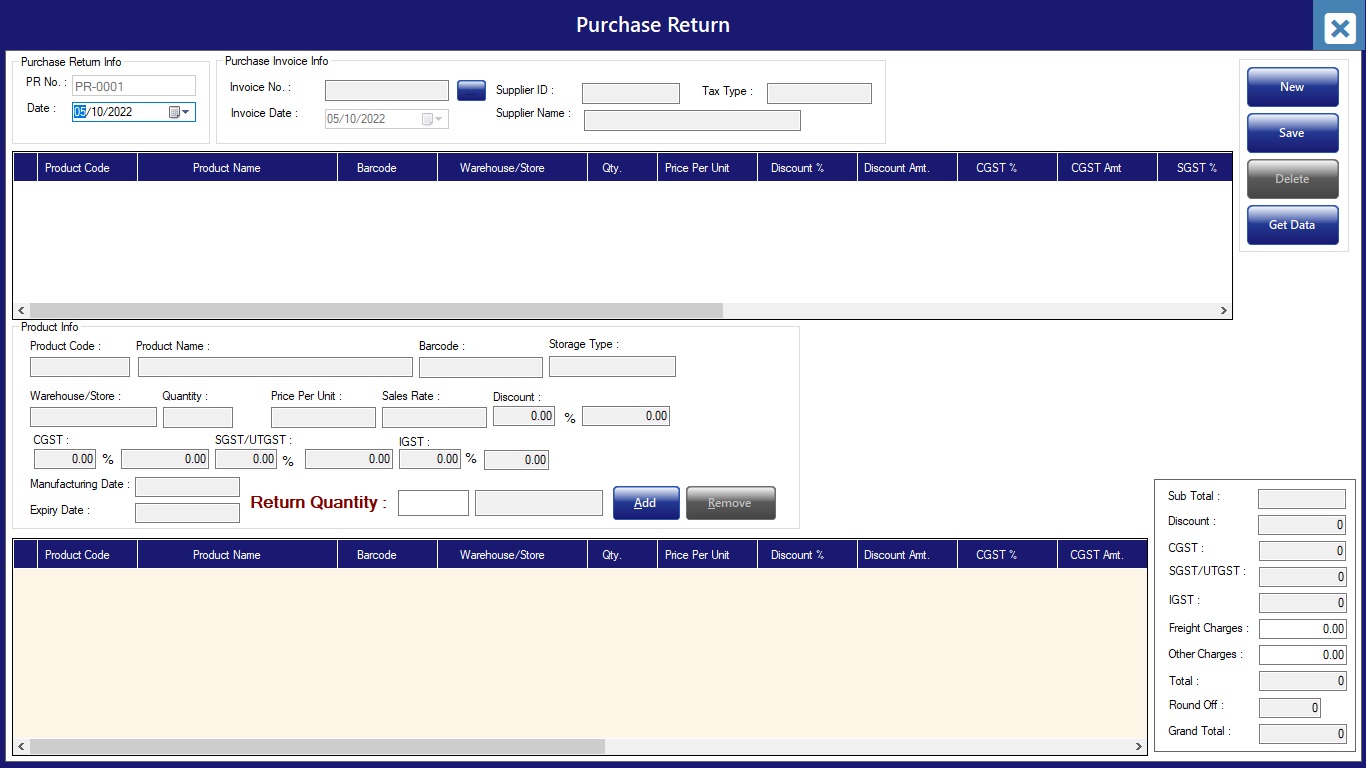
Select invoice number, then click on items, input qty to be returned and click on save to update stock entry.
Stock Adjustment
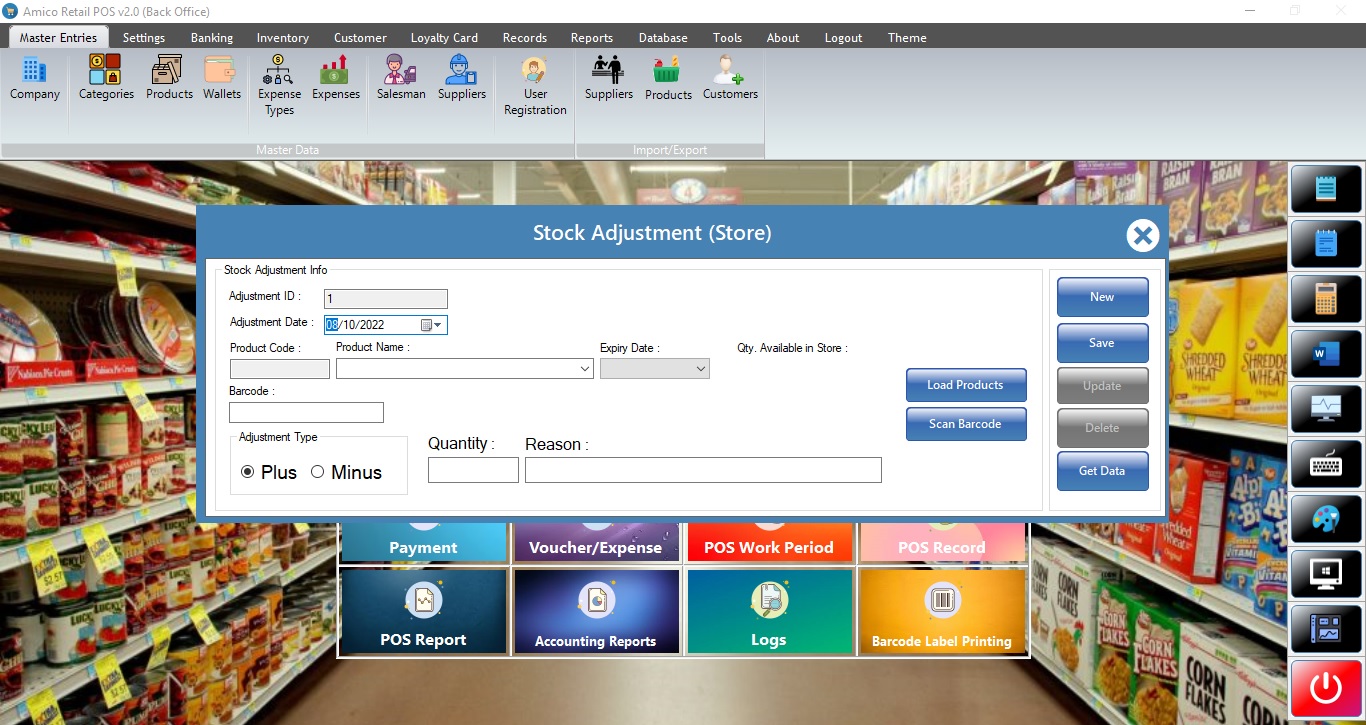
Click on load Products, then input product name or scan using barcode. Select adjustment type, now input qty to be adjusted and reason, click save to update stock.
Payment
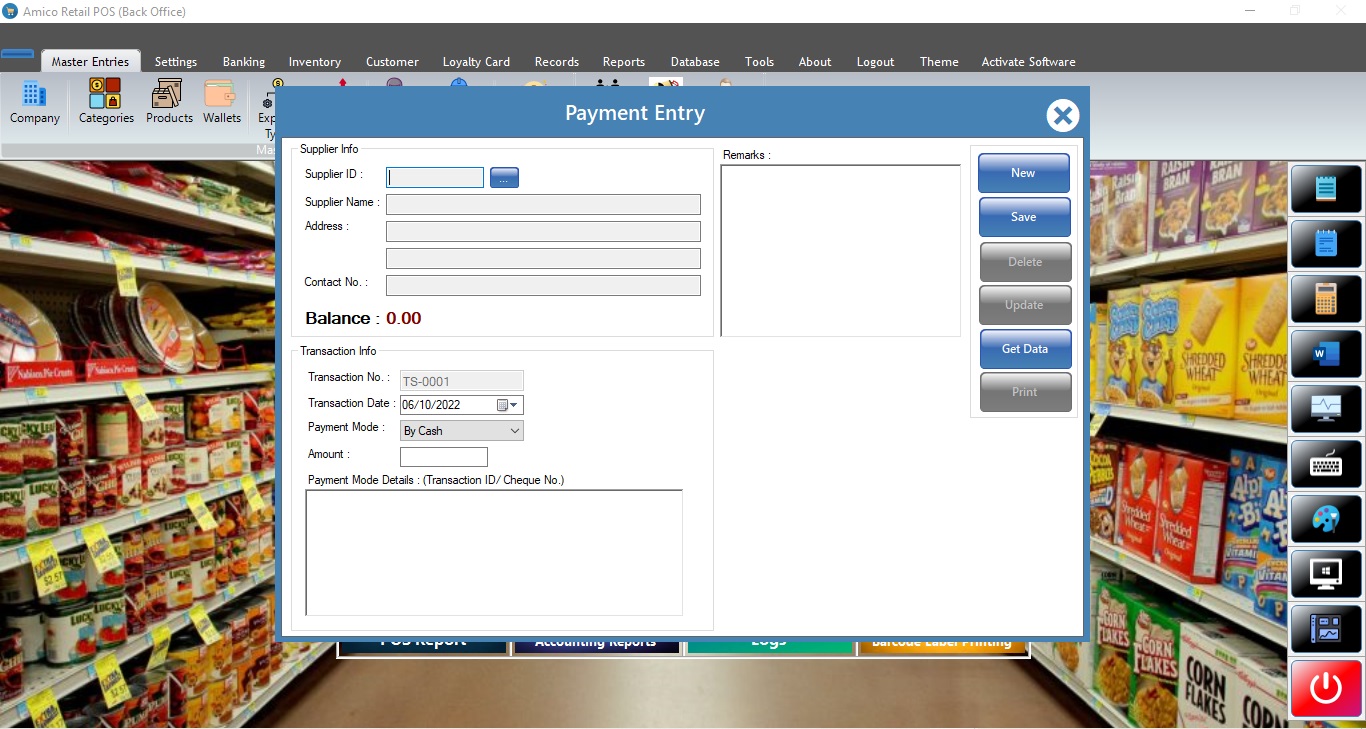
Select Supplier, then input amount and description for payment click on save to update payment entry.
Voucher/Expense
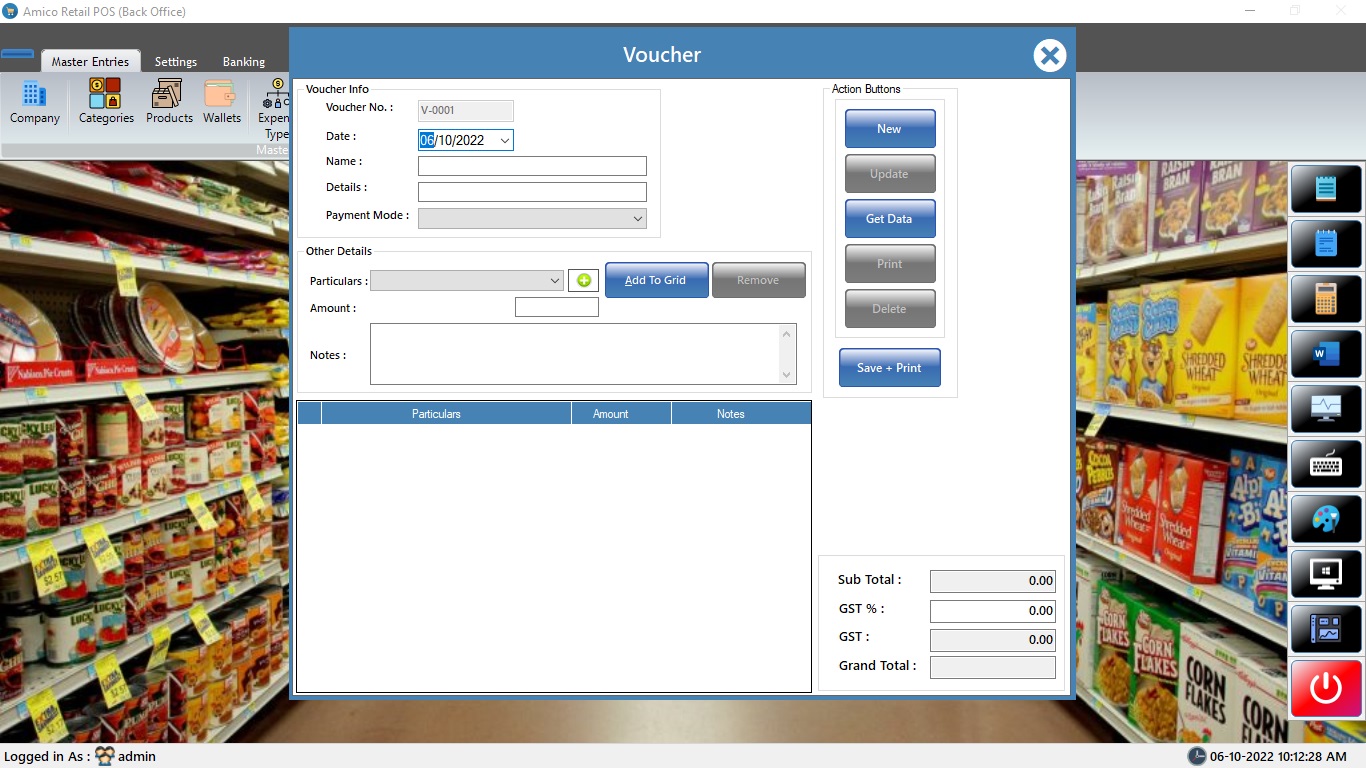
Select Date, input Name, details, payment mode, particular (if not there create one using green shortcut button(+)) amount and note for payment click on save and print to update expense payment entry.
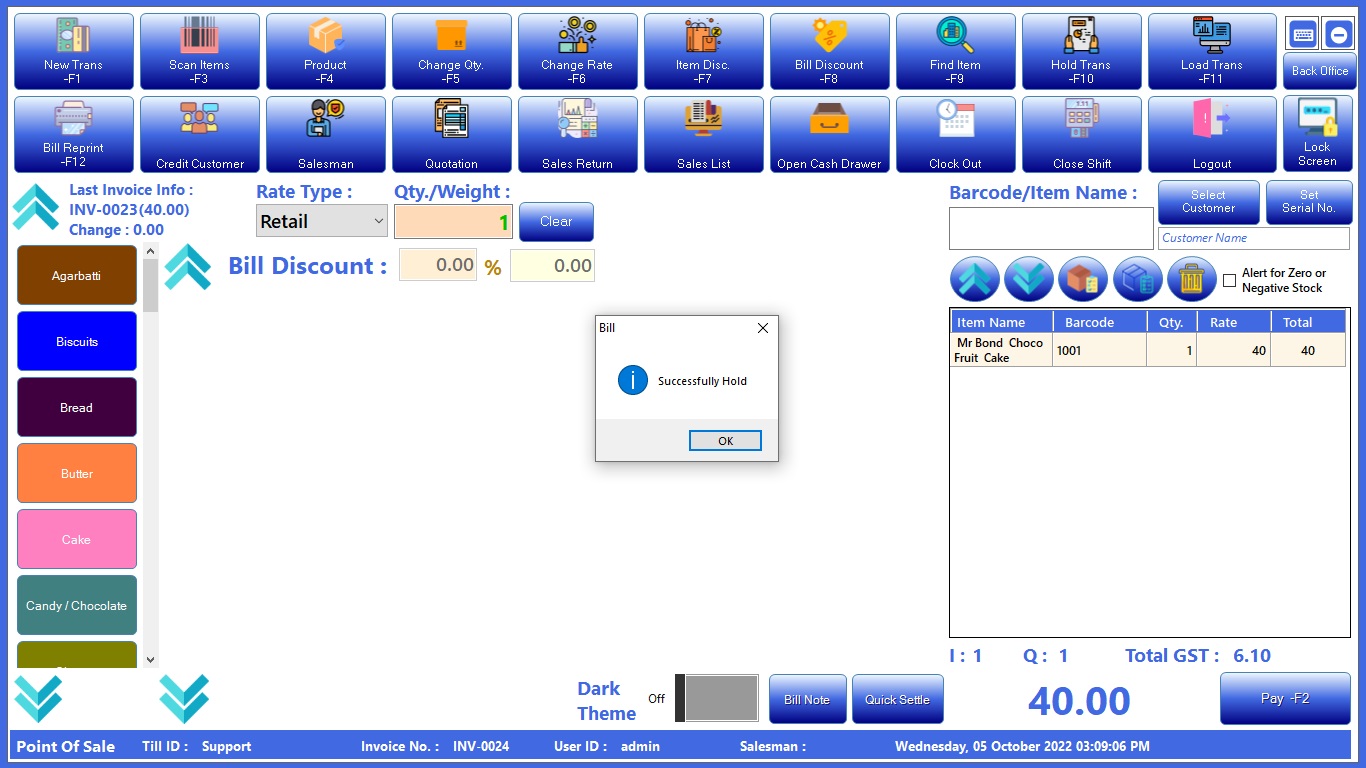
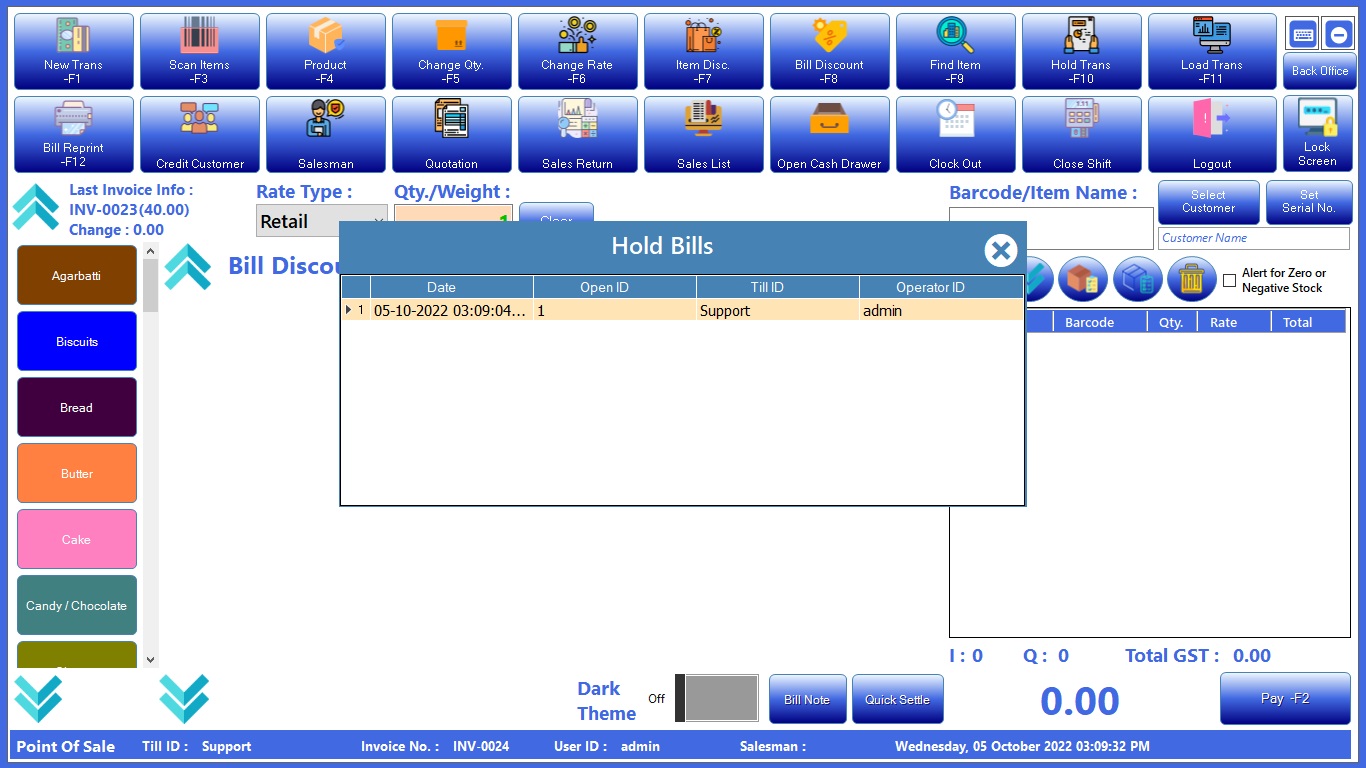
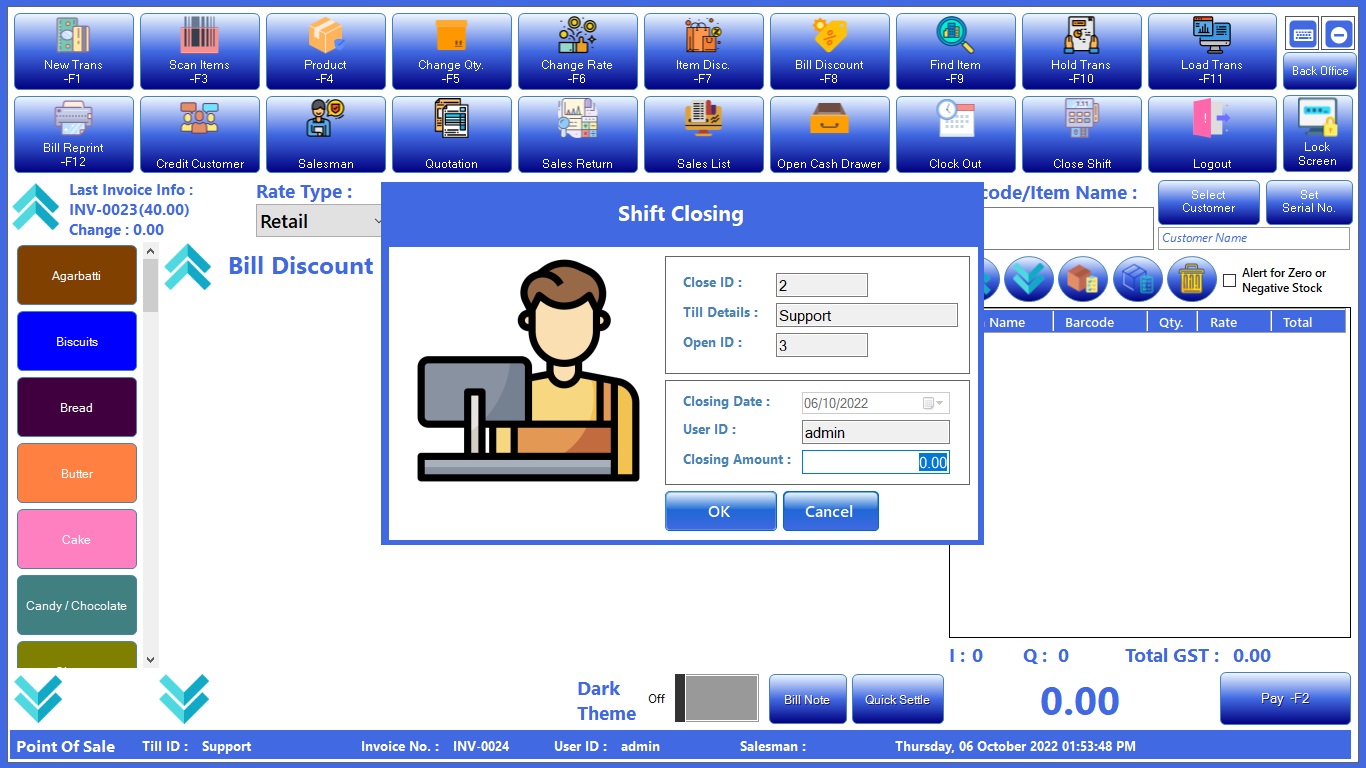
Pos Work Period
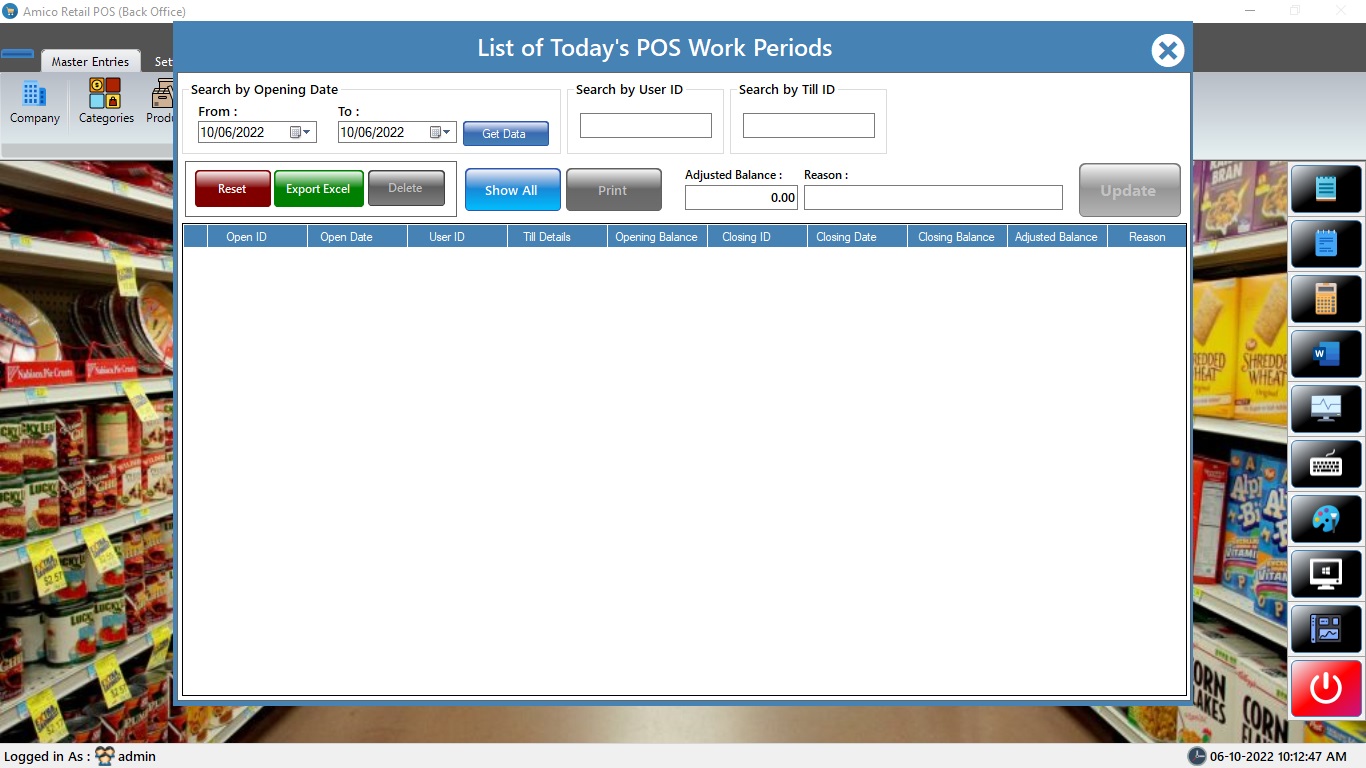
POS Records
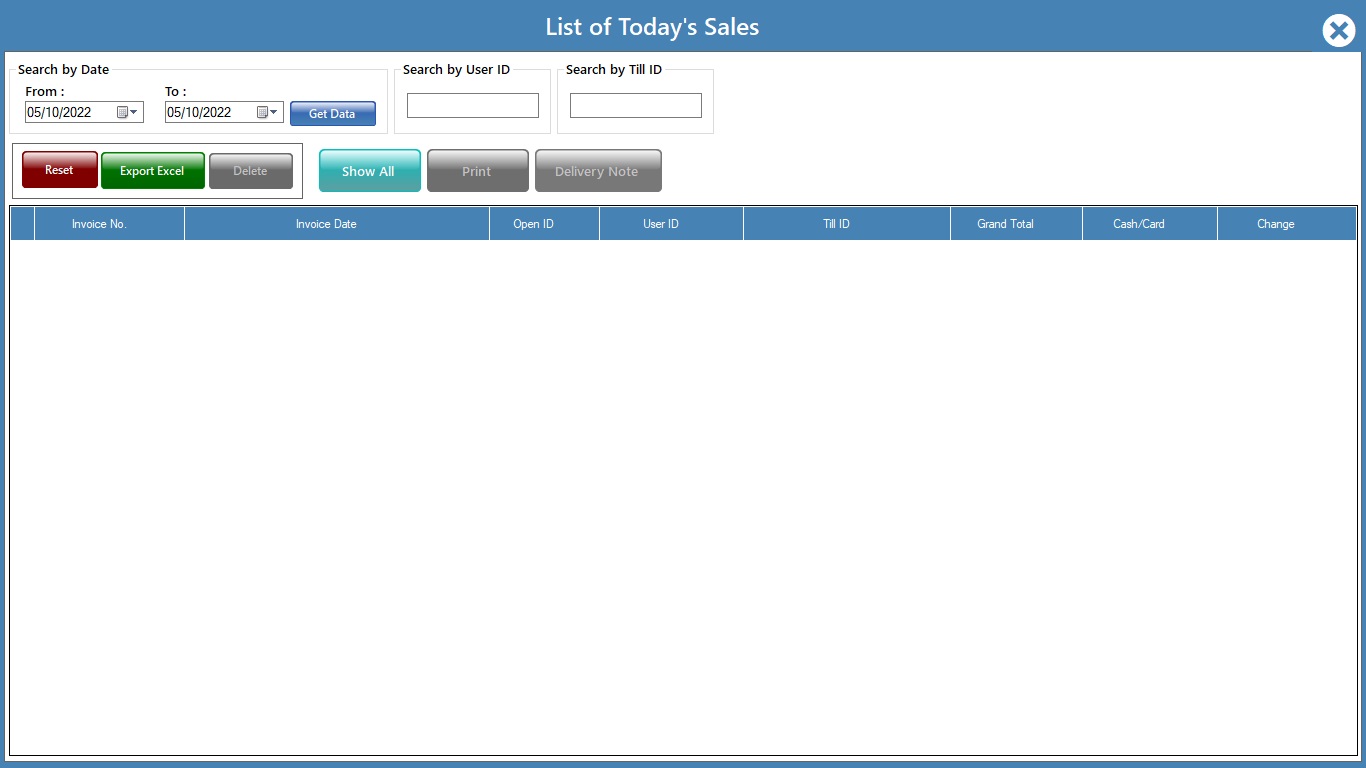
Alert !
Do not delete sales entries.
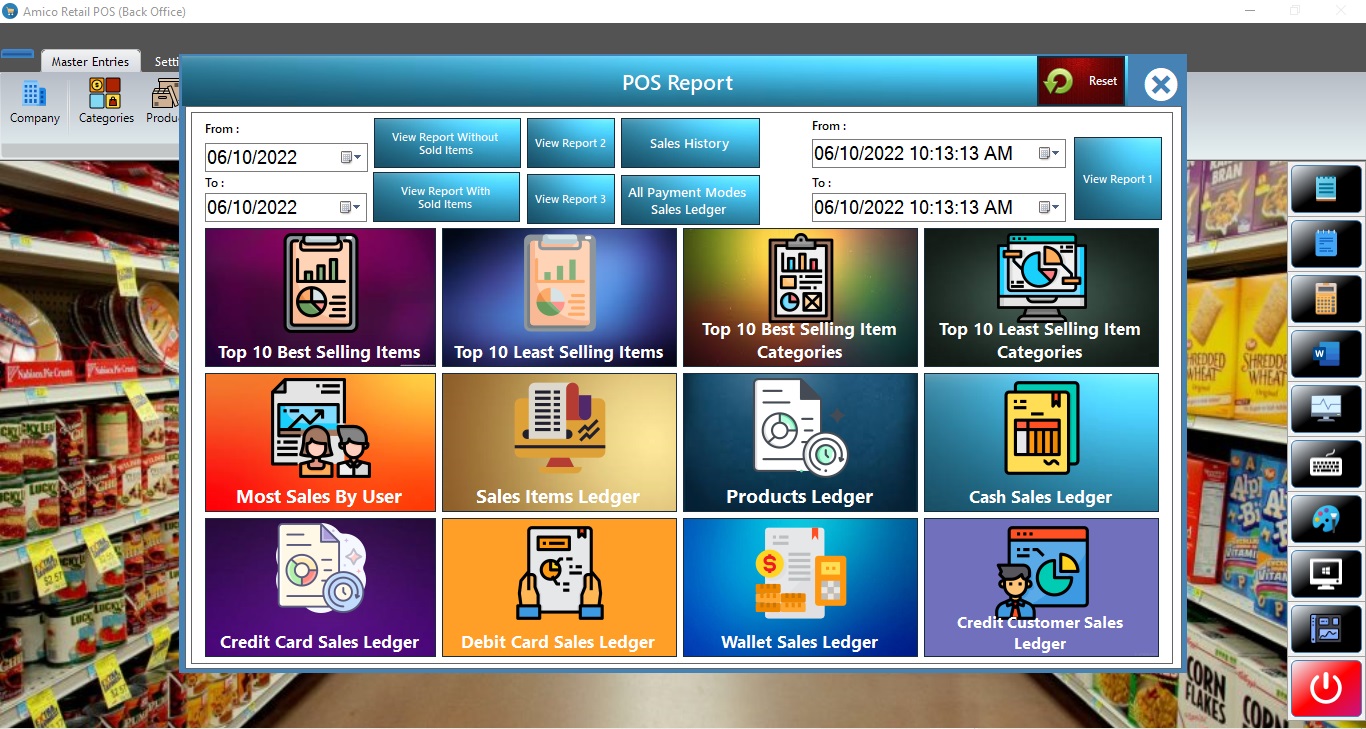
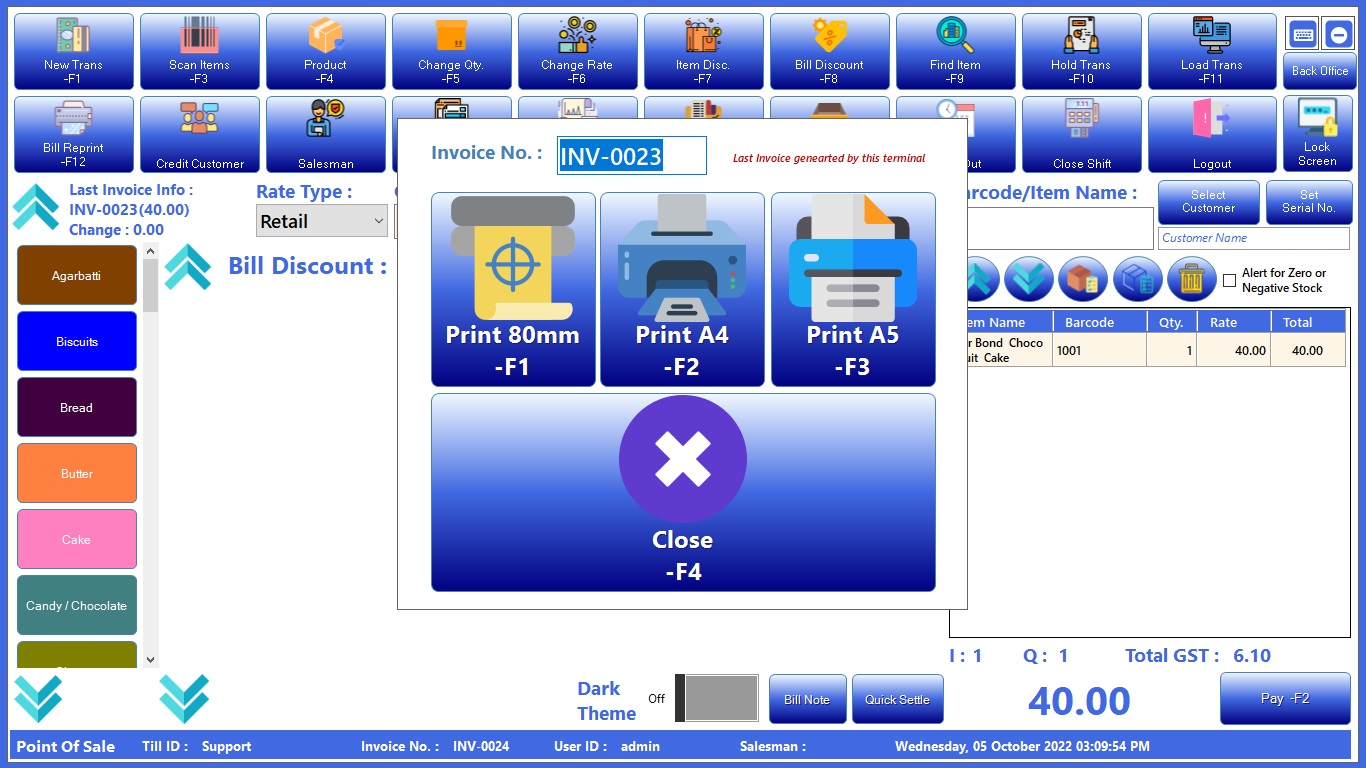
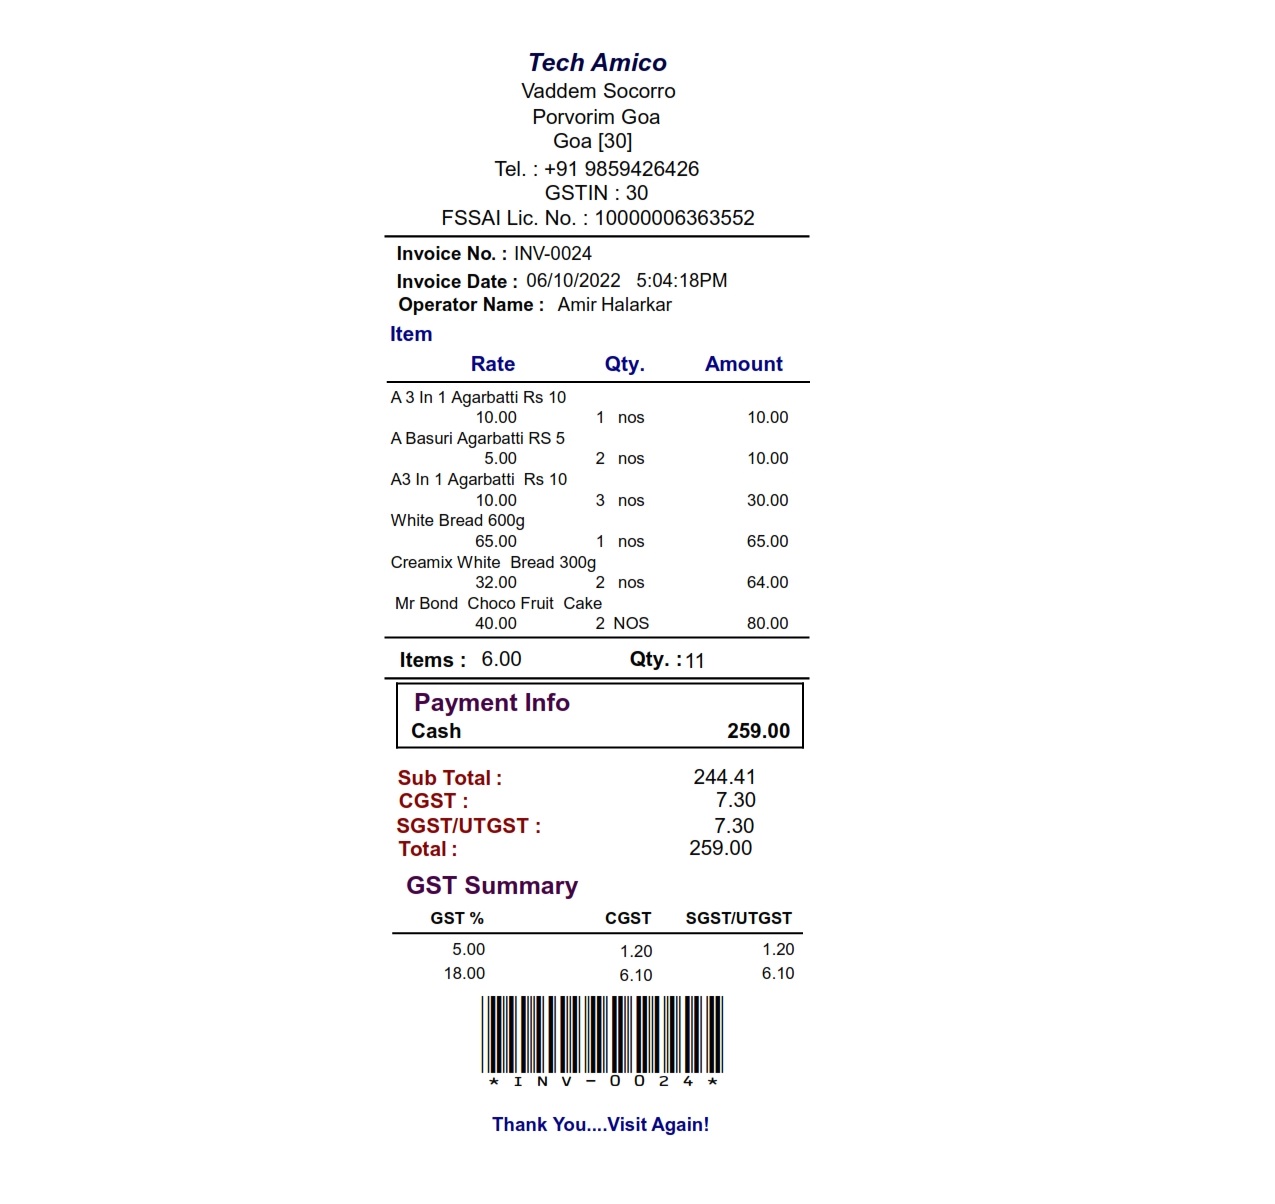
POS reports
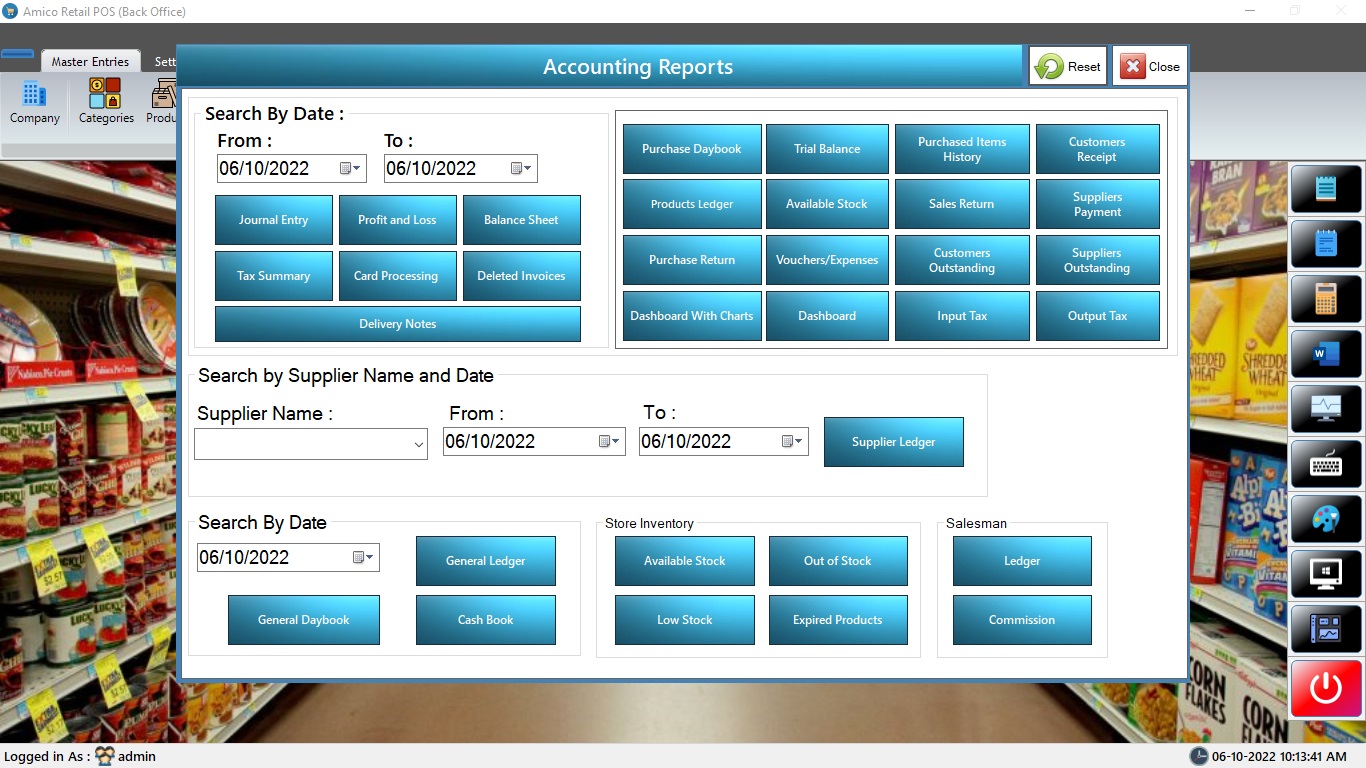
Accounting Reports
purchase returns, voucher, stock adjustment(s), input/output tax, Supplier ledger, General daybook/ledger, cash book, creditors list store available, low, expired, out of stock.
salesman commission/ledger, dashboard and dashboard with charts.
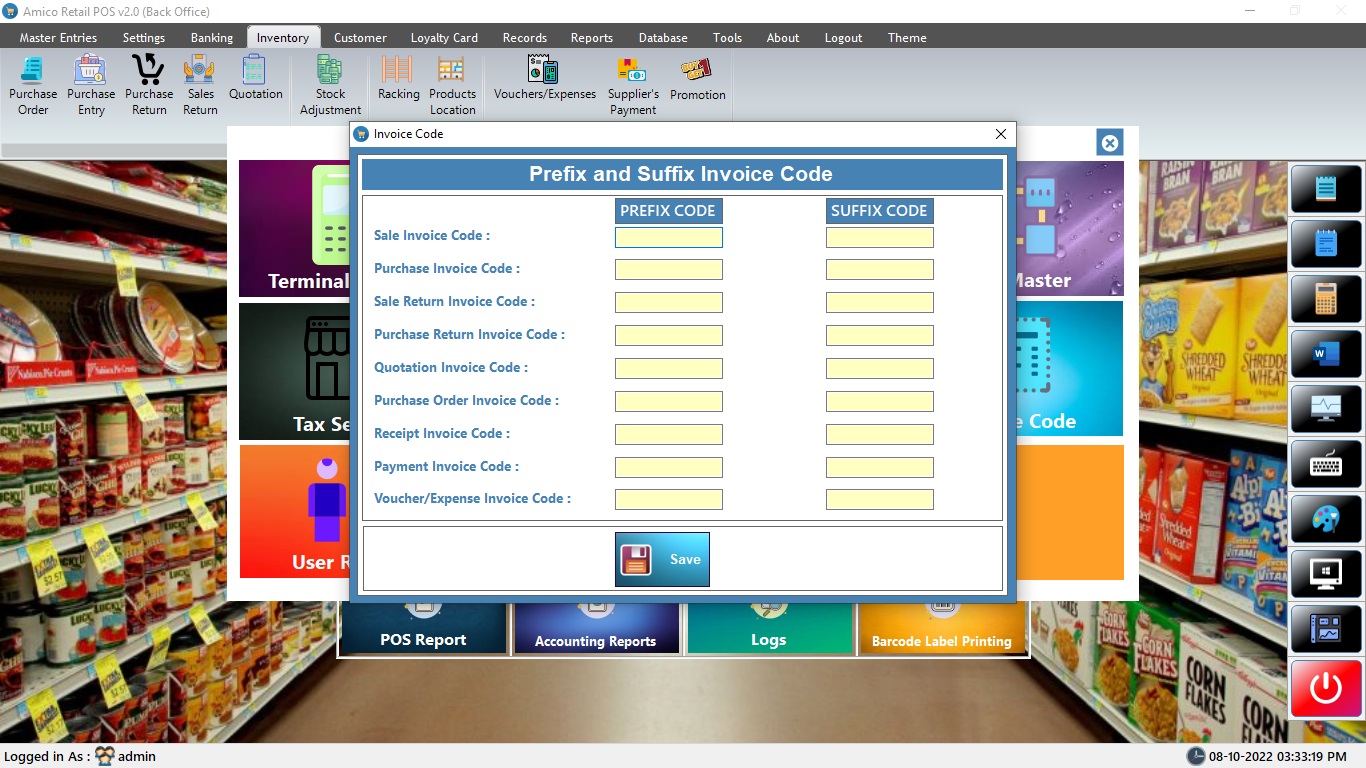
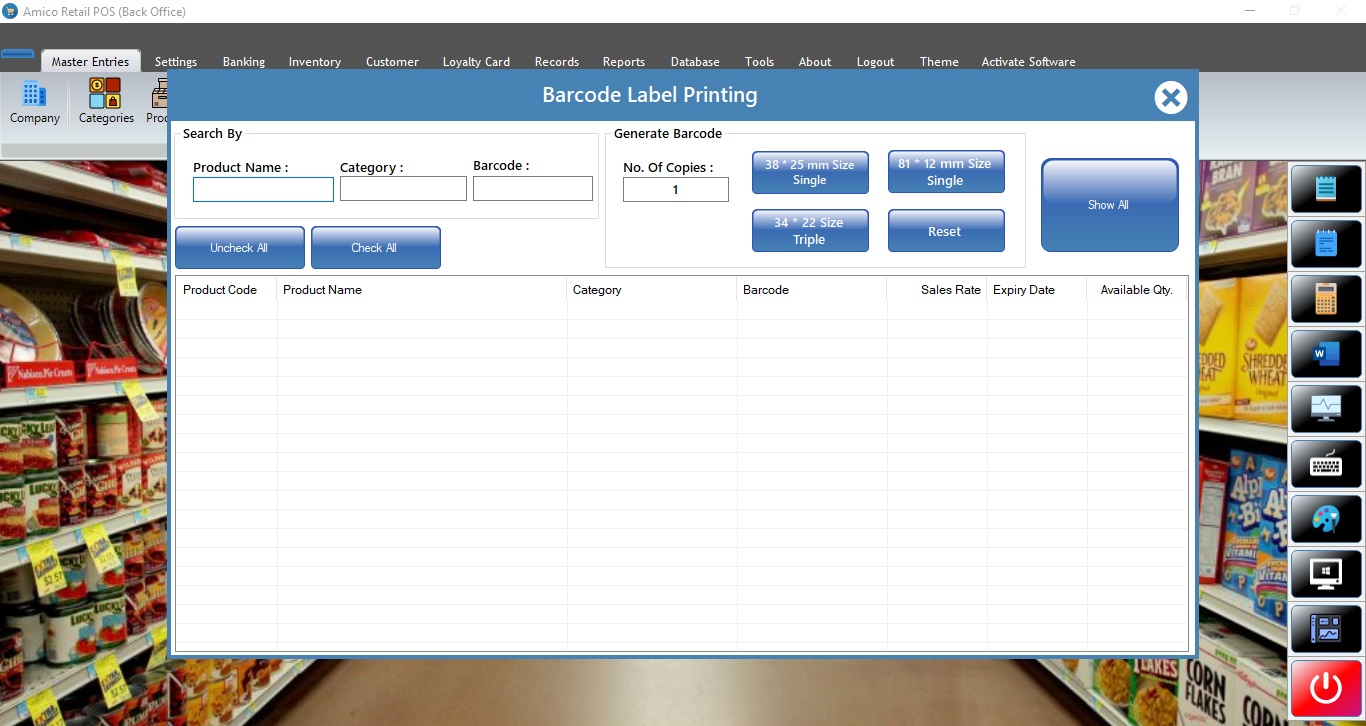
Barcode Label Printing
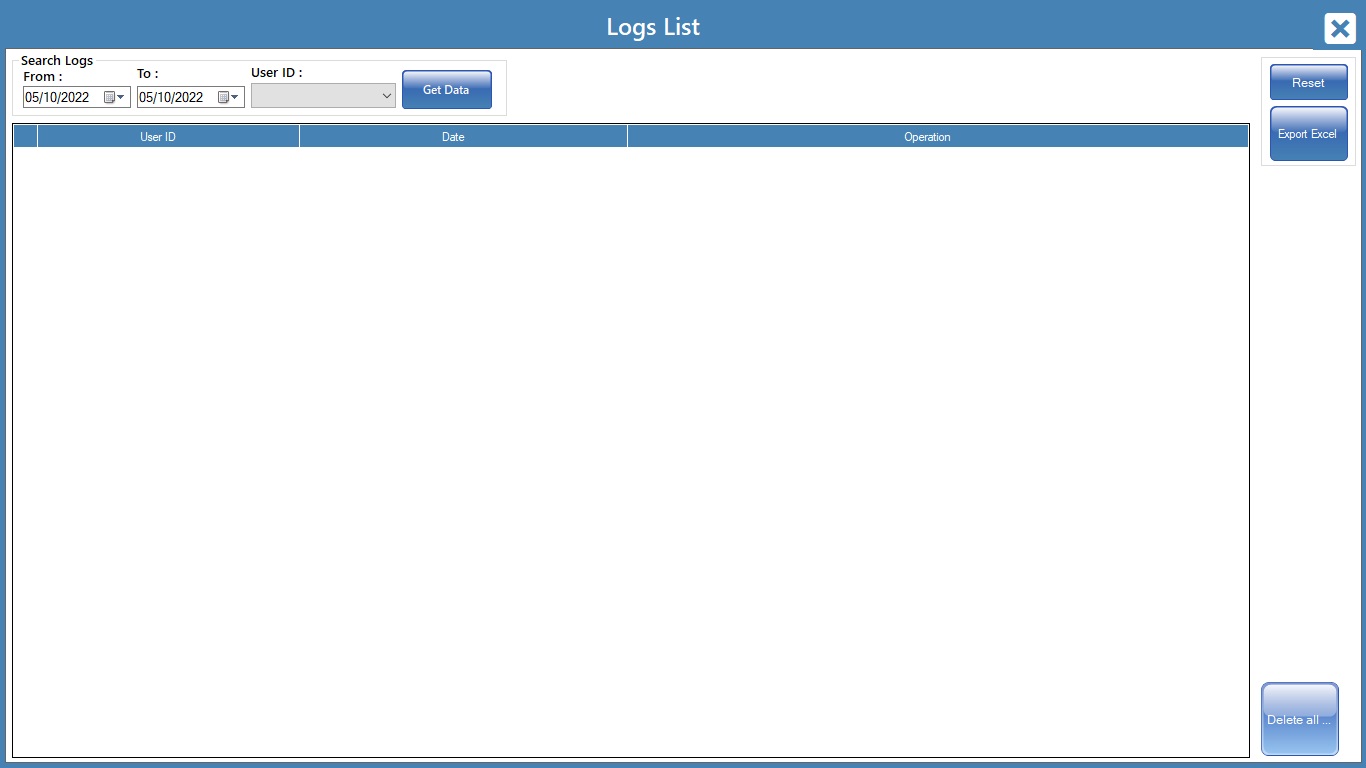
Logs
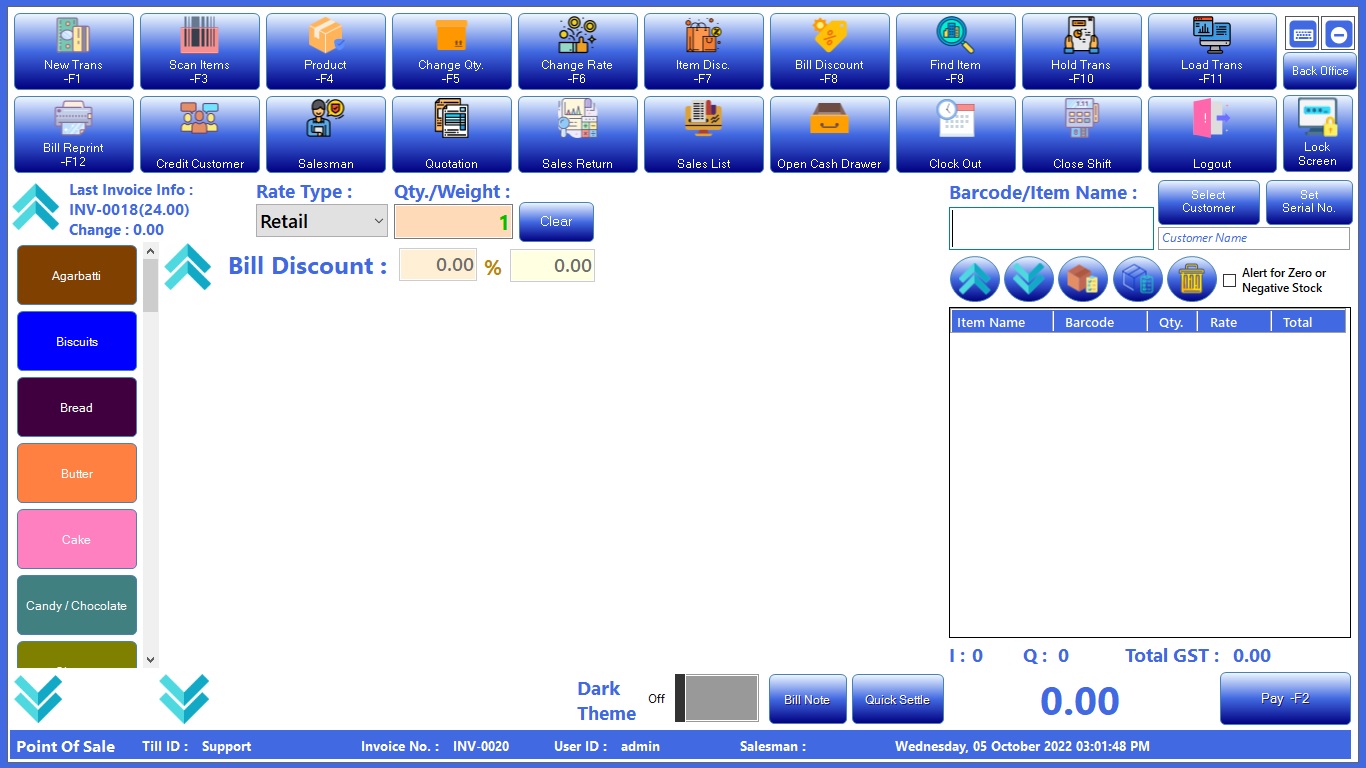
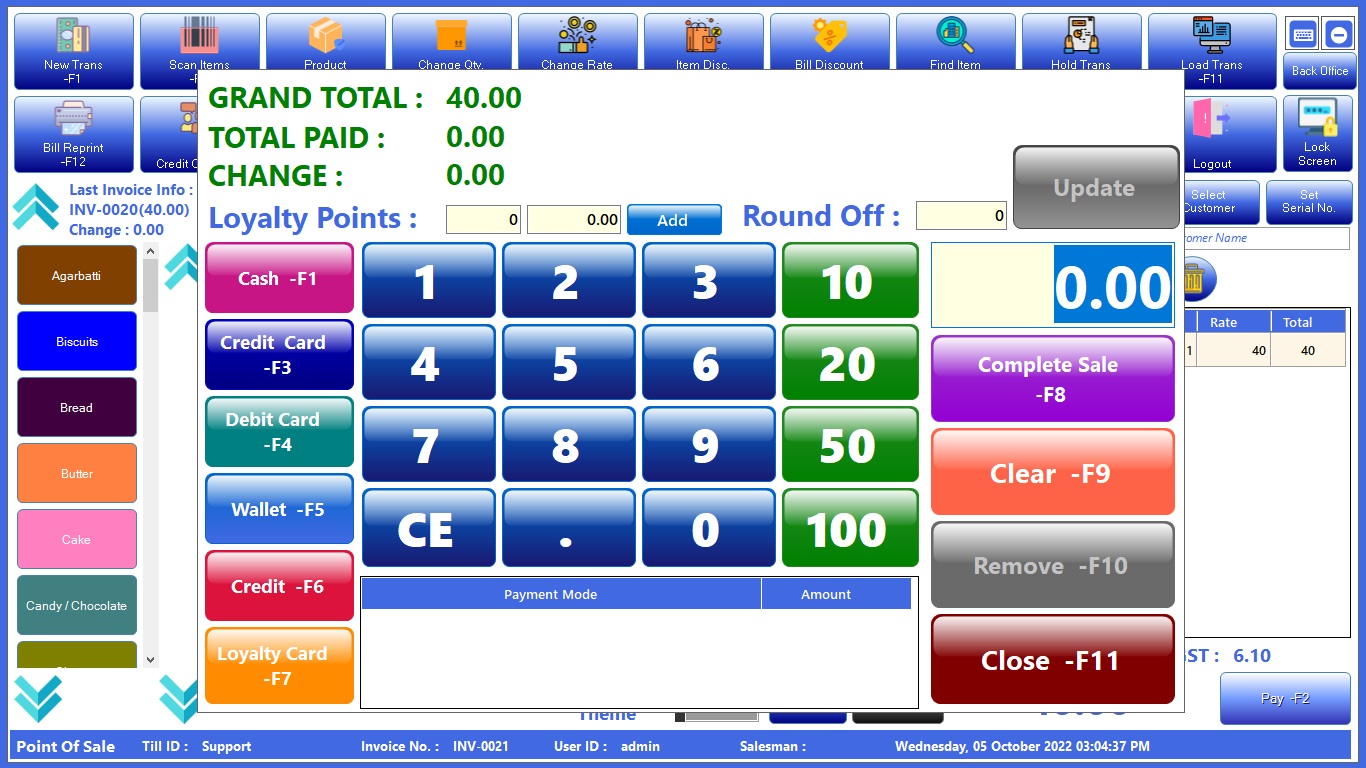
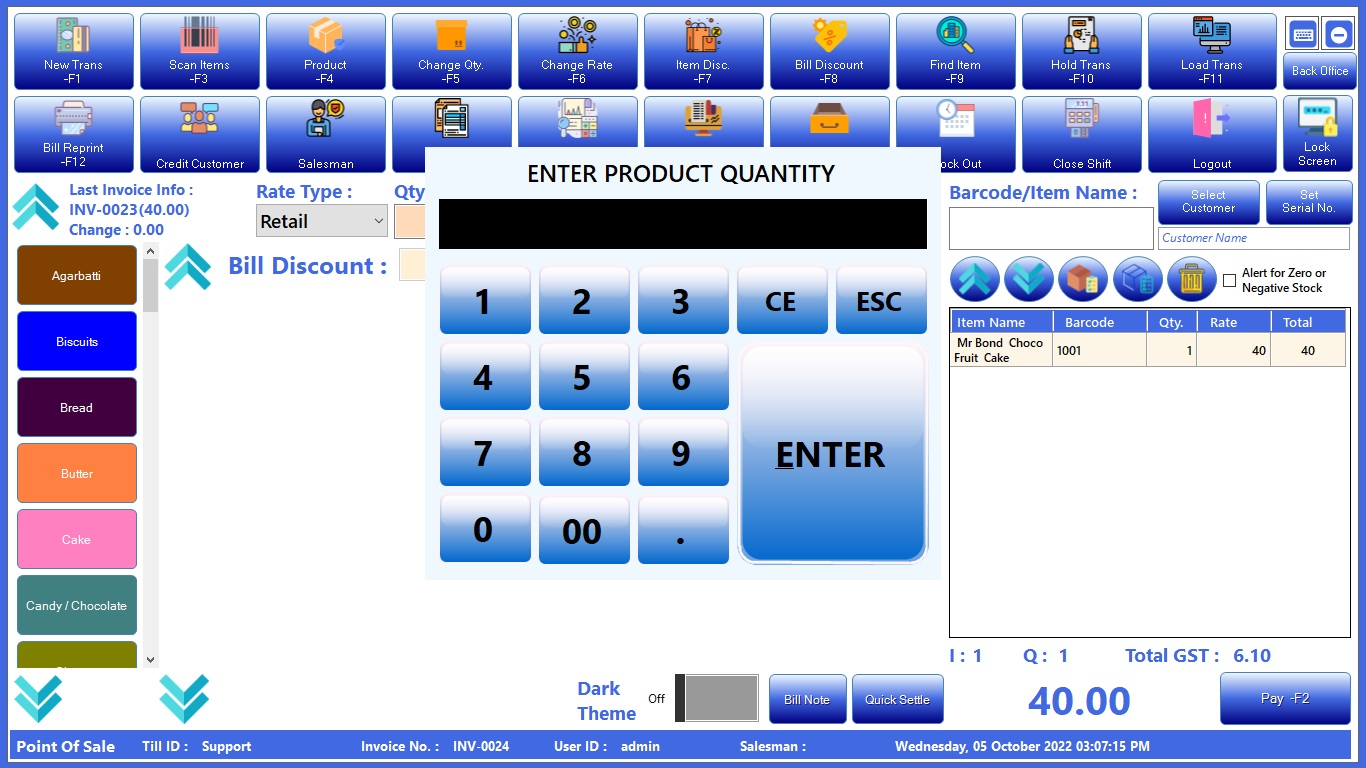
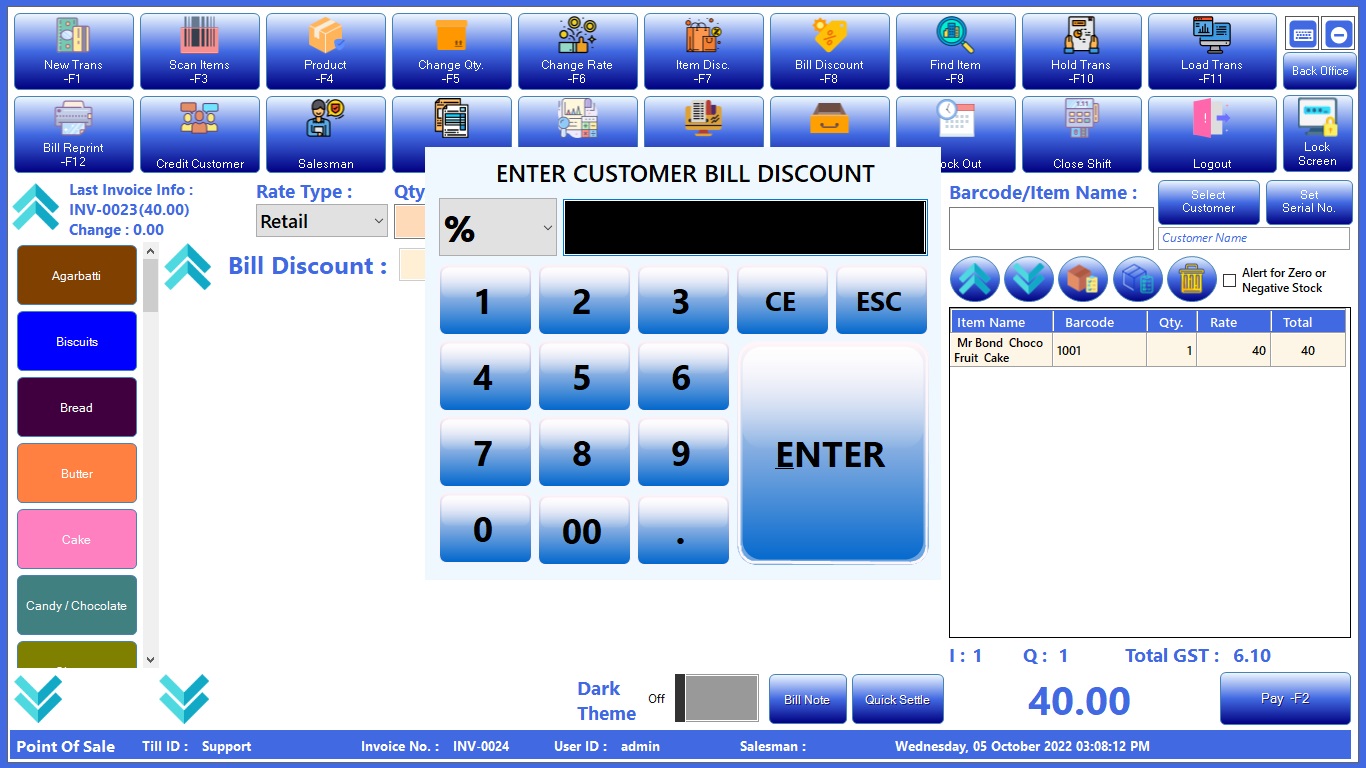
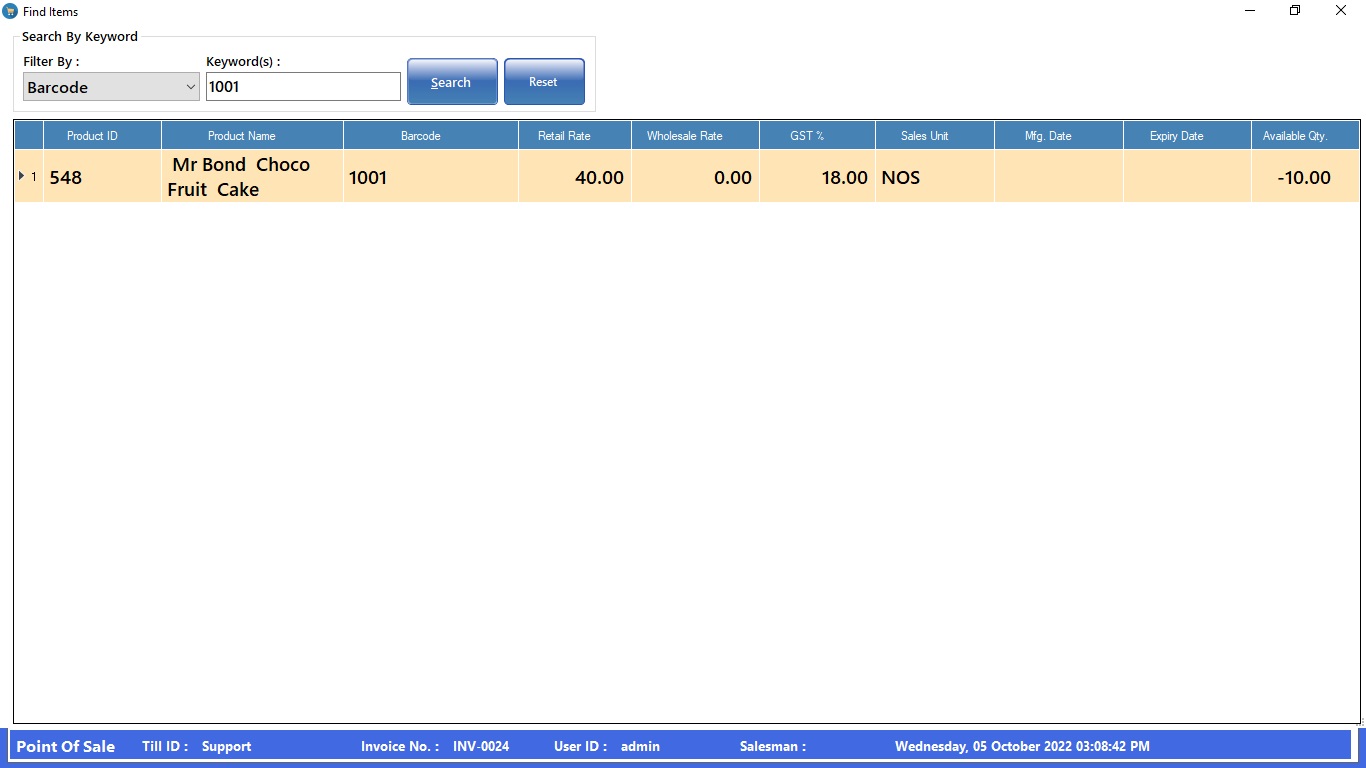
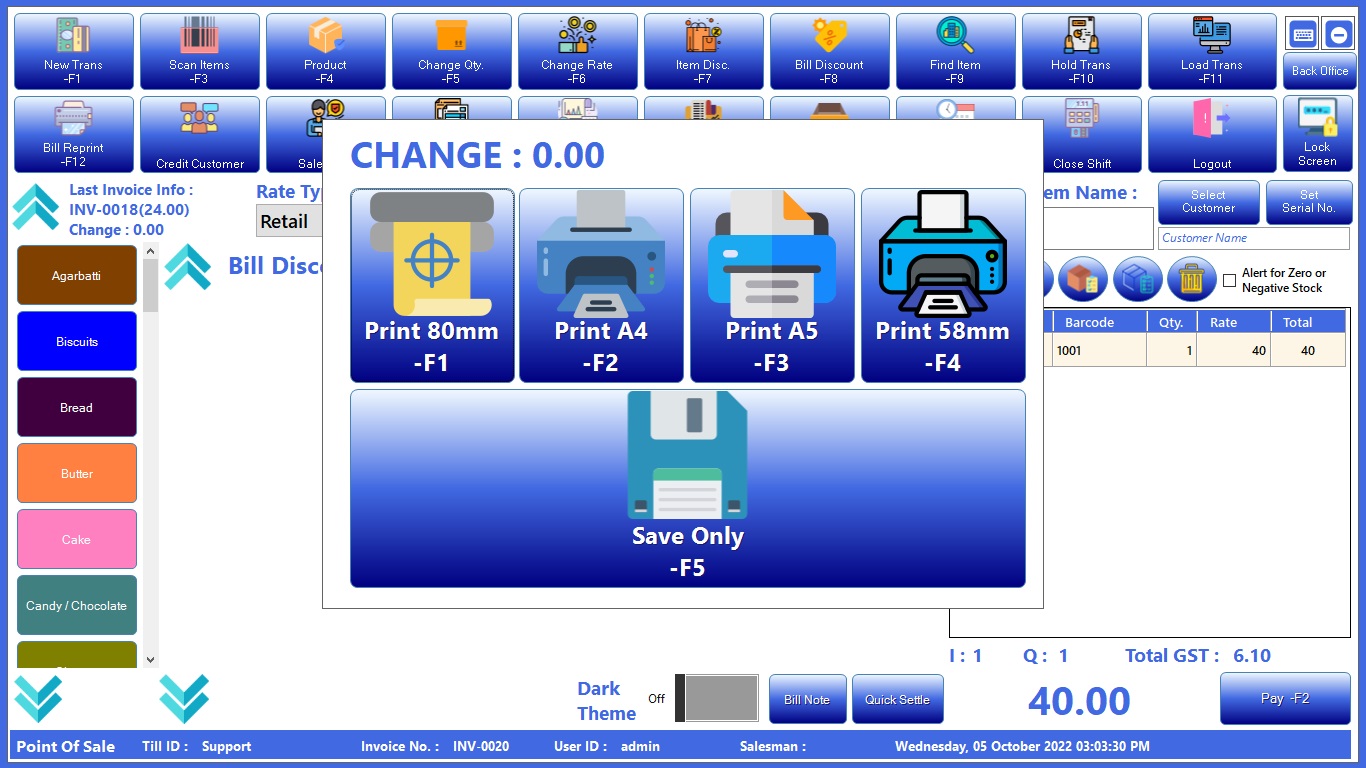
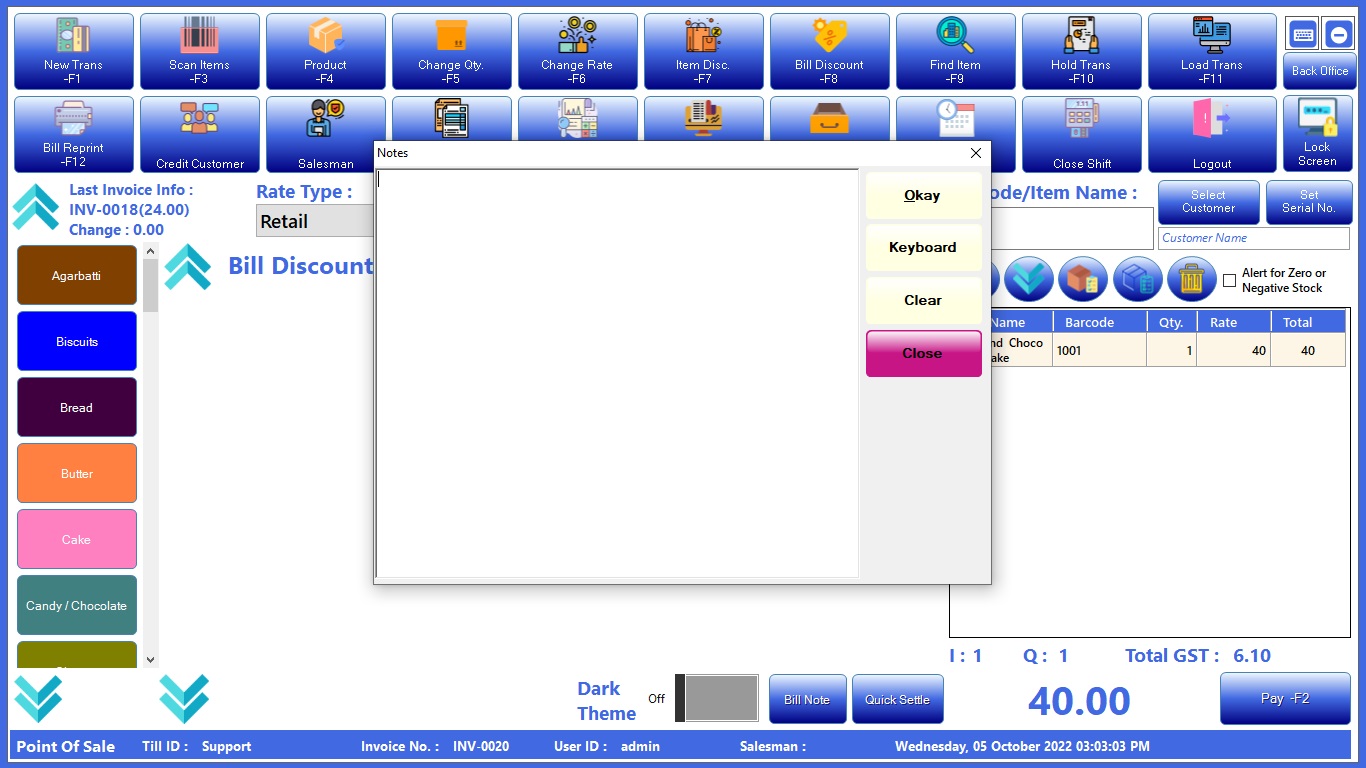
POS


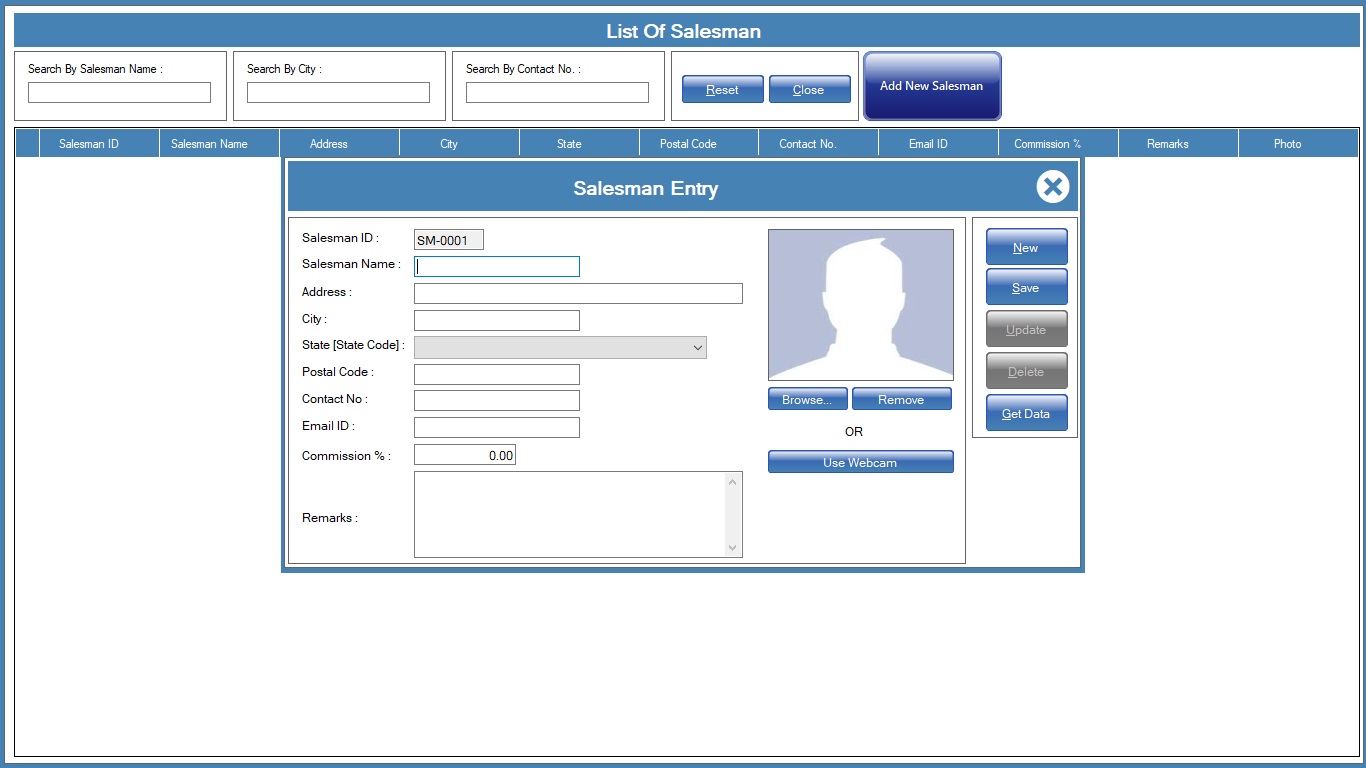
Salesman Master
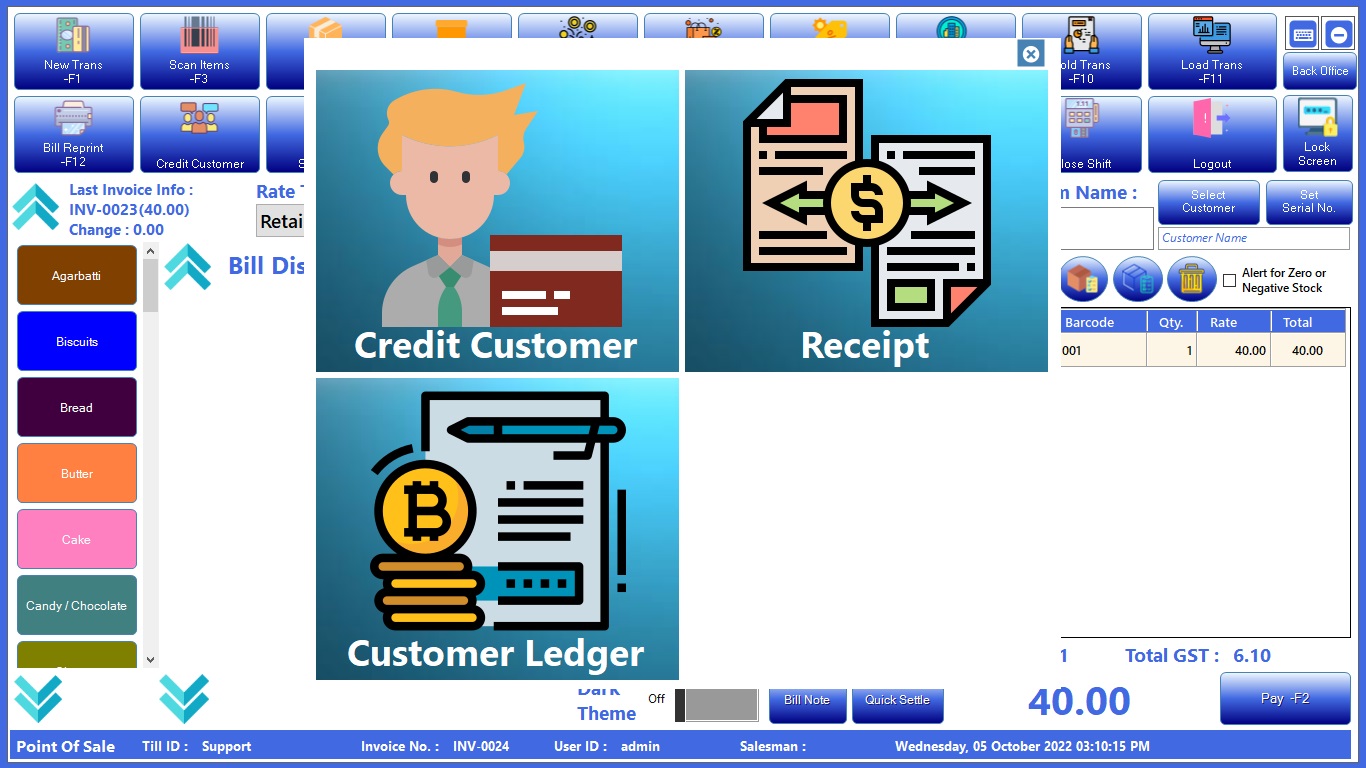
Credit Customer


Sales return
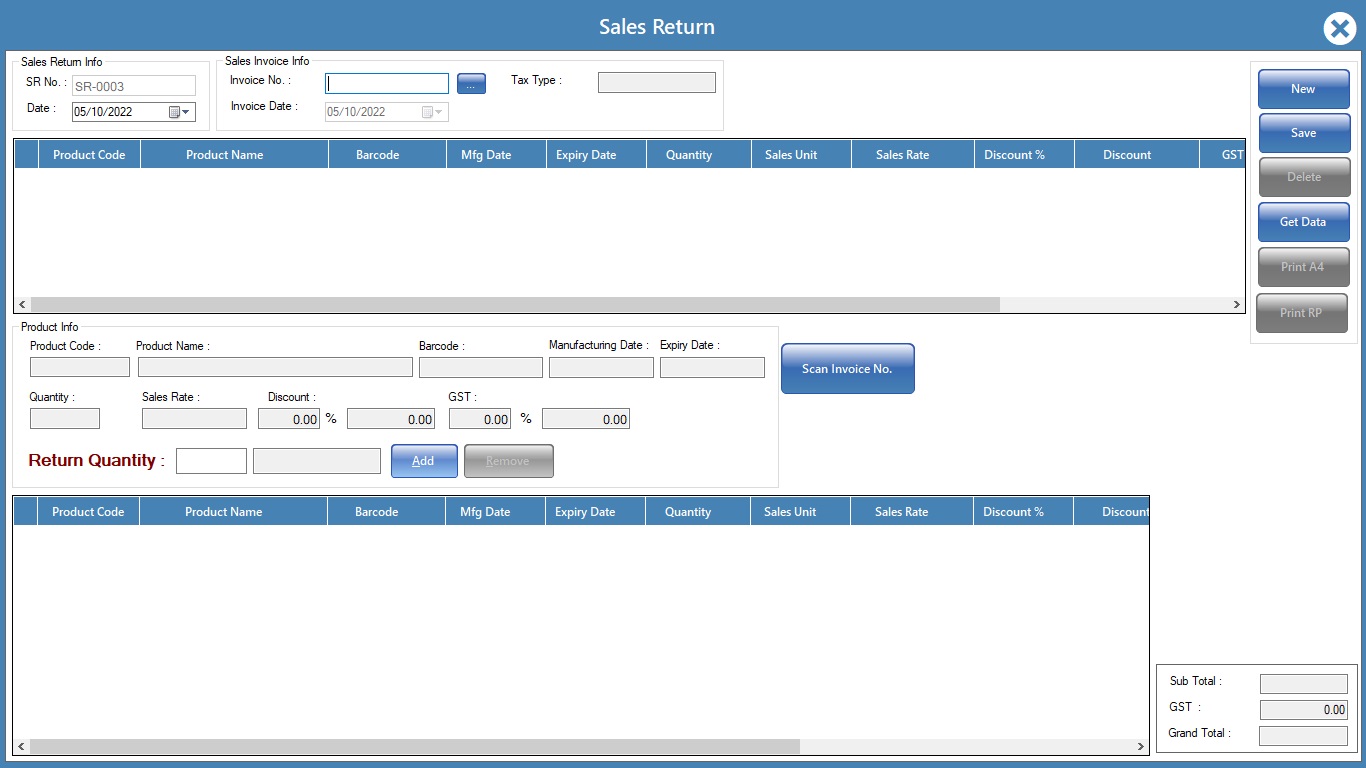
Select invoice number, then click on items, input qty to be returned and click on saves to update stock entry and refund
Alert!
if customer asking for exchange, then make new bill and add the customers product if cost is less then returned product refund balance else take balance amount from customer.
Software licensing
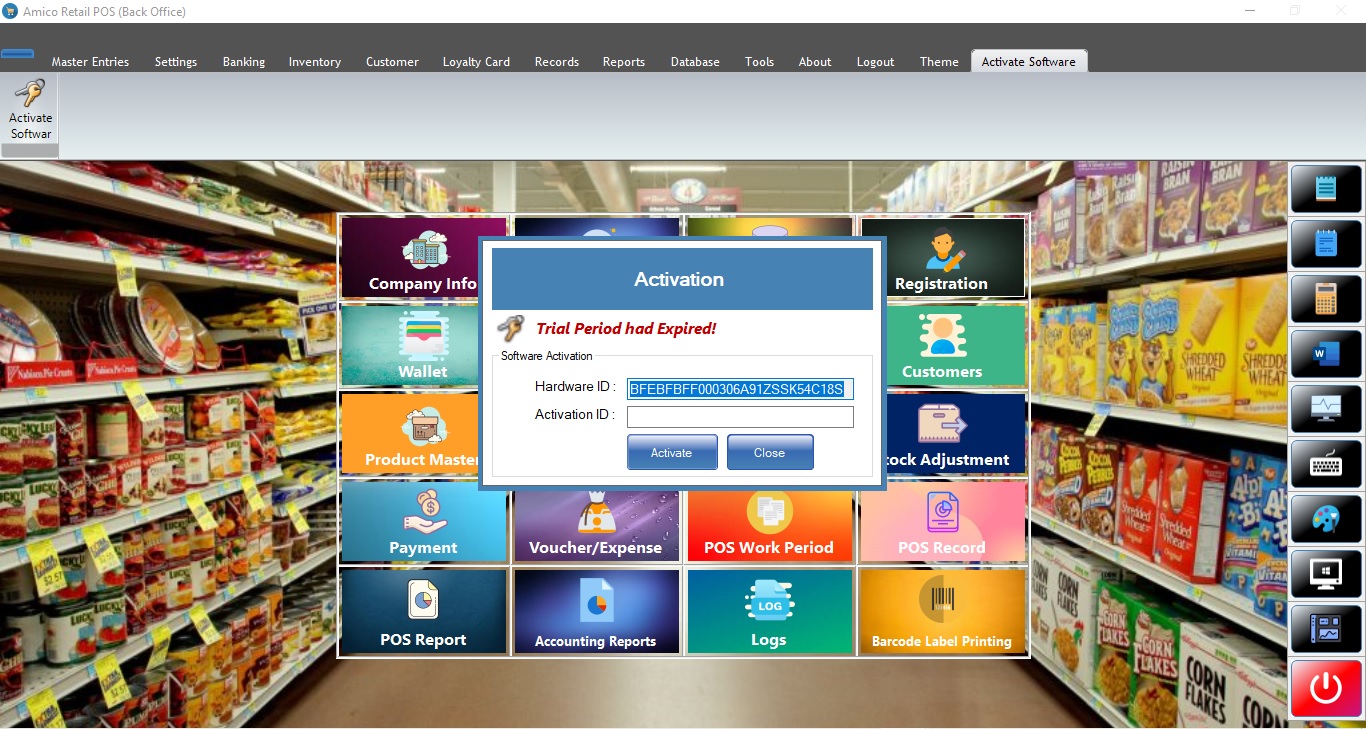
Process to avail License code: Proceed Successful payment, Share the payment details Via Email with Hardware ID generated on your Pc. you will receive activation id within 24hrs.
Alert!
payment should be done in full, if you need AMC please contact our team via email.
Support
If any issues/sales queries or product customization you can email us on techamicogoa@gmail.com.
Thanks for showing interest in Amico Retail POS.
Tech Amico